Image Slider

Candy Castle Patterns - A Sweet Peek Inside the Castle Walls


Once upon a time, I had the opportunity try a new designer, Candy Castle Patterns.  Today, I am going share all of the sweet confections she has available for instant download in her Pattern Shop.

My first experience with Candy Castle Patterns was very enjoyable!  And I quickly realized that each and every pattern contained the same level of detail and organization.   Here's a brief rundown of what to expect from these patterns:


  • All pattern pieces are nested and color-coded for each size.
  • There is a diagram at the beginning of the tutorial to show you how to tape the pattern together.
  • Measurement chart at the beginning of each pattern to ensure the best fit.
  • Cutting charts for straight cuts given in both imperial (inches) and metric (centimeters).
  • Step-by-step instructions with clear photos and lots of helpful tips.
  • All patterns are thoroughly tested in each size.
  • Extra support and help available in the Candy Castle Patterns Group on Facebook.


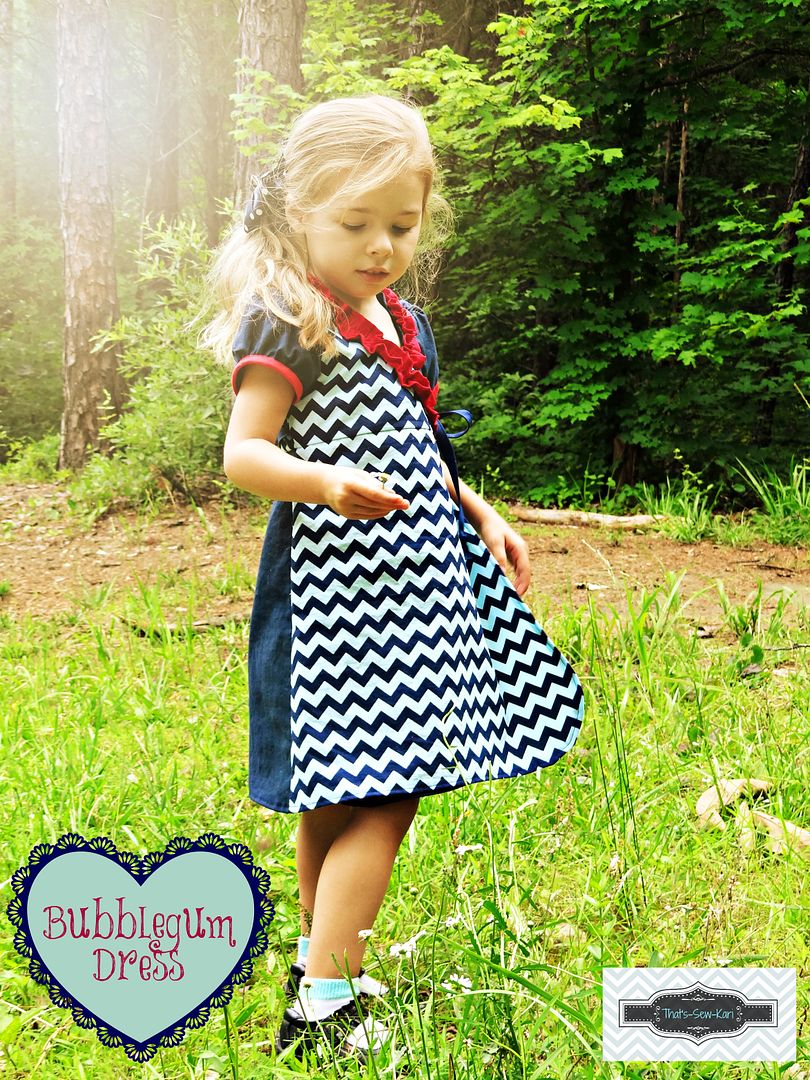
First up, with the debut pattern to the Castle is the Bubblegum Dress. It is a cute little wrap dress that can be made in either knit or woven fabrics or a mix of both.  It features an A-line shape, puffy sleeves and a non-gathered skirt.  The tie on the side allows for easy size adjustment that grows with your daughter.  The sizes range from 6m to a girls 12.   I was lucky enough to review this pattern in June.  I took a lot of time (probably too much time) choosing my fabrics and deciding whether or not to do a bias trim or the hemmed option and also whether or not to do a ruffle at the neck.  In the end, I chose a Riley Blake chevron and a coordinating navy solid and hemmed the entire outline.  At the encouragement of another designer friend, Stacey and my sister-in-law, Emily, I added a pop of red with a red ruffle and sleeve trim.
So serene


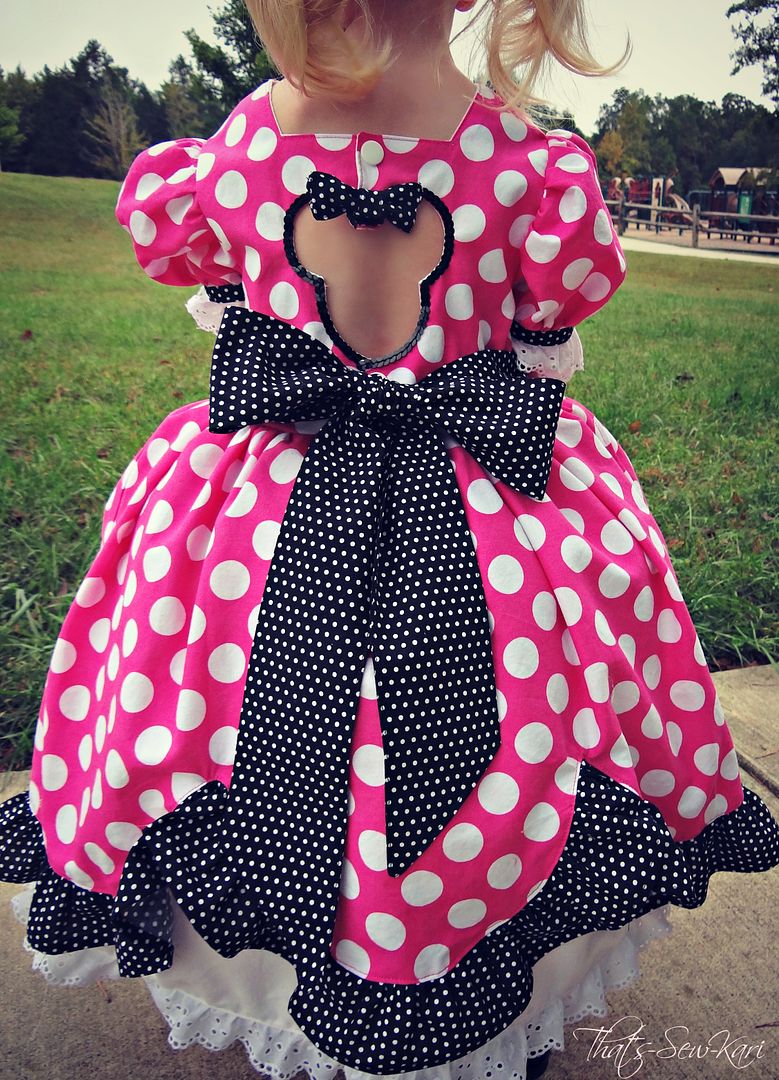
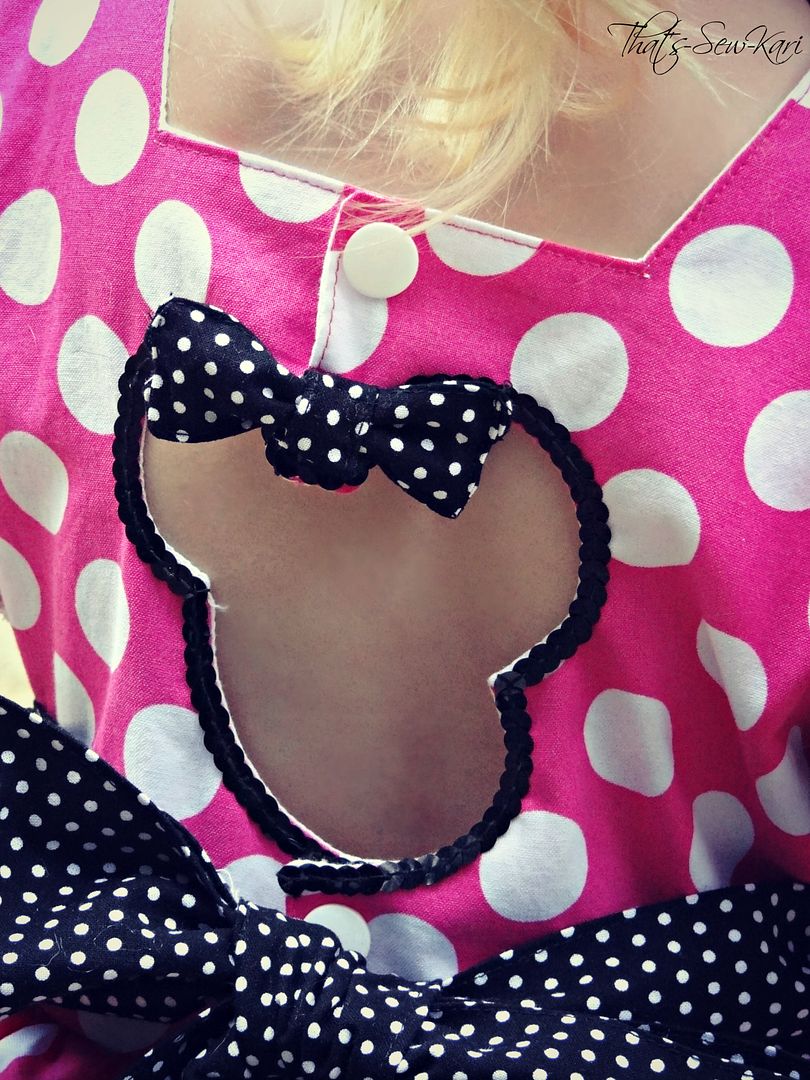
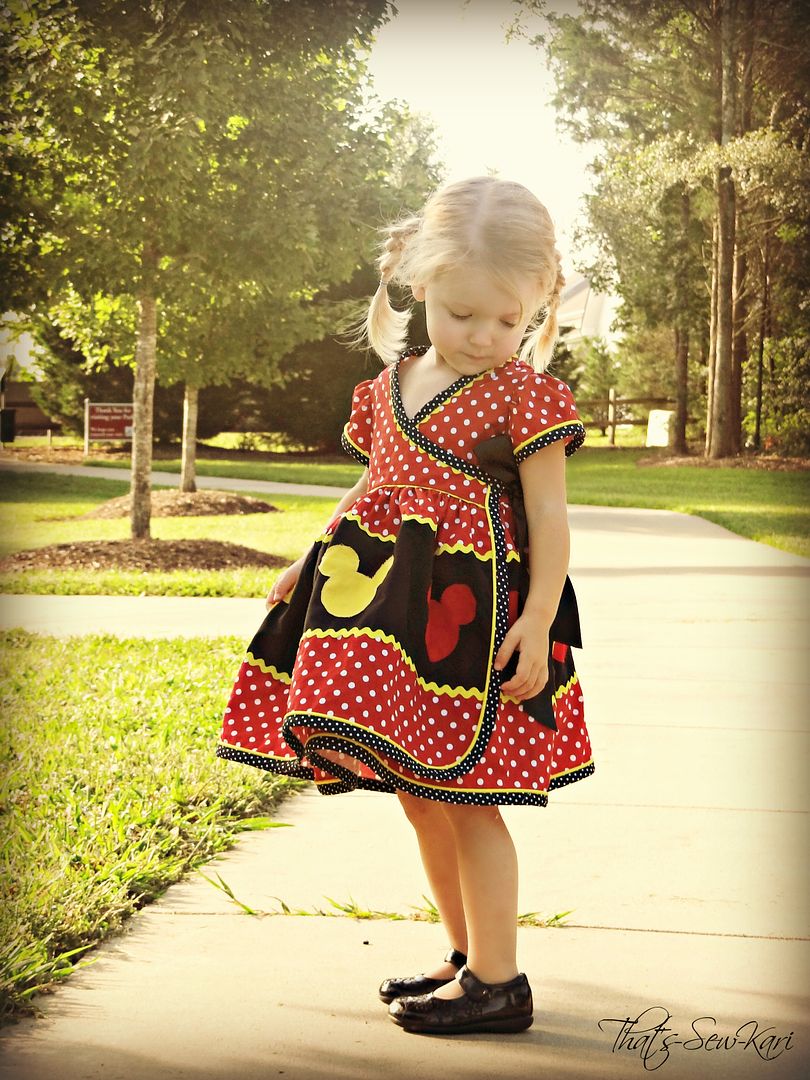
In the Candy Castle Pattern Group, there was a sew-along using the Bubblegum Dress pattern and turning it into a Swing Version with lots of extra twirl!  This add-on pattern has all the measurements figured for you and walks you through step-by-step.  It also ranges in sizes 6m - girls 12.  For this dress, I made it for my 2 year old who loves Minnie Mouse and all things twirly.  Since I had hemmed my original Bubblegum Dress, I decided to use bias tape to finish this dress.  For a bit of interest, I added in yellow piping (I'm addicted to adding piping into my creations!) and I used a solid black grosgrain ribbon for the side tie.  I appliqued 9 Mickey Mouse silhouettes (with regular sewing machine) on the skirt portion and outlined with yellow ric rac. I love, love, love how the dress turned out and so does my 2 year old!
Perfectly sweet


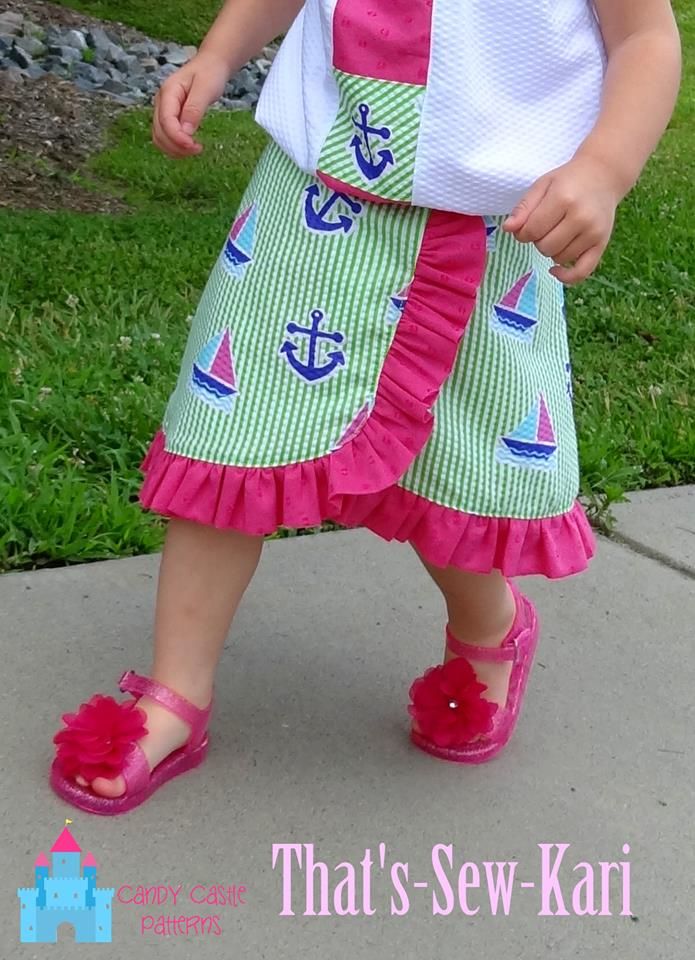
Next is the Jellybean Skirt.  This is a playful skirt outlined with ruffles.  It falls right at the knee for modest, everyday wear but with such a fun look!  The size range is from 6m - girls 14 so you'll get many years of use out of the one pattern.  I've seen it made to be reversible as well if you can sew the waistband on very precisely and use snaps.  For this skirt, I used  sailboat seersucker with vertical stripes.  I, actually, was warned against using the vertical stripes, but being as adventurous as I am, I decided not to heed the advice :).  Then I outlined it in a hot pink swiss dot ruffle.  Pink and green are a great combination!  (For the shirt, I modified the Hailey Bugs Closet Kaleidoscope Peasant Dress into a drawstring-waist shirt.)  I was lucky enough to test this pattern and as an added bonus, my baby made the cover of the pattern!!

Great for running ;)

Close up of skirt detail

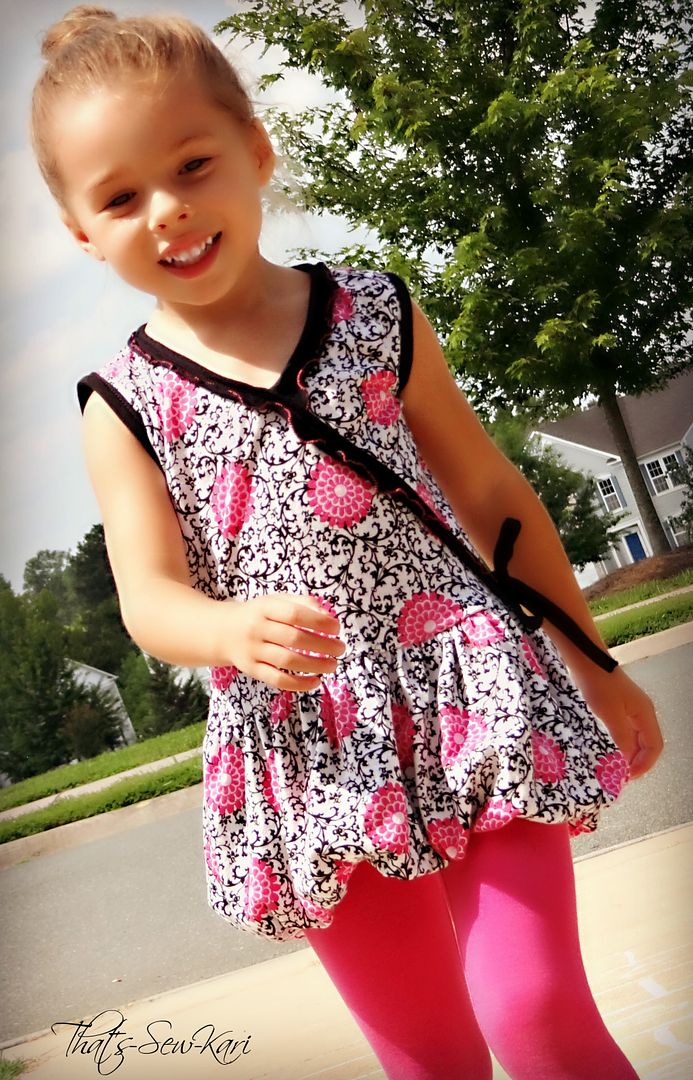
The next pattern is the Magic Gumdrop Dress and Tunic.  It is a fun sleeveless top with an attached bubble skirt in either a longer length for a dress or a shorter bubble skirt to create a tunic length.  The magic comes in to play with the faux wrap top outlined in a lettuce edge (no serger required!). This is a pattern exclusively for knits and covers sizes NEWBORN (yes, I said newborn!!) all the way to girls 14!  Amazing size range, wouldn't you agree?!  I really wanted to test this pattern (like really badly!!!), but my mom was visiting (so I put away my sewing to spend some much needed bonding time) during the testing time-frame so I had to wait for the release.  I admit I was apprehensive on this pattern since my first knit project was not a pleasant experience (think lots of tears and a few choice words), BUT knowing how easy to follow Candy Castle Patterns are to follow, I decided to trust in the pattern and oh my, what a different experience!  Everything came together beautifully and the knit is so comfortable for my daughter.  And she chose to wear it on her first day of school!! WIN!!  For this pattern, my daughter chose the tunic length and I chose a pink/black/white flower combo from Hobby Lobby's knit jersey selection.
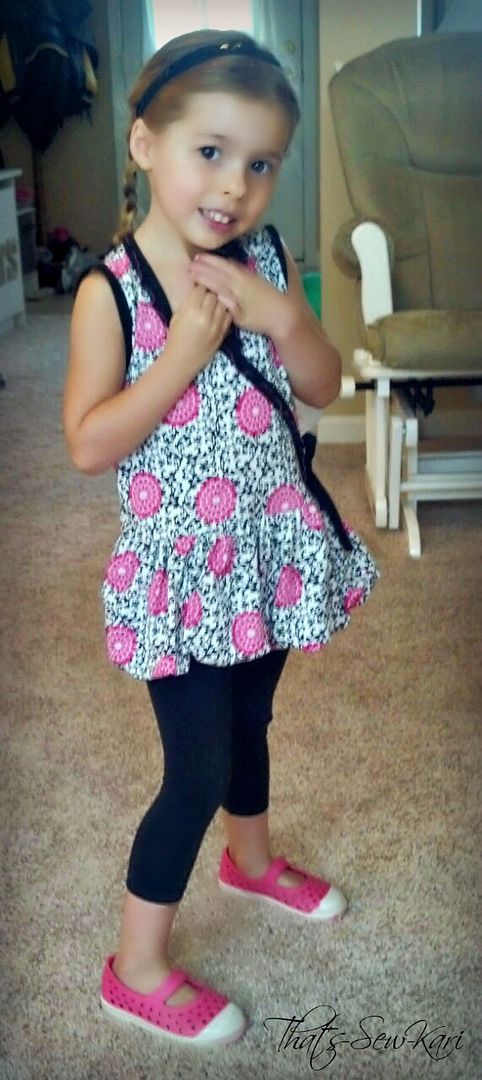

Ready for an afternoon of errands!
Cool and comfy!


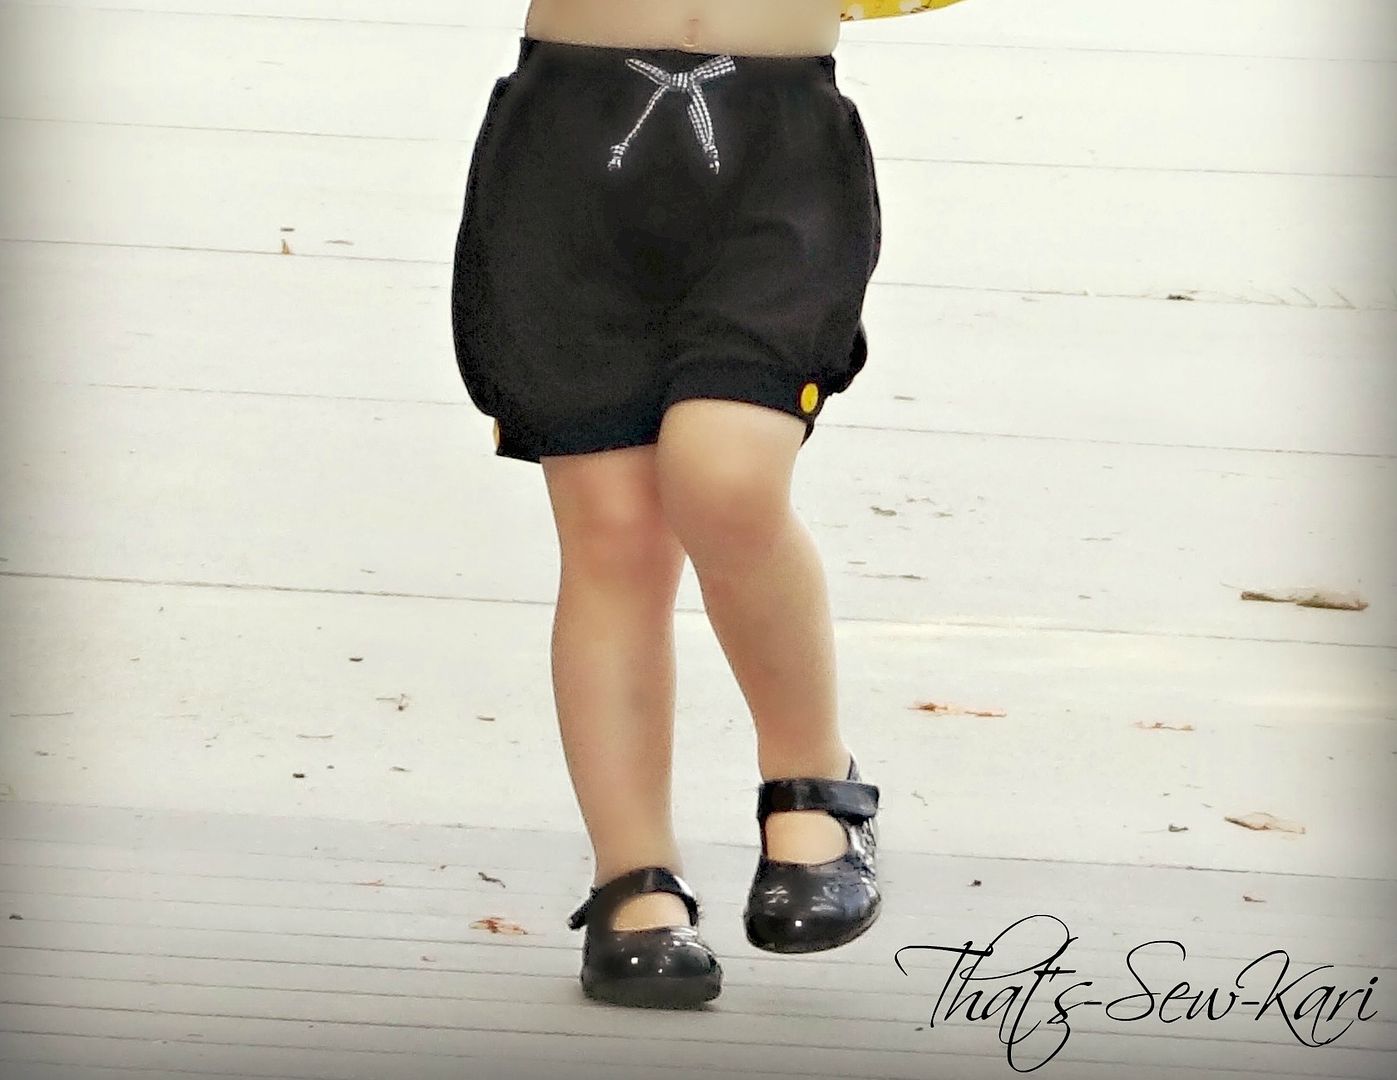
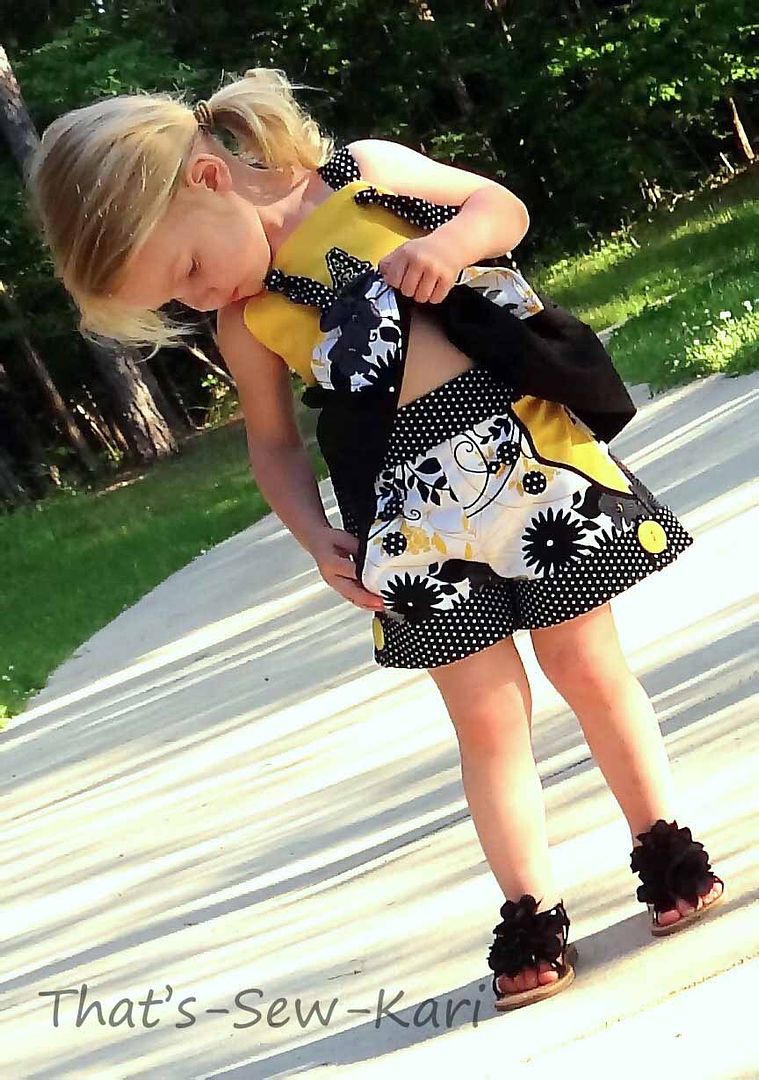
The Butterscotch Bloomers are these sweet, knit shorts to accompany any cute shirt or dress.  The bottom of the legs are slightly gathered before being capped off by comfortable, knit bands.  These bloomers are for NEWBORN to girls size 4.  This was actually my 2nd knit project (and gave me the confidence to tackle the Magic Gumdrop) and are quick to sew!  I was also chosen to test this pattern and the timing was perfect as I was also testing the BeBop Top and Dress for Scientific Seamstress.  The combination of solid black Butterscotch Bloomers with just hints of accents from the top are perfect for the bright, vibrant bumblebee top.  This pattern also takes you through instruction of adding ruffles on the back of the bloomers which can be a cute addition.  You could also applique something, but choose wisely!  I originally had a flower appliqued on the rear of mine and a quick consensus resulted in immediate seam ripping.  (I'll spare you the details!)
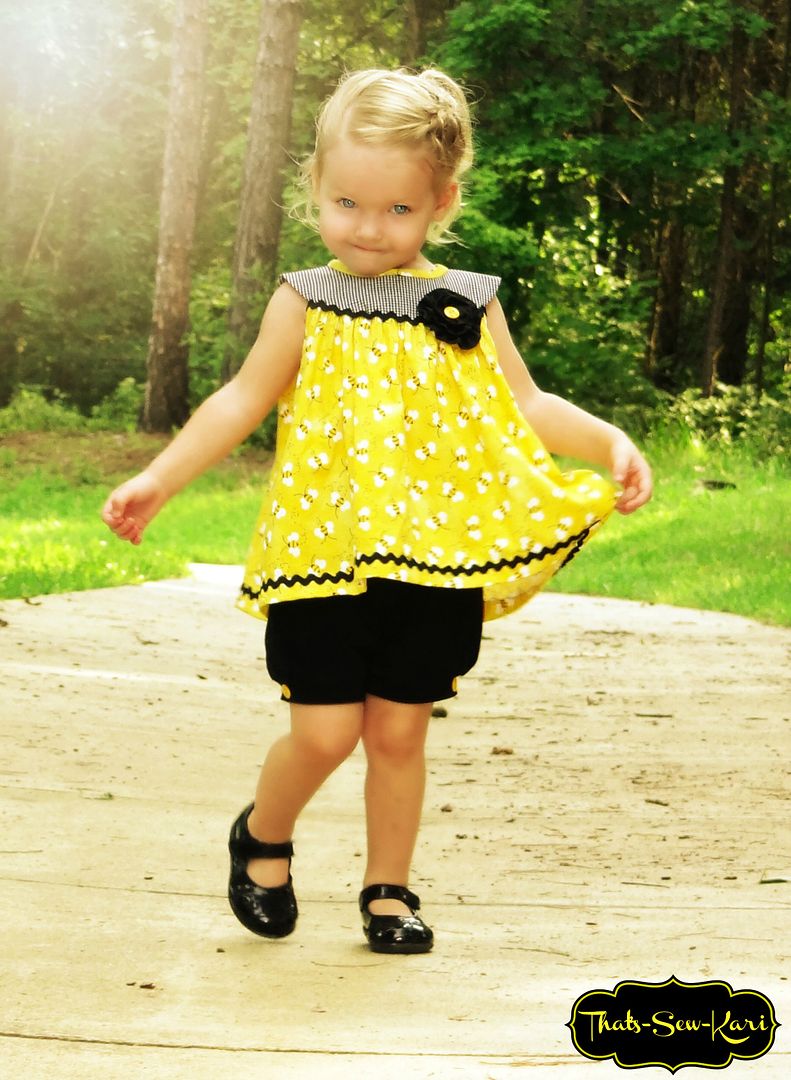
Perfect addition to complete an outfit!

Close up of just the Butterscotch Bloomers.  I have added
a faux bow at the waist and a matching button on
the outside of each leg.


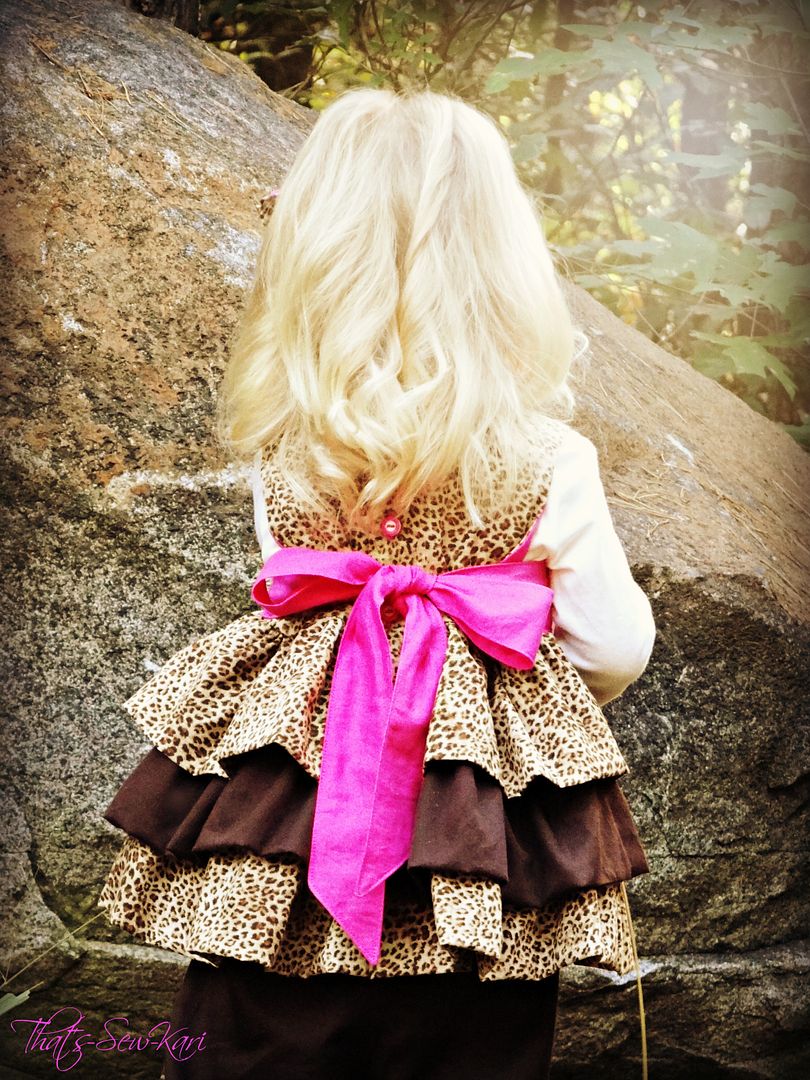
The Triple Layered Cake Tunic was inspired by a fluffy cake and is a great pattern to really push you to choose fabrics outside of your comfort zone.  The pattern covers sizes 3m - girls 14 and it's recommended to choose fabric with some flow to it.  It's tunic length with 3 ruffles and  a looser bodice to allow layering for the chillier months we're getting ready to enter.  I originally set out with a regular woven cotton - a leopard print, but I decided that I really wanted to try my hand at some fabric with beautiful flow.  I found a gorgeous slippery polyester in a raspberry color with a black floral design.  I just couldn't put it down so I went for it!  It made for such a fancy, fluffy Triple Layered Cake; my daughter will be all set for her Christmas party at school with the addition of a little black sweater.  I named my flavor Raspberry Fudge Swirl Delight!  After our pictures, we stopped to play for a bit at the playground for the fanciest trip to the playground yet :)
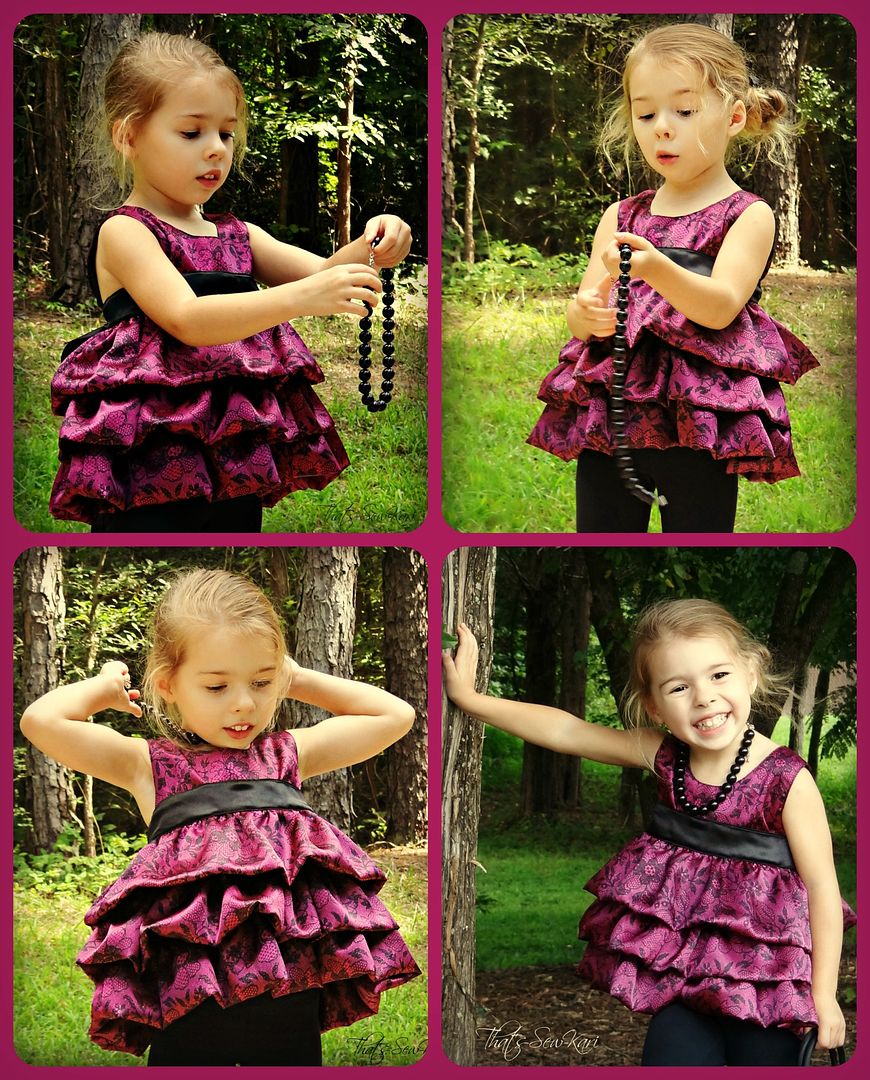
Raspberry Fudge Swirl Delight Triple Layered Cake
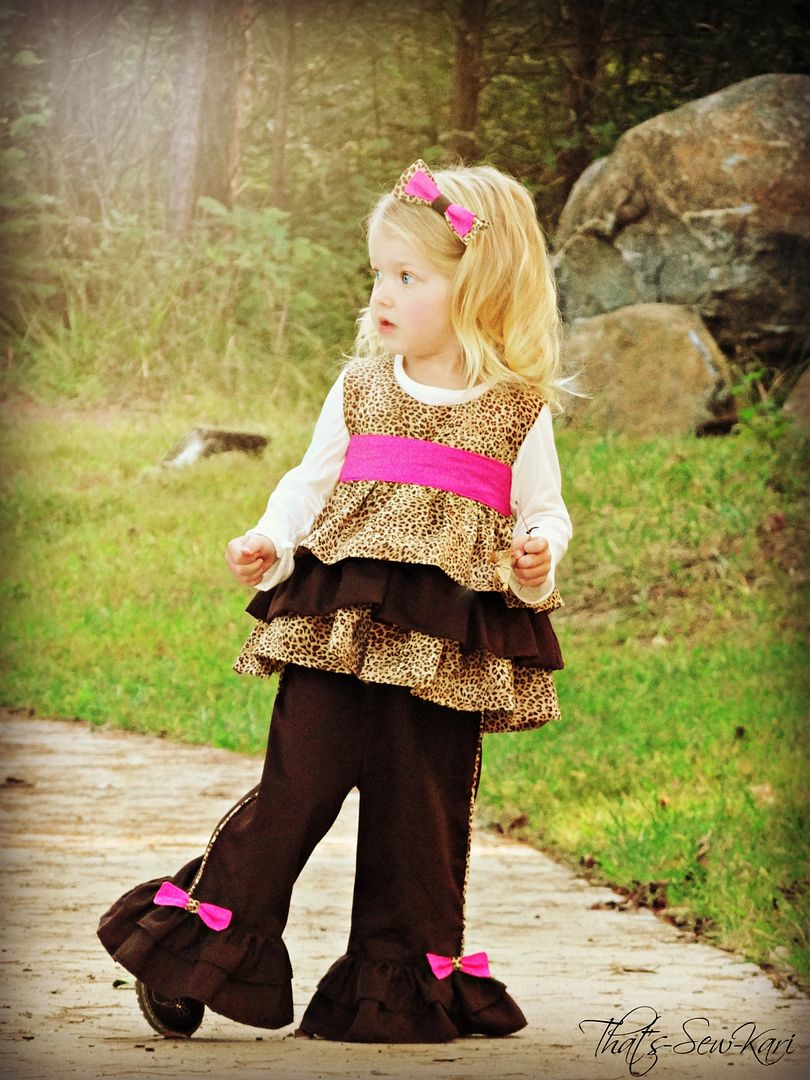
I also made a Triple Layered Cake for my two year old to pair with some cute ruffle pants I was testing for Stitchwerx.  I knew the ruffles on the tunic would perfectly compliment the ruffles on the bottom of the pant legs.  Since I had partially cut out the pattern from leopard print fabric during testing, I decided to finish it up! I love bright pink with leopard print and chose to break up the ruffles with a chocolate brown to match the pants (and I hadn't bought enough leopard print fabric....shhhh!)  I used the bow templates from the Candy Castle Princess Dress to add bows to the pants and to make a double layered bow to slide onto a headband.  Here's my two year old diva in her Chocolate Raspberry Ruffle Triple Layered Cake :)

Little diva watching a dog walk by.

Back view - can you see the pop of pink on the buttons?

Last, but certainly not least, with the newest pattern for Candy Castle Patterns is the most divine dress ever! The Candy Castle Princess Dress is gorgeous with its full double layer skirt, fitted bodice and multiple embellishments!  There are FOUR sleeve choices in this pattern (sleeveless, puffy, elbow length and slim long sleeve), TWO underskirt options (hemmed or ruffled) , TWO top skirt options (one fabric or panelled), TWO bodice options (slim or regular), THREE bow sizes, and TWO yoyo flower sizes.   Not including the embellishment choices, you could make 210 dresses before you repeat a combination!    Will you ever need another dress pattern?!  The size ranges from 6m to girls 10.  I do recommend a proper measurement before starting!
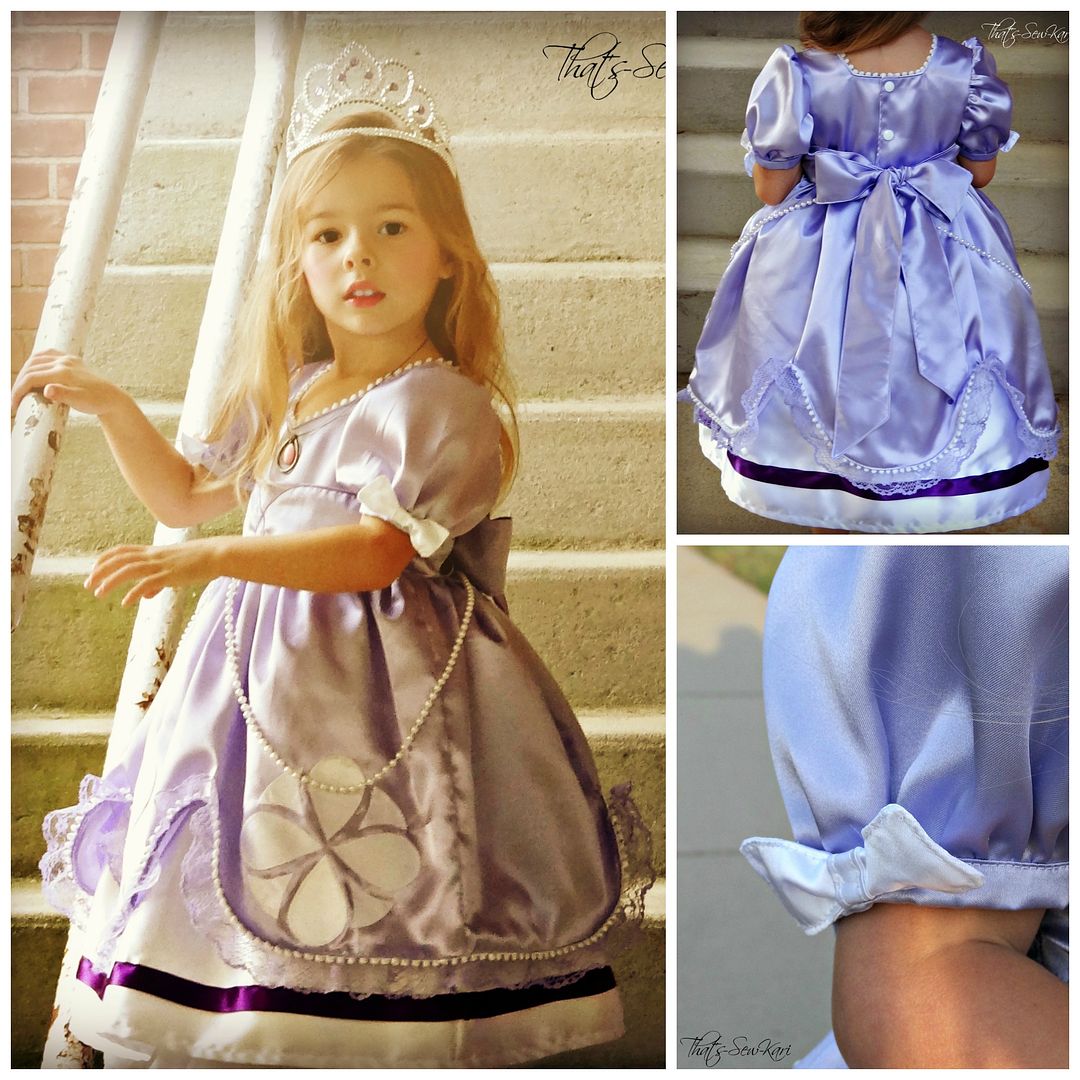
So, for this pattern test (I just love testing!), I showed my 4 year old a picture of a finished dress.  After she finished squealing, she asked  begged for a Princess Sofia dress.   I chose a beautiful lavender satin for the majority of the dress and a white satin for the underskirt.  (Woven cotton is recommended for the pattern.)  I wanted to recreate as authentic of a dress as I could so I added pearl strands, mini white poms and purple ribbon to accent.  I did a free-hand stitch on the sash to mimic Sofia as well as appliqued an 8-piece medallion to the bottom of the front 3 scallops.  My daughter was speechless when she saw her finished dress.  And honestly, I'm still in awe that I made it!  After pictures, we took a trip to get some donuts (post-picture tradition) and got lots of admiration!
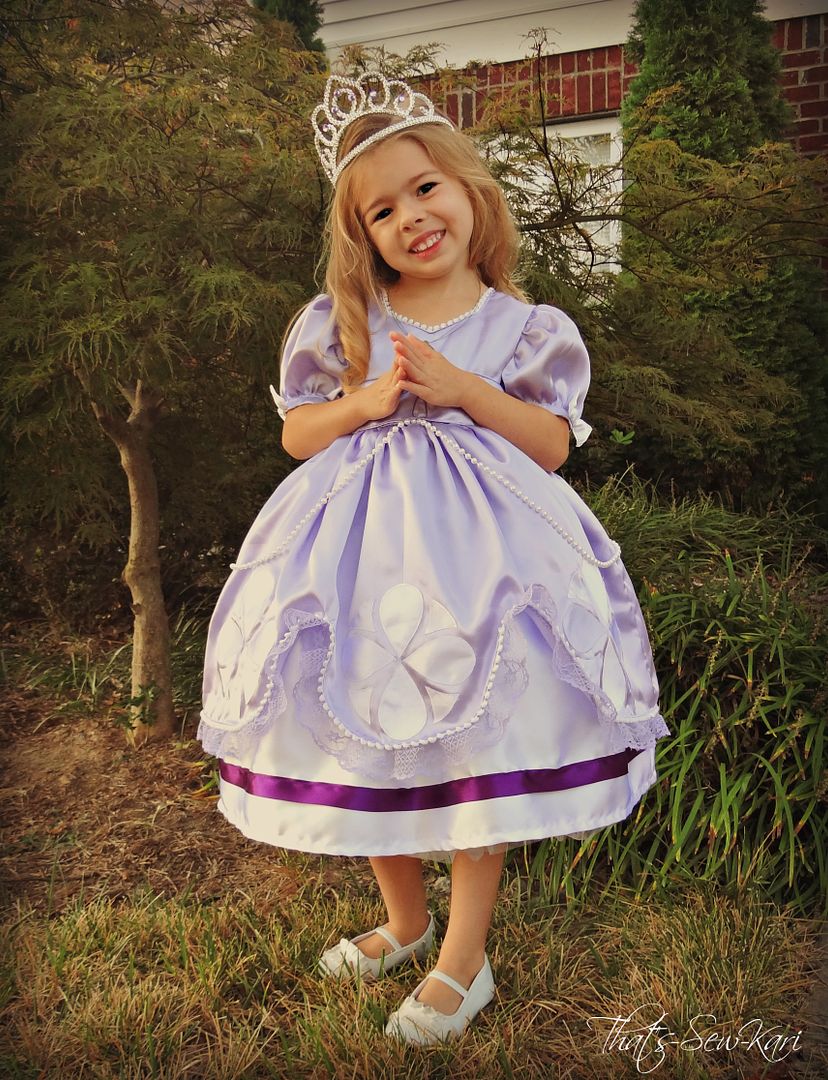
Sofia the First inspired dress with full pettiskirt underneath

Fit for a princess - back detail shown as well as the smallest bow
embellishment included in the pattern.

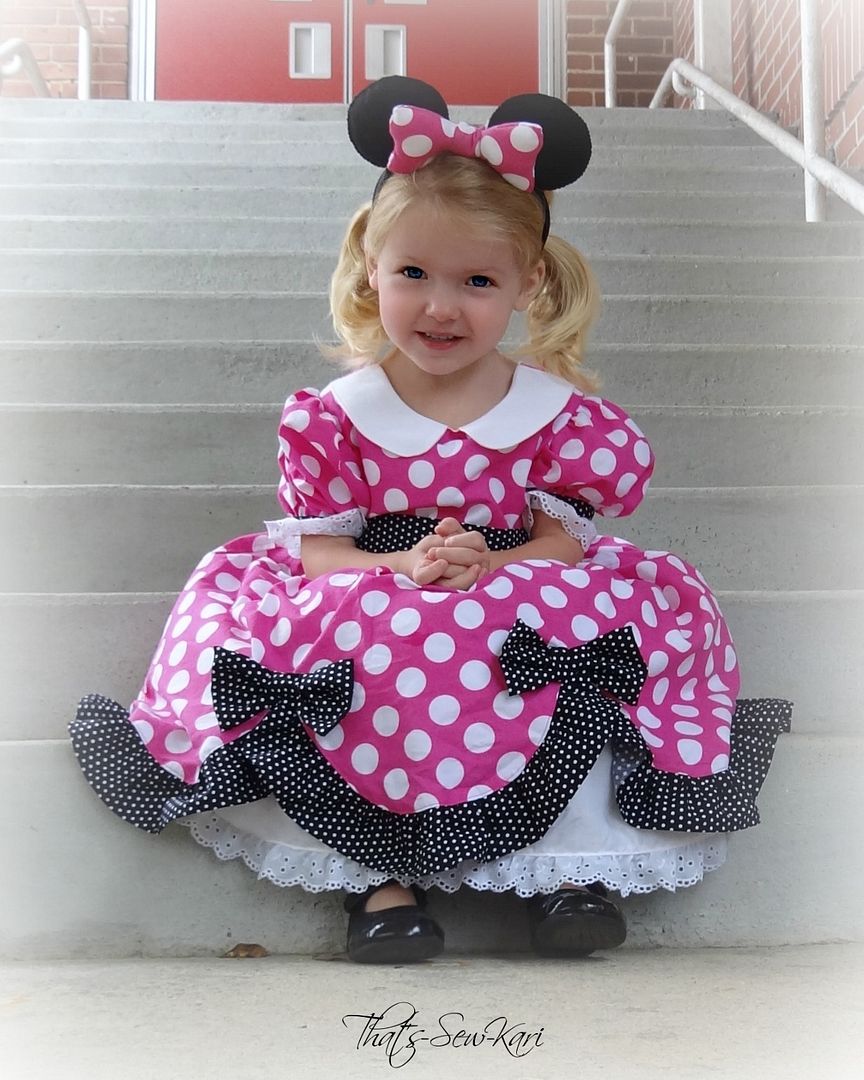
Of course, I cannot leave my 2 year old without a Candy Castle Princess Dress (especially since she walks around saying she's a princess all day) so she will be getting a Minnie Mouse inspired version first and then I will create their Christmas dresses from this pattern!  I'll be sure to blog about those dresses as well!

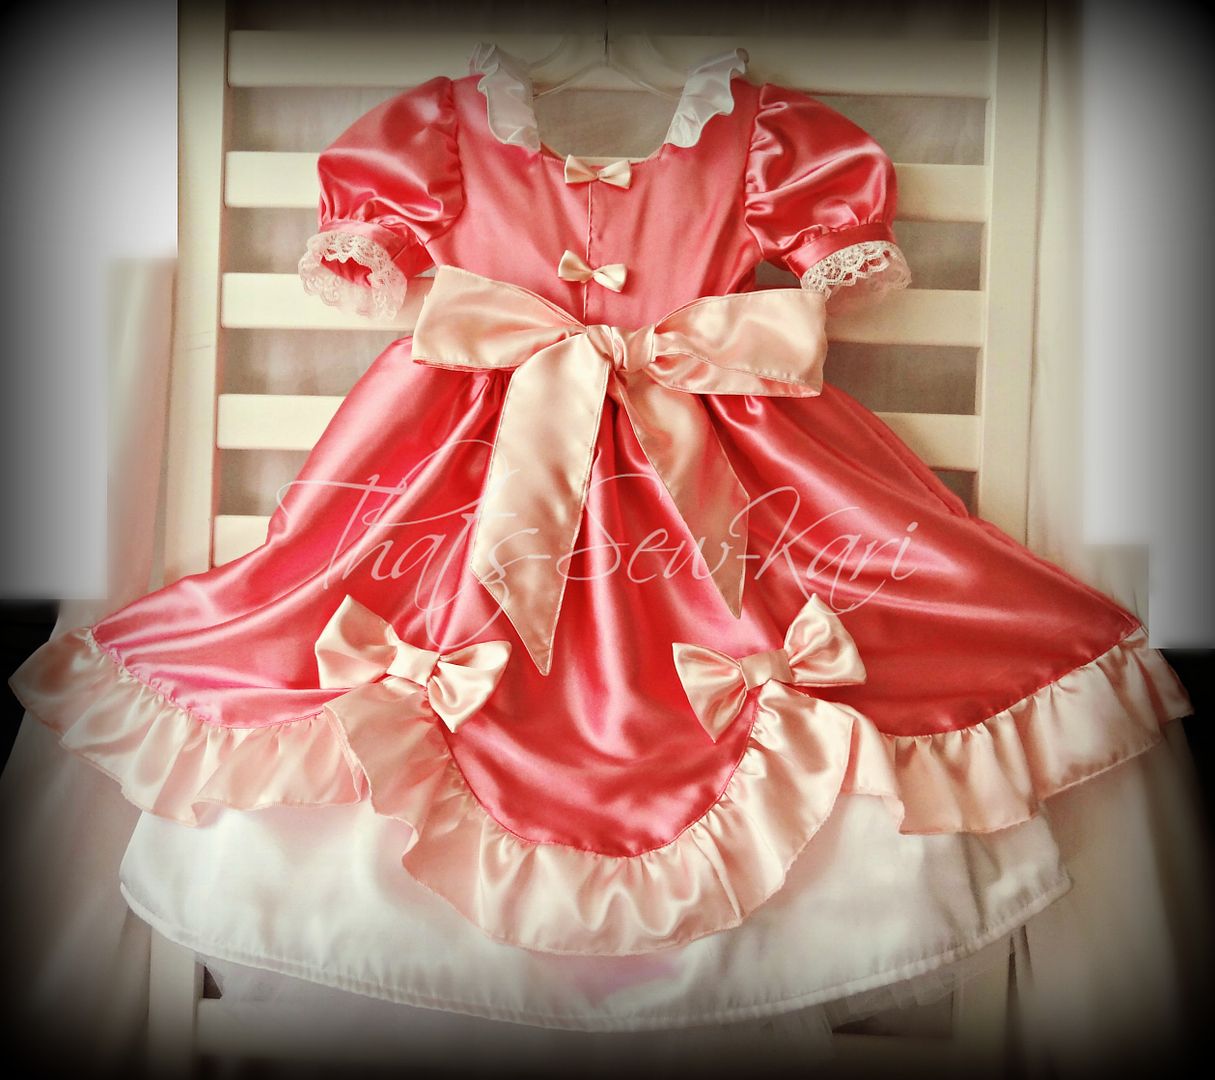
UPDATE:  Since this post, I have created 2 additional Candy Castle Princess Dresses - Cinderella for a customer and Minnie Mouse for my 2 year old. 


Here's a recap of my creations from the Candy Castle Patterns Collection!
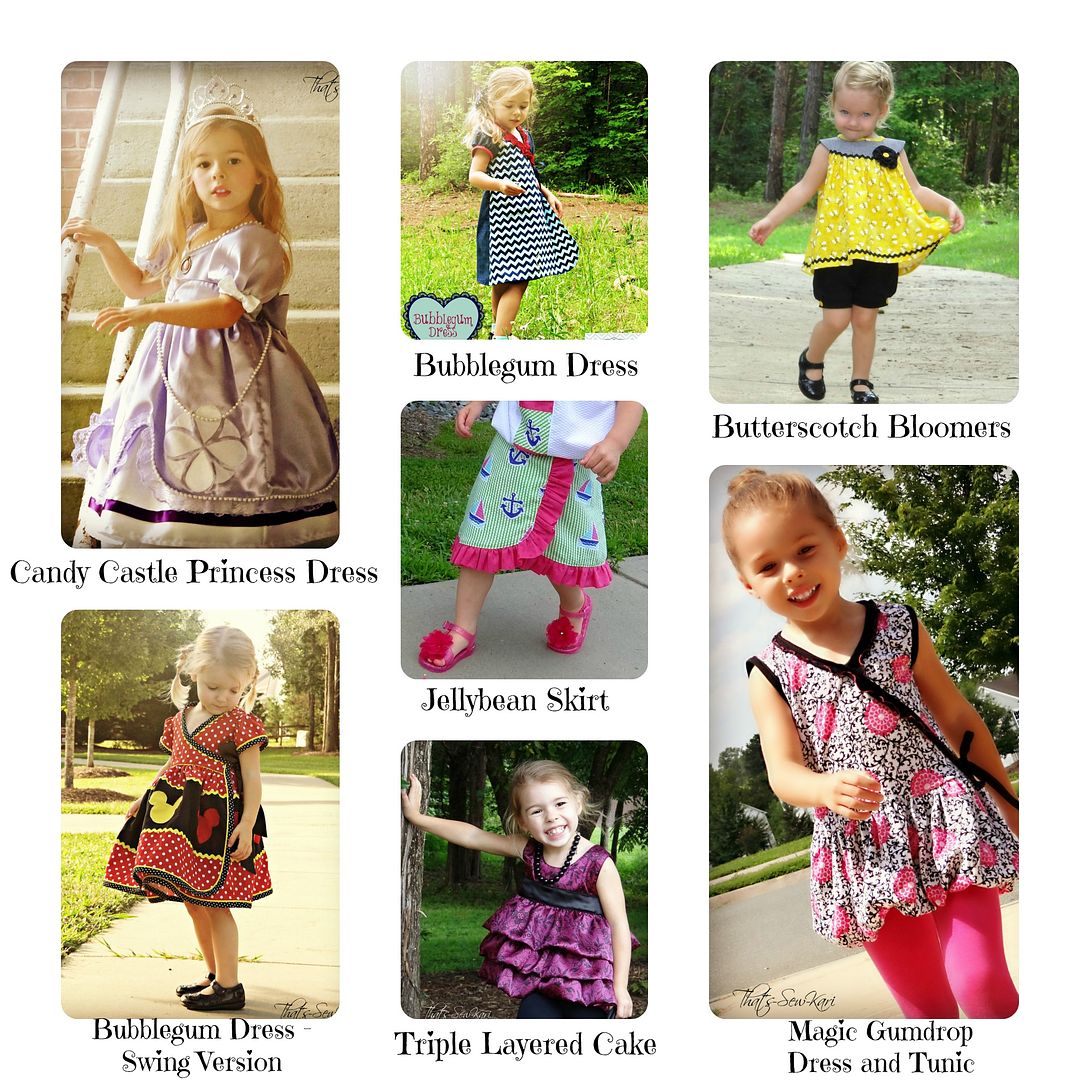
The Collection

And now, for a sweet treat, Candy Castle Patterns has graciously donated a copy of the Candy Castle Princess Dress to one lucky reader!  Mirror, mirror on the wall, who's the luckiest of them all?


a Rafflecopter giveaway

PSA - Adobe updates - MUST READ

Adobe has updated some settings and it may affect your PDF pattern pieces when you print them out.  Candy Castle Patterns and I have teamed up to help you understand these changes.  After you print your patterns, ALWAYS be diligent amd MEASURE the test square provided to make sure it measures EXACTLY correct!  

This issue came up in a pattern test when more than one tester failed to measure their test sqaure prior to cutting their pattern pieces and sewing.  A fellow tester, Cori mentioned that Adobe had updated and was likely the cause.  

Thank you Candy Castle Patterns for turning my pictures into a PDF tutorial! 

The tutorial has also been shared on Pattern Revolution where I am a contributor!  

I've heard from several fellow seamstresses who admitted they never measured their test boxes - take the pledge to measure, measure, measure!!  


Click the picture to access the tutorial!


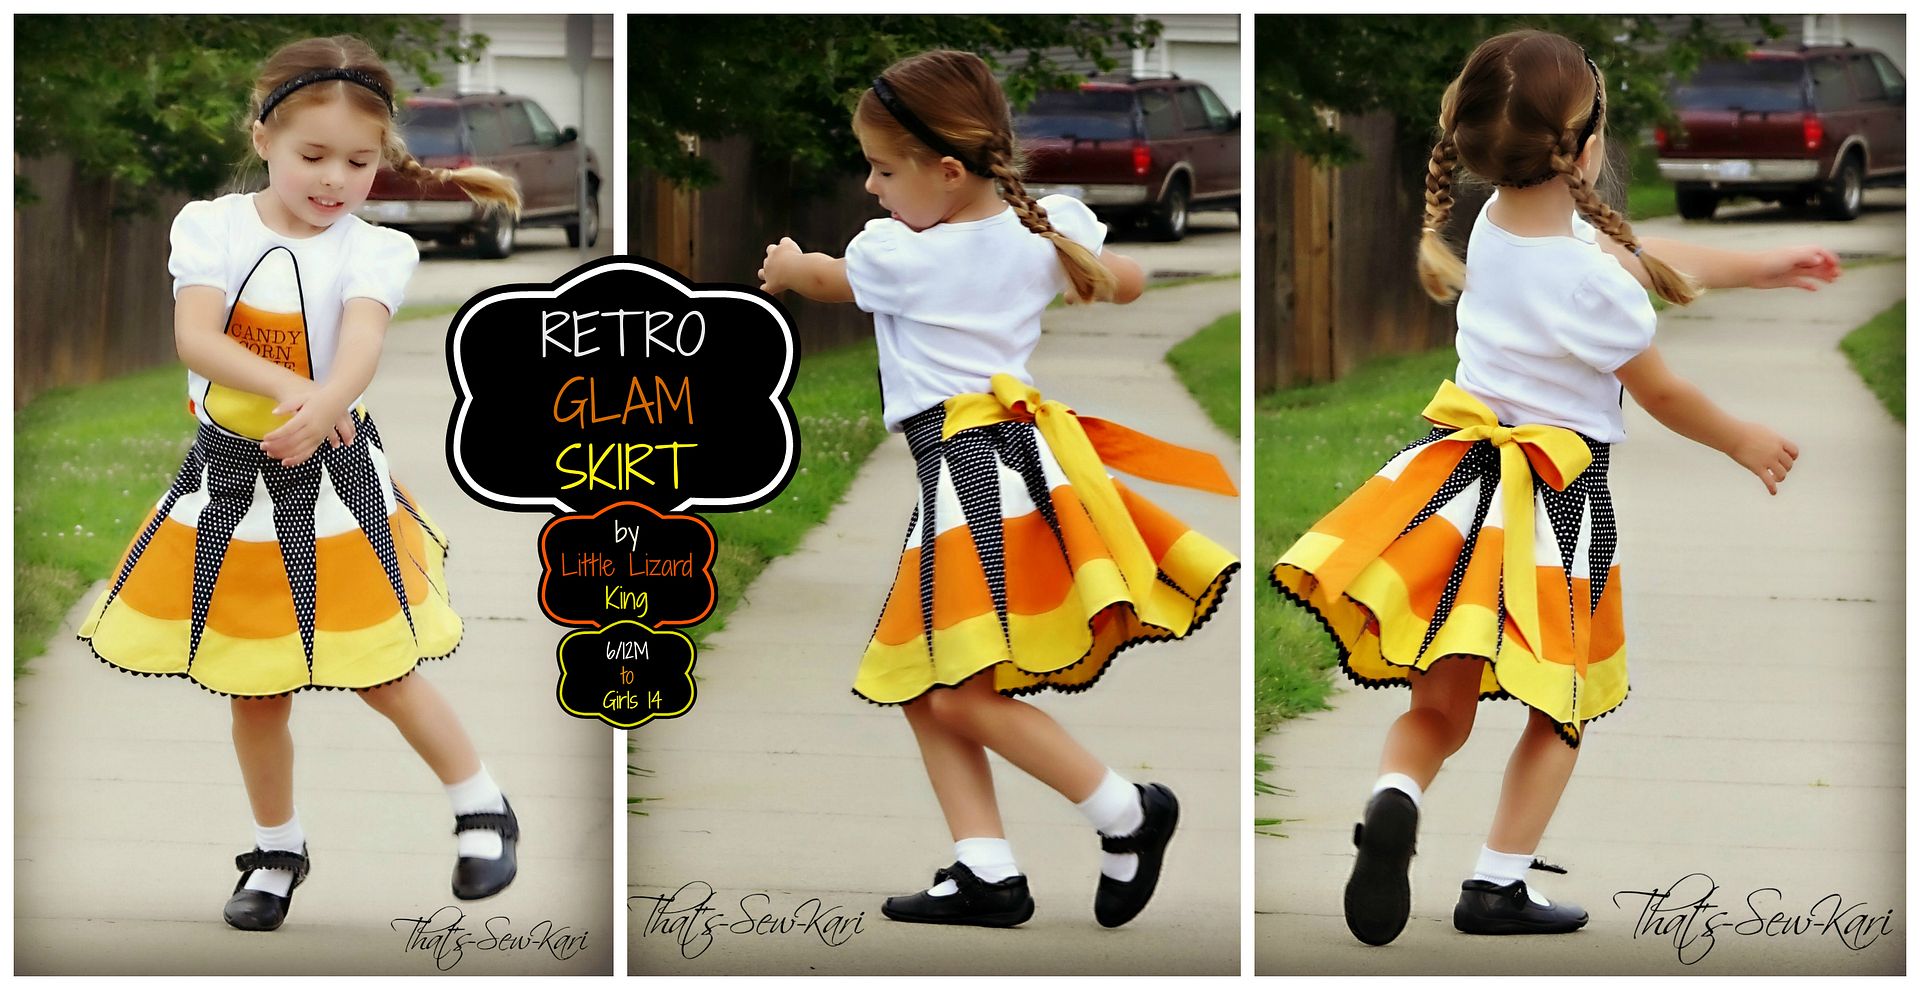
Retro Glam Skirt by Little Lizard King


I recently was given the chance to test another new pattern for Little Lizard King, called The Retro Glam Skirt.  I think this is actually the 6th test I've done for them since the beginning of June (can we say busy?!)     

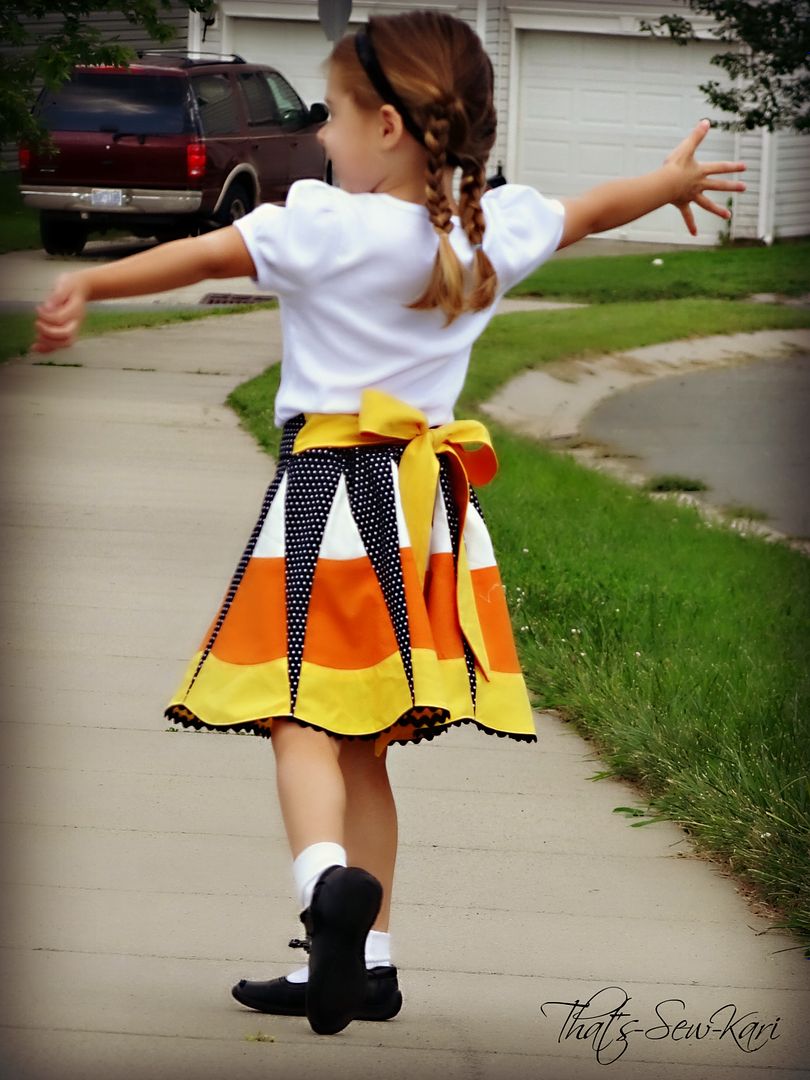
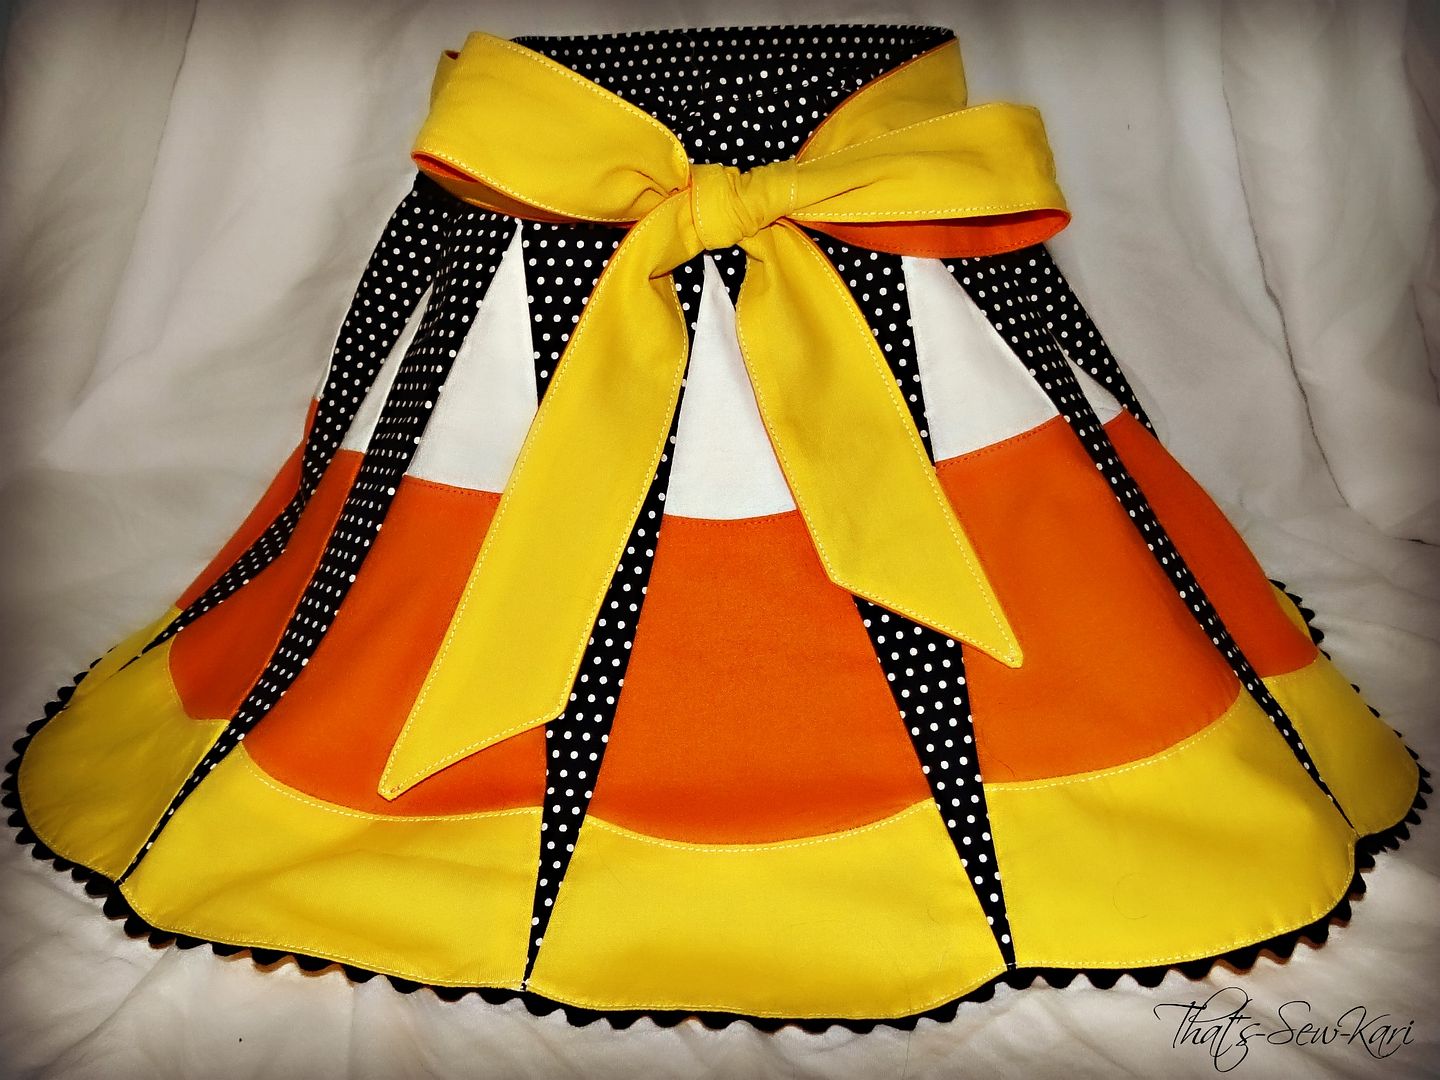
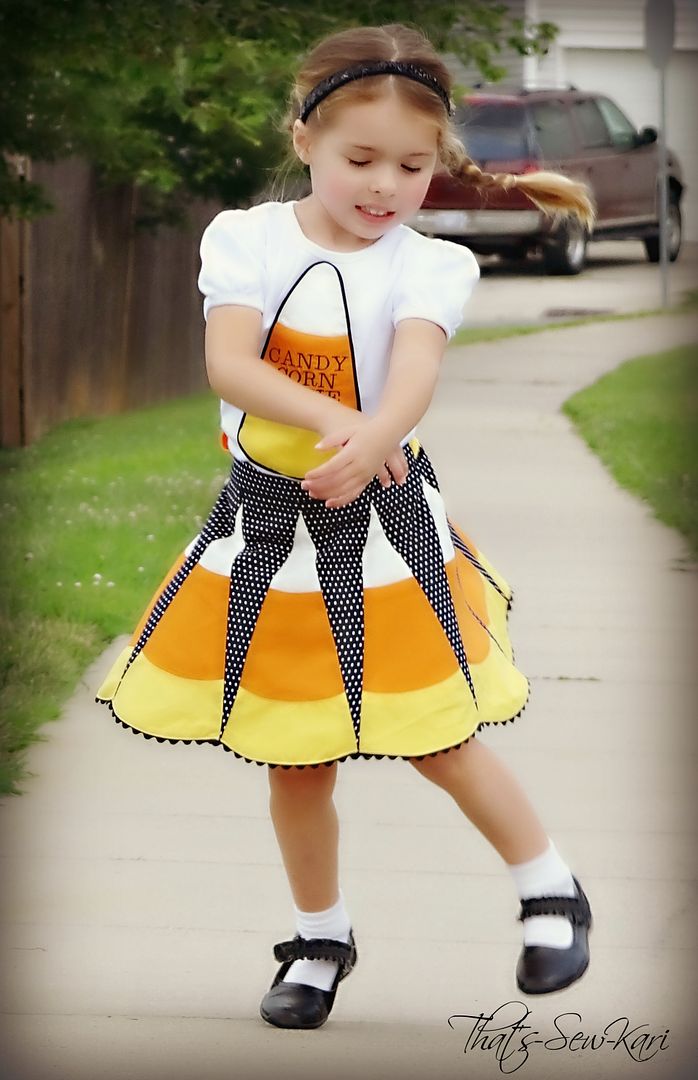
This pattern was designed by Tricia Boyer, exclusively for Little Lizard King.  It’s a modern take on a vintage-style apron and it is EPIC.  In the weeks leading up to the test, we were told that this skirt was BIG, FUN, and beyond EPIC – and boy, were they right!  It’s a playful skirt, with 10 scalloped panels pieced together with 10 upside down triangles, a flat waistband in the front and an adjustable waist in the back, rick rack trim and a huge bow that can be worn in the front or back.

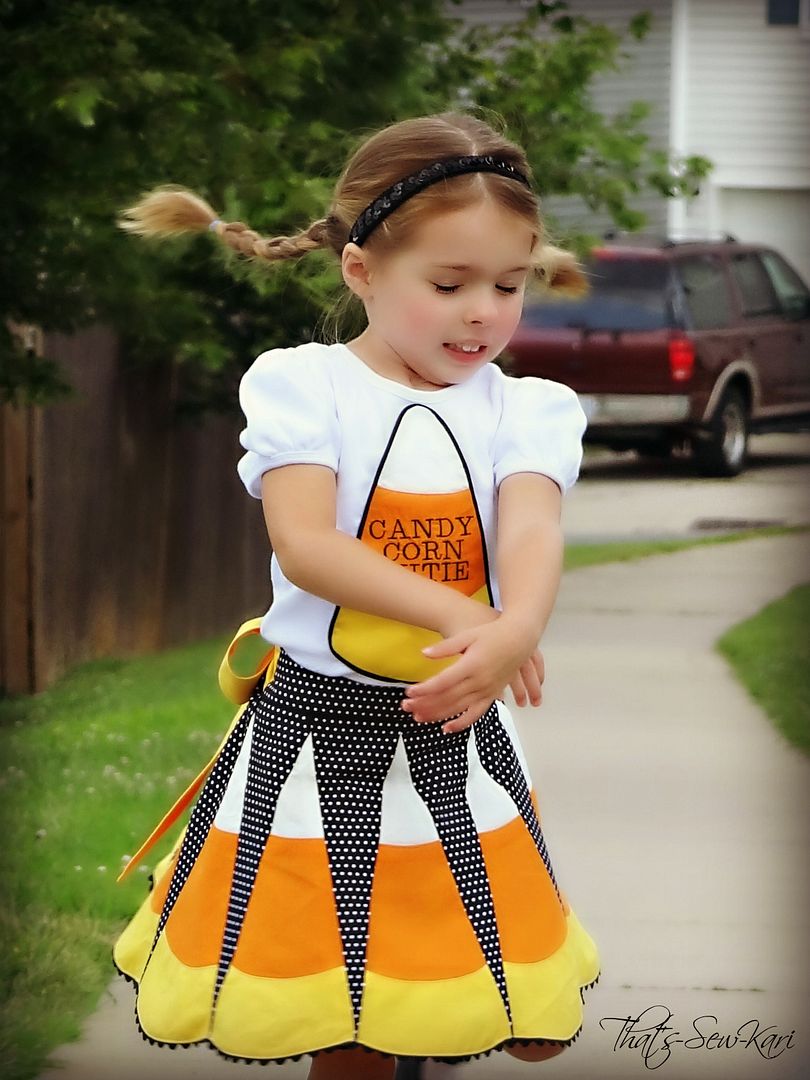
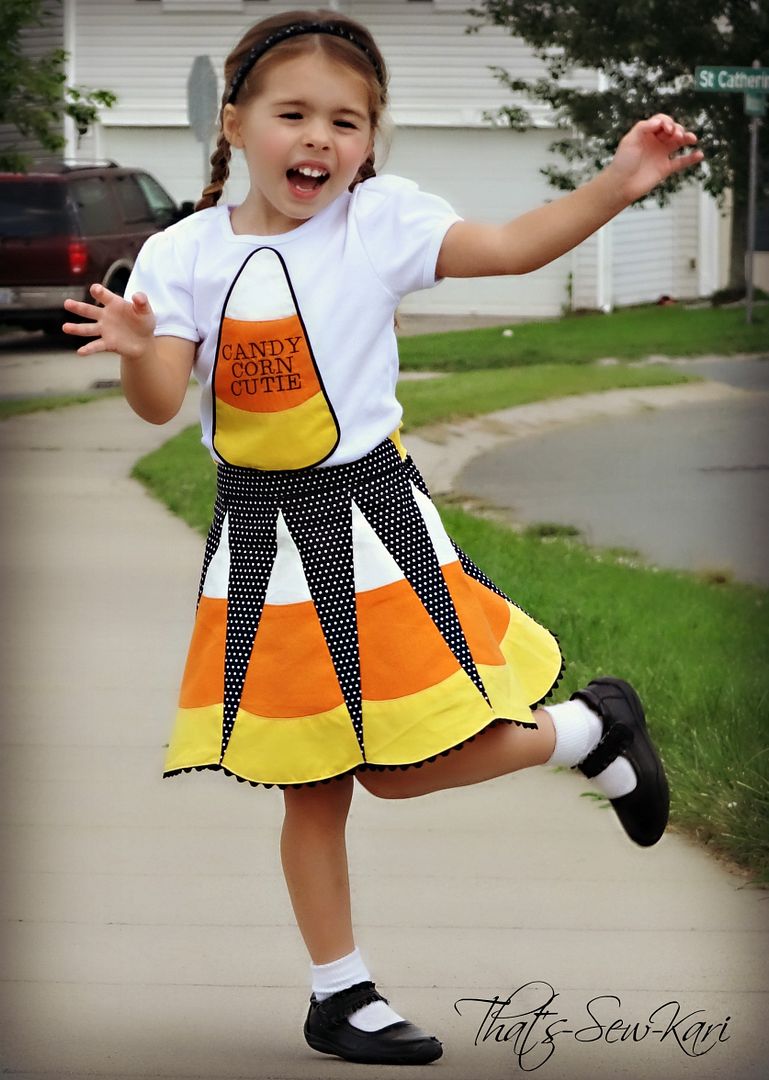
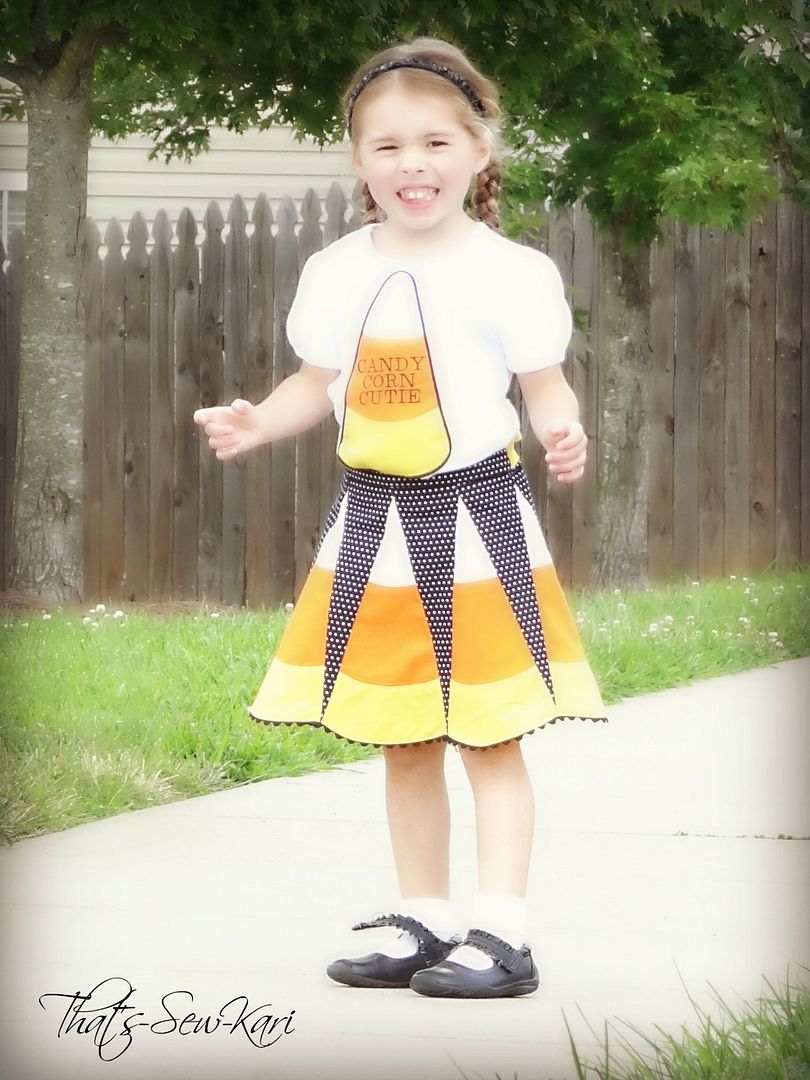
As soon as I saw a sample of the Retro Glam Skirt, my mind was racing with possibilities.  I have tested alongside some of the other ladies picked and they are all so talented.  I began to think outside the box a bit.  I really wanted to show the playful possibilities of this pattern.  Enter the “Candy Corn Cutie” edition of the Retro Glam Skirt.


Seeing the scalloped pieces on the skirt, I couldn't get the images of candy corns out of my head.  In my mind, my idea looked awesome.  I decided I was going to keep my idea under wraps and give Tricia (designer) a few teases of my own.  Okay, several.  I think I strung her along for several days because once I got the skirt finished, I had to make a matching shirt.

I used 3 Kona solids – yellow, orange, and white – to make the candy corns.  Then, I chose a black fabric with small white polka dot to give stark contrast to the 10 candy corns.  I finished the bottom with black rick rack to tie in the black fabric and really continue the outlining of the candy corns. For the bow, I went back and forth between several ideas and finally settled on a two-tone bow – yellow and orange. 

Once I got my candy corns pieced together, the construction of the skirt went fairly quickly.  I was a bit nervous at first because of all of the piecing together, but the pattern pieces were spot on and I had no issues. 


I really like that this pattern prefers that you use buttonhole elastic to cinch up the waistband.  I had some on hand, but it’s simple to make and the pattern walks you through it.  My daughter has a smaller waist than most her size so this was perfect.  It makes sewing on the waistband easier too since you add the elastic last.  I tried it on my daughter and it fit perfectly!

My mind is still racing through possibilities of this skirt – some playful, some sophisticated and glam.  I may never look the same at another triangle again!


A brief run-down of the pattern and tutorial:
1.       Pattern pieces are nested, in color and require at most 4 printed pages.
2.    Pattern pieces lined up perfectly across the pages and are well labeled.
3.     The tutorial portion of the pattern has step-by-step directions, clear pictures and is easy to follow/understand.
4.     There is a size chart at the beginning of the pattern along with an adjustable waistband to ensure the best fit.
5.     It comes with a doll sized pattern!
6.     For a limited time, it comes with Rockabilly Head Band pattern as well (not shown as I haven’t sewn mine yet!).
7.     This pattern allows you to use your imagination and create a truly one-of-a-kind skirt.   


This pattern is offered at Little Lizard King in two sizing bundles or you can pick up the whole set at a discounted price!
·      All sizes


I haven’t had a chance to sew up the doll version, but I can’t wait to surprise my daughter with a Candy Corn Retro Glam for her doll, Willow!

If you like what you see, but feel like skipping the work, I have these skirts listed in my Etsy shop, That's-Sew-Kari!  I can either create a Candy Corn Cutie edition or something entirely custom for you; just send me a message on Etsy. 

If you'd like, you can also follow me on Facebook!

A special thanks to Tricia Boyer of Little Lizard King – this skirt was beyond epic and I can’t wait to see what’s next!


The Seaside Short by Brownie-Goose - Pattern Review


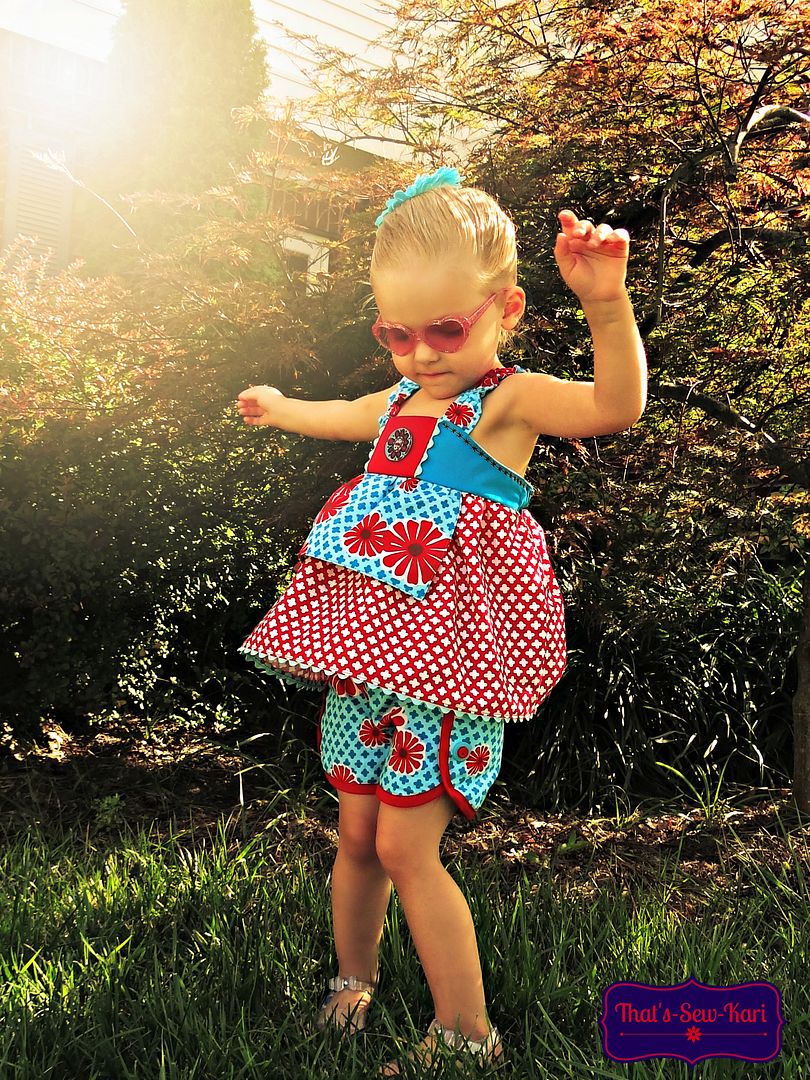
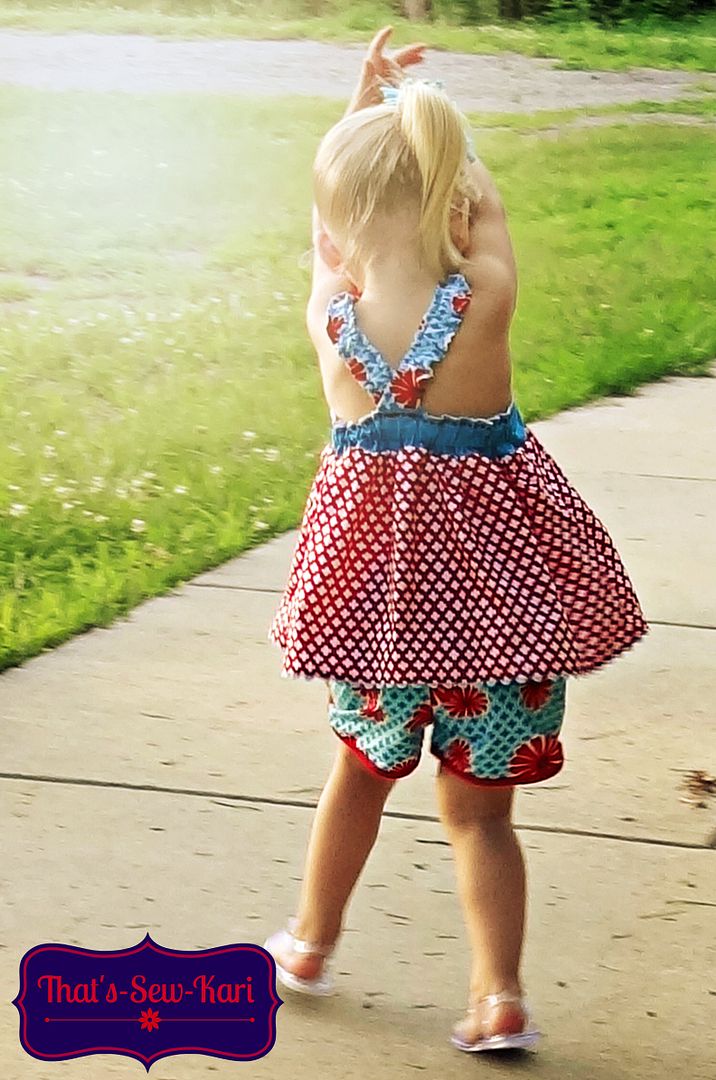
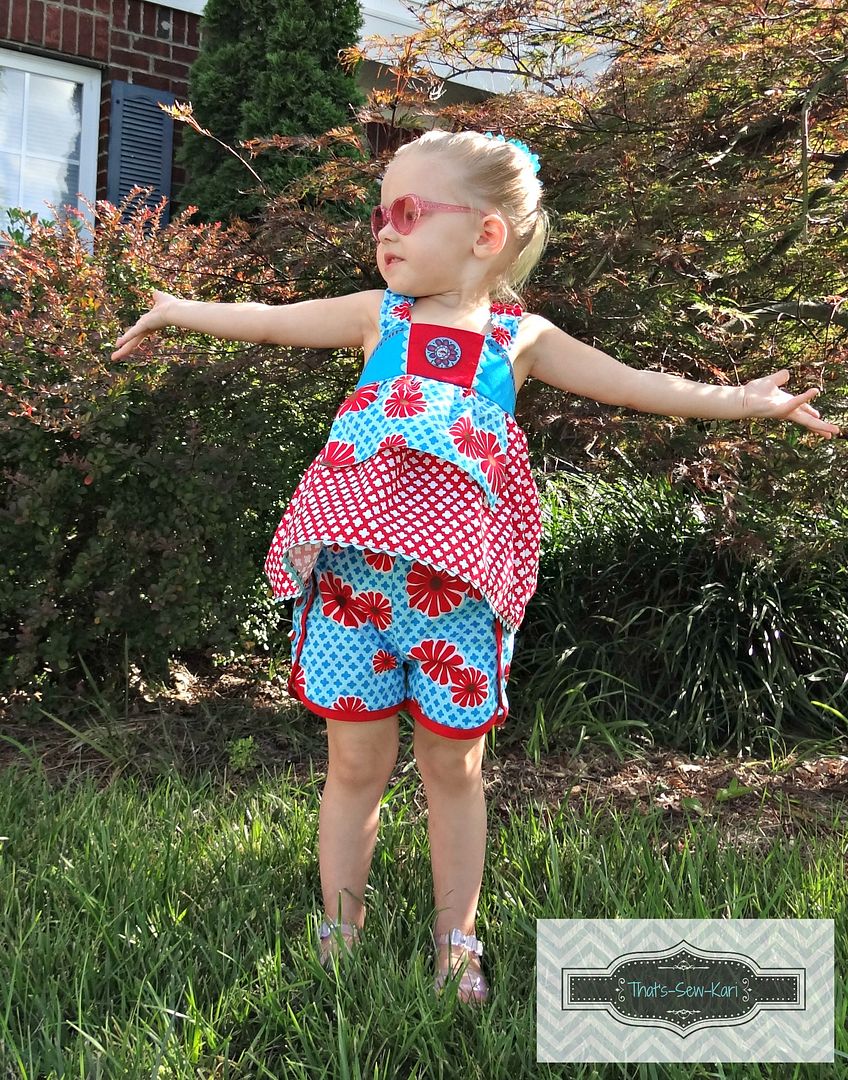
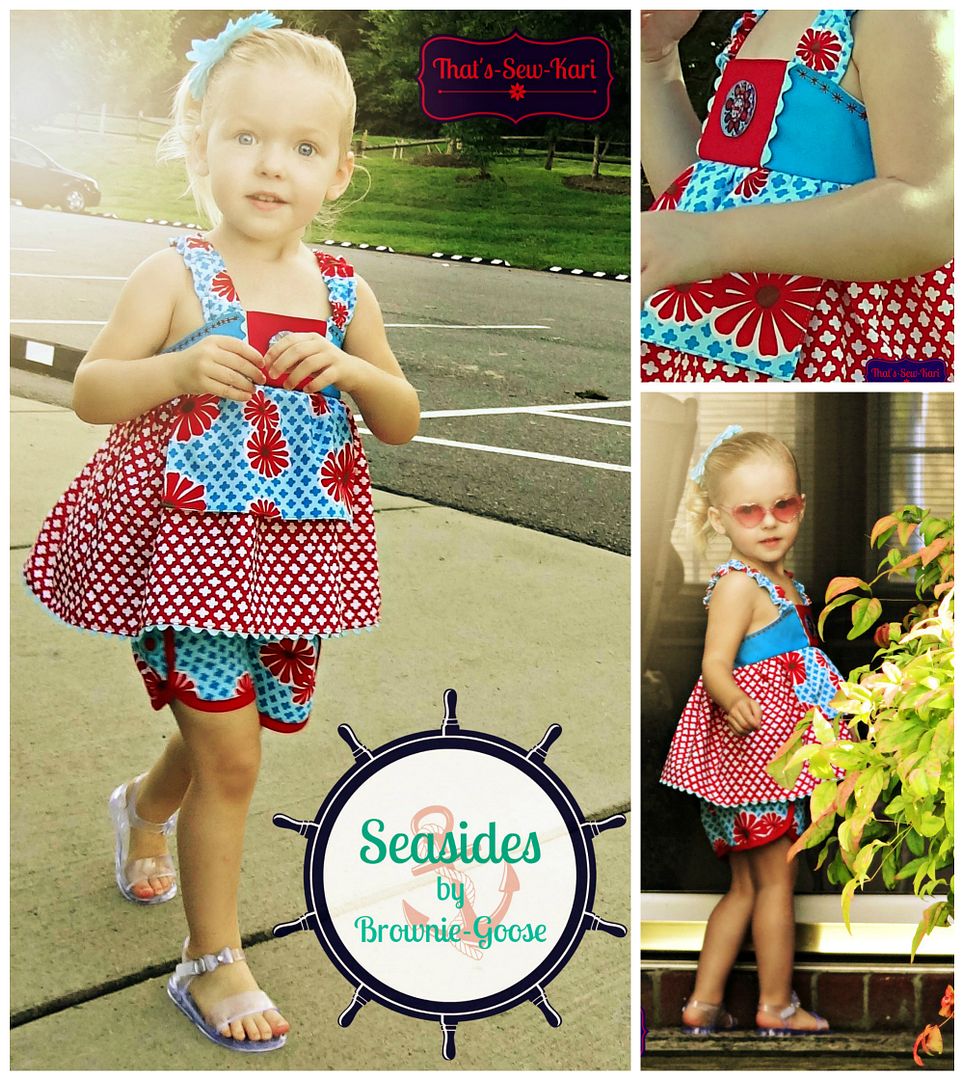
My 2 year old diva rocking her new Seaside Shorts

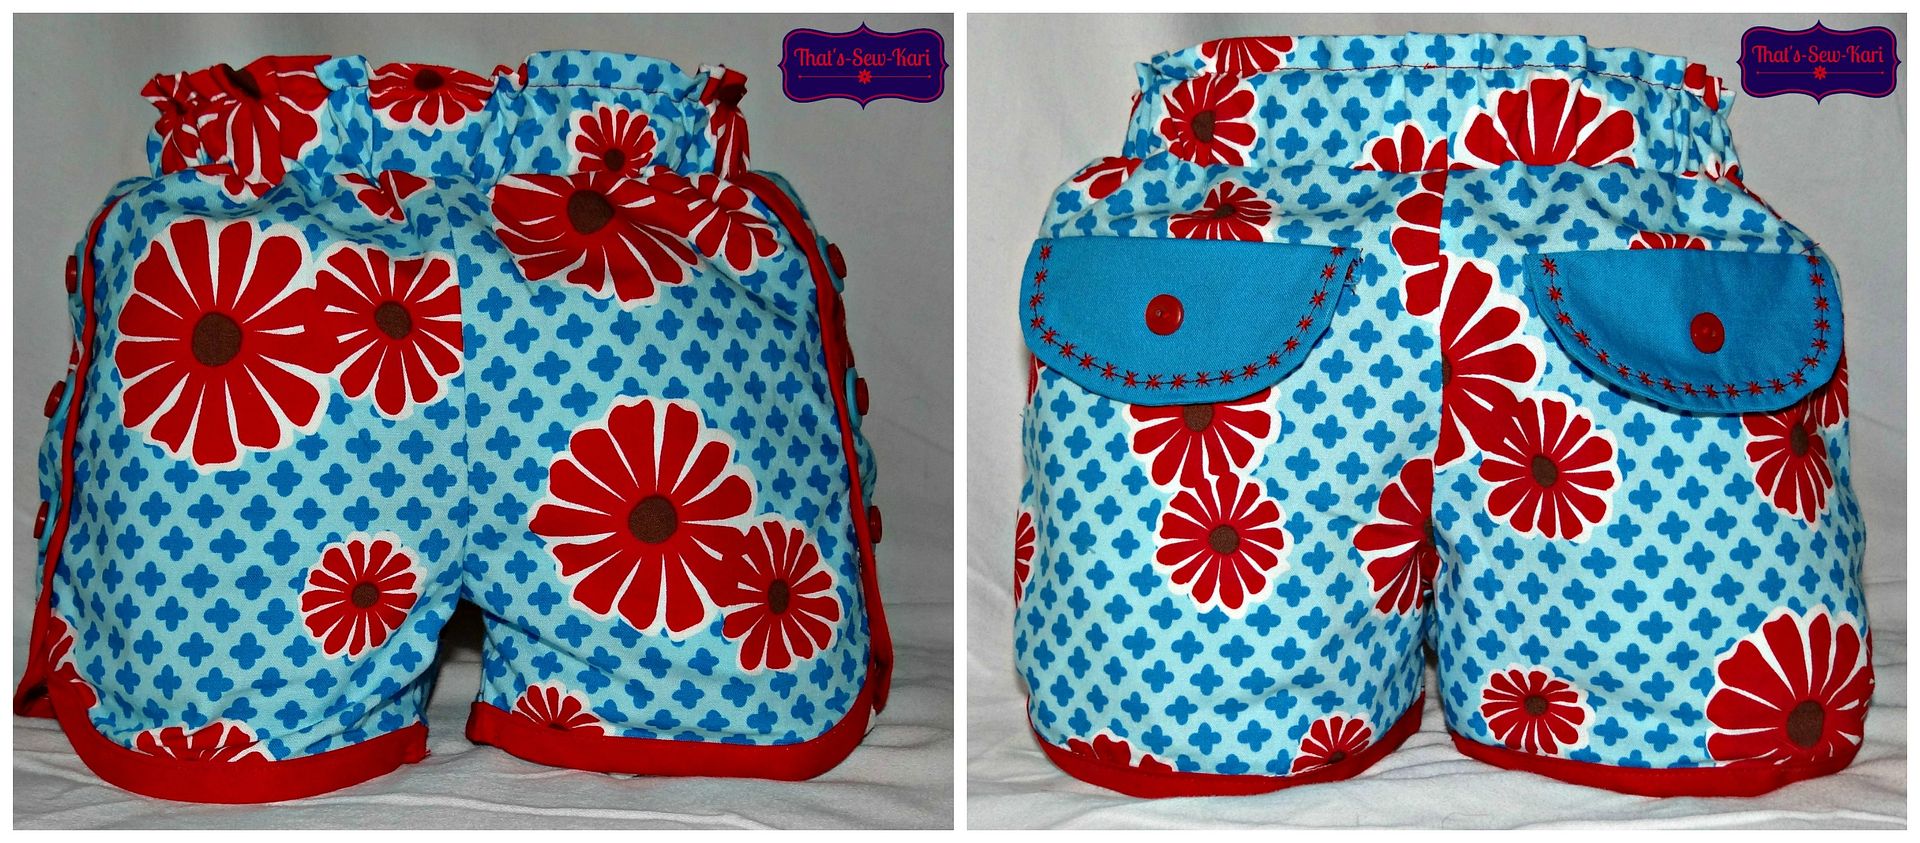
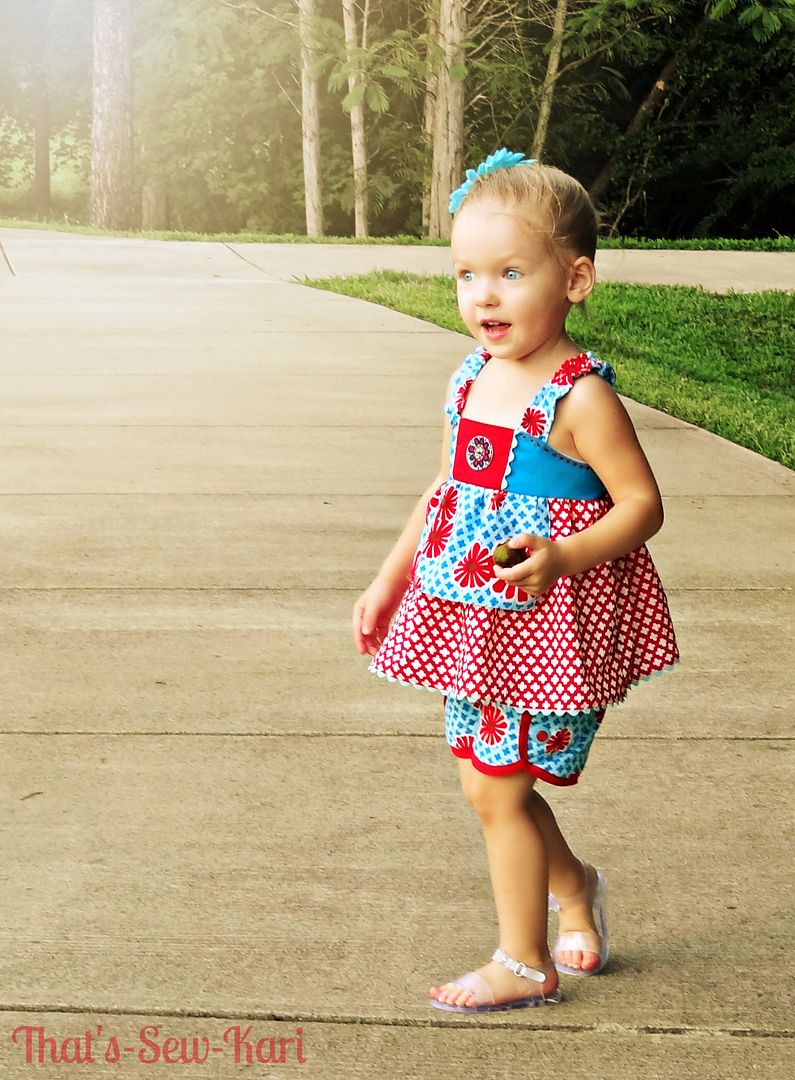
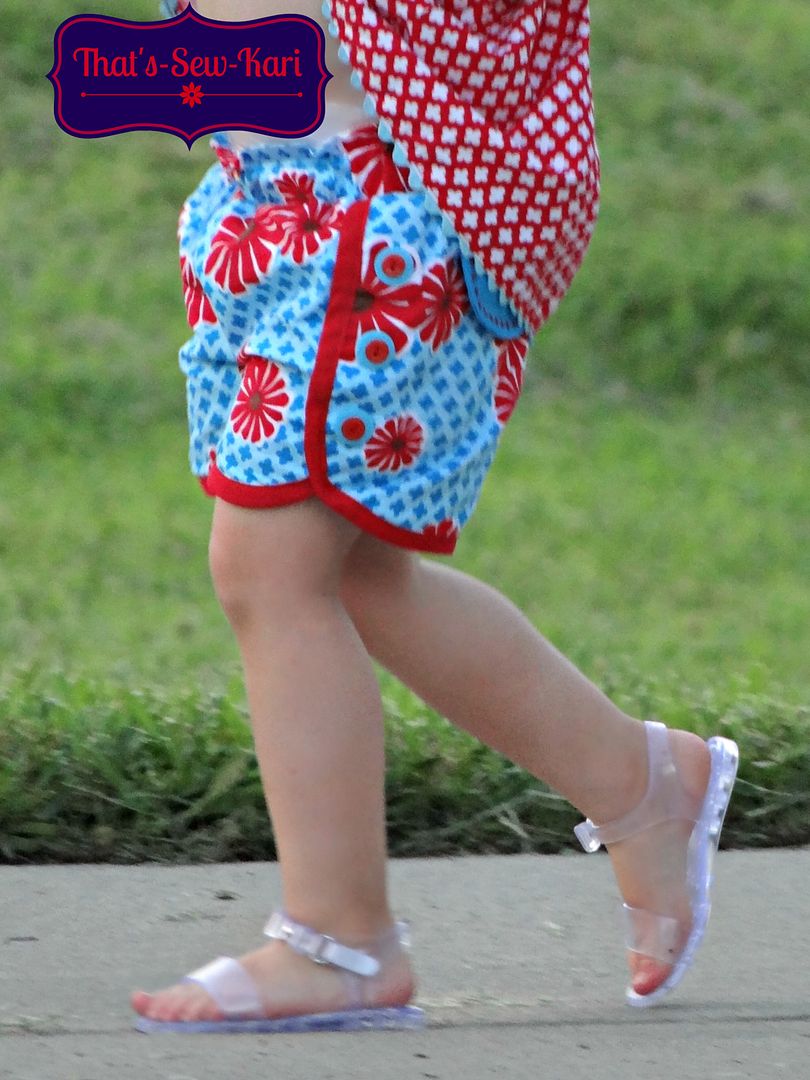
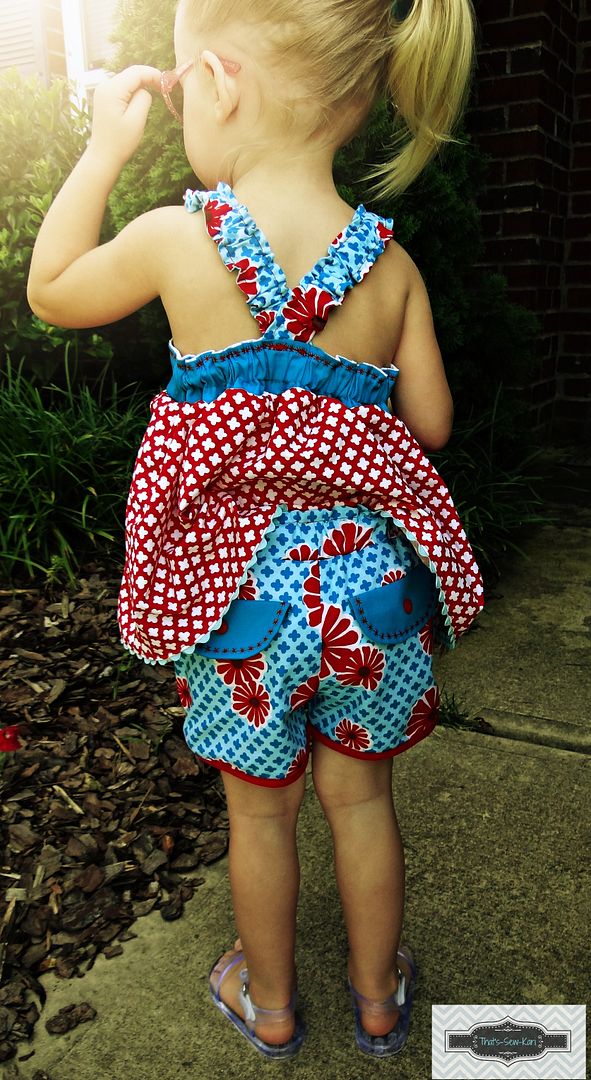
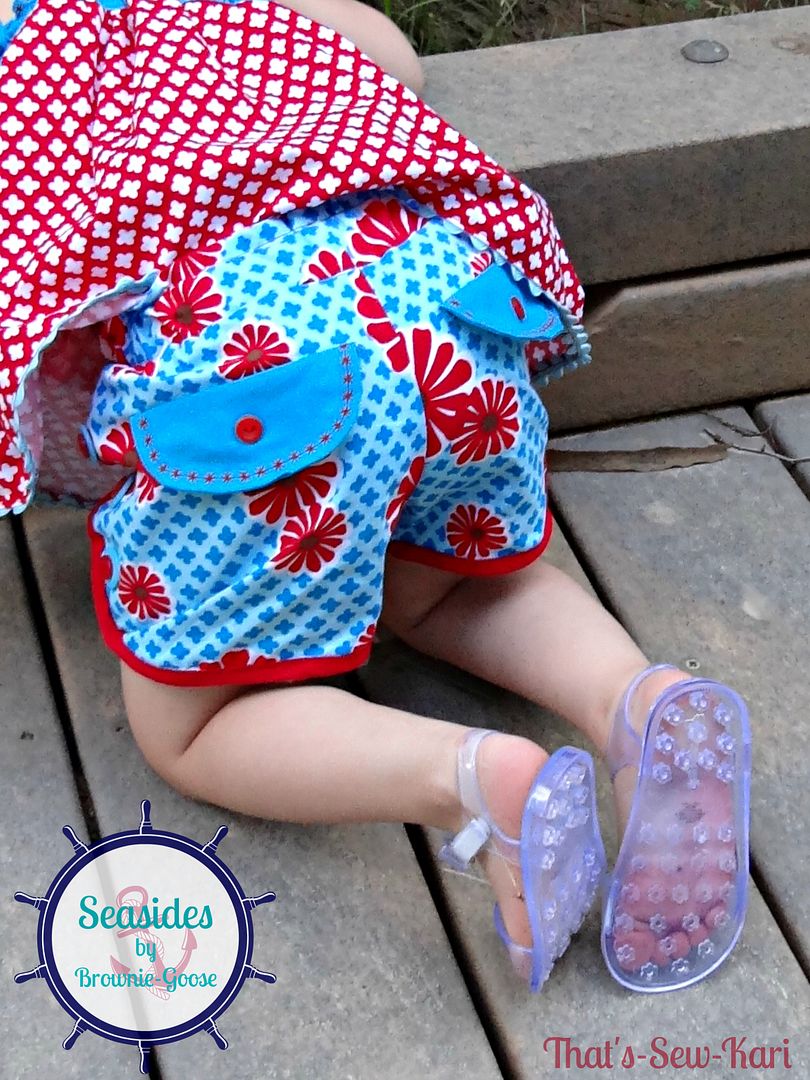
I recently had the privilege of testing a new shorts pattern, called the Seaside Short for Brownie-Goose.  I already owned the Summer Sailor Shorts by Brownie-Goose (and a few more...LOL) and love them .  I’m here to tell you, I love the Seaside Shorts just as much!   The Seaside Short is a cute little pair of shorts encased in bias trim with lots of buttons and faux back pockets.  The size range is great it goes from the itty bitty 6-12mo size all the way up to a 10/12!


     When I was asked if I’d review this pattern for Pattern Revolution, I jumped at the chance.  I love this pattern and now I get to share with all of you so let’s get started!

     All of the Brownie-Goose patterns come to you in 2 separate PDFs.  I love this as I don’t have to figure out which pages to print to just get the pattern.  The pattern pages are just 8 pages and color-coordinated by size.  The pattern pieces are well marked, lined up perfectly and include grain lines!  The instruction file takes you step-by-step with great photos and the famous Brownie-Goose humor.  Seriously, it’s like Amy, the girl behind BG is sitting next to and you’re her BFF.

I think she just spotted Amy Norris across the park!


     I don’t know if it’s just me, but trying to decide my fabric choices is always one of the hardest decisions and one of the longest parts of my sewing process. I always want to get it just right.  And because I had to narrow it down to just one pair due to time constraints, I chose a red and aqua combo because it just screams summery fun to me. 

Some 2 year olds require ballerina breaks
     
Did I mention this pattern teaches you how to make your own bias tape?  Yep, it sure does and I had been doing it all wrong!  I originally set out to use my own “made by me” bias tape and it’s actually all cut.  However, I discovered my printed fabric wasn't perfectly printed on the diagonal like I thought so it totally screwed up my look I was trying to achieve.  Wonky print would have driven me nuts so I used pre-made bias which still looked perfectly cute.  Although I prefer the traditional way of sewing on bias, this pattern teaches you a “cheater” method to make the shorts construction even faster! 

Side view

Speaking of time, these shorts are a fast sew.   Cutting and everything, you’re looking at a couple hours, TOPS (especially if your fabric is all picked out!). 

     Okay, let’s talk about fit.  I made the size 2 for my cloth diaper wearing toddler.  The fit was a bit snug for my liking in the fluffy bum area, whereas the Summer Sailors had fit fine over a cloth bum in the same size.  For picture purposes, I used a regular disposable diaper and the fit was perfect.  So if you’re a cloth-diapering mom, I’d size up.

Rear view, regular diaper


     All in all, this pattern is going to be another success for Brownie-Goose!  I just know it. I love everything about it the bias trim, the buttons, and my favorite part the faux pockets in the rear.   With different fabric combos, bias and button choices, you will truly create one-of-a-kind pair of shorts for your kids.  

Love these pockets!!


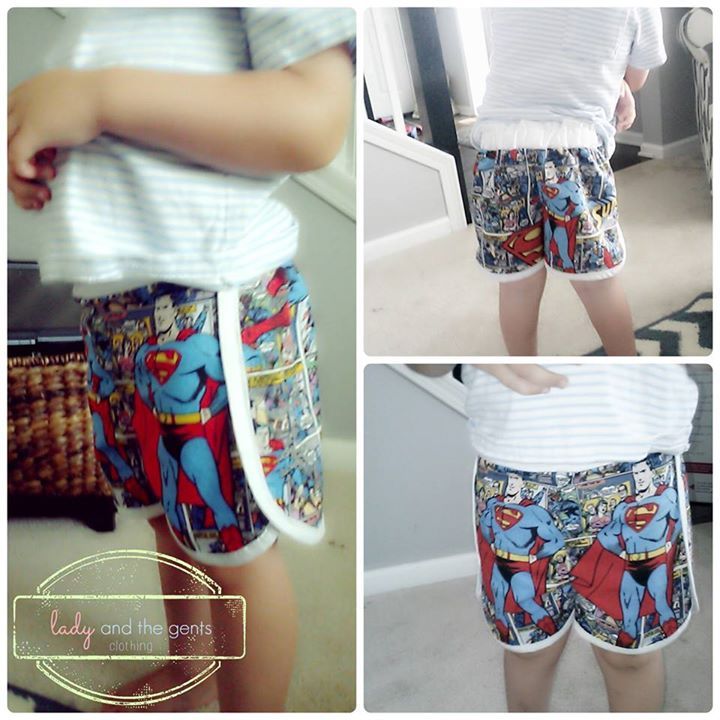
     Oh, and if you haven’t seen, my sister-in-law, Emily made some awesome Superman Seaside Shorts for my nephews.  Seriously cool. 

Photo and Creation by Emily Steiger


     If you haven’t had a chance to try a Brownie-Goose pattern, what are you waiting for?!  I have several of BG patterns and of course, many more on my wish list.  Head on over to the Brownie-Goose Etsy shop and pick it up (and a few more while you’re there! I mean, who can resist?) This is a perfect pattern to get you started!

    Thanks to Pattern Revolution for inviting me to review the Seaside Short by Brownie-Goose.  And of course, a special thanks to Brownie-Goose you were my first PDF pattern purchase and always continue to win my heart over.  And testing a new pattern for you was just icing on the cake.

  Pattern Revolution has a giveaway for the pattern underneath my review on their blog... check it out (click here)! Maybe you'll win!
Yahoooooos!! A new Brownie-Goose pattern!
I've paired the Seaside Shorts with the Brownie Goose Katie Top
with modified straps so my VERY independent 2 year old can
dress and undress herself without issue.

How to Add Pockets to Your Beloved Brownie-Goose Summer Sailors (or any other pants or shorts pattern)

Checking on her pine cone in her pocket 


WHO LOVES BROWNIE-GOOSE’S SUMMER SAILORS?
                We do!

WHO WANTS FUNCTIONING POCKETS?
                We do!!


Hi everyone, I’m Kari.  I love the Brownie-Goose Summer Sailor shorts.  In fact, it was my very first paid PDF pattern I sewed!  I quickly made a pair according to instructions.   Although I love the original pattern, my girls love to fill their pockets with treasures.  So I added pockets to my 2nd pair!  Adding pockets is actually very easy.  It’s just a matter of deconstructing the front pattern piece.  I learned about constructing pockets last year when I made my daughter a pair of Paperbag Pants by Shwin&Shwin.

After I finished my pair of Summer Sailors with real pockets, I posted a picture late (read: way past bedtime) at night on the PDF pattern group.  Within 15 minutes, I had several inquiries as to how I did it.  I quickly made a rudimentary tutorial, using just one picture and posted it.  This basic tutorial gets referenced almost every time BG summer sailors are mentioned.   The original tutorial was a bit lacking.  So without further ado,

Drum roll please………

Here is a STEP BY STEP guide showing you how to add functioning pockets to those beloved shorts (and any other pants really!):

STEP 1:   Print your pattern, tape pages together per instructions.   Trace or cut out the size you need.   (In my example, I’ll be making a 2T.)

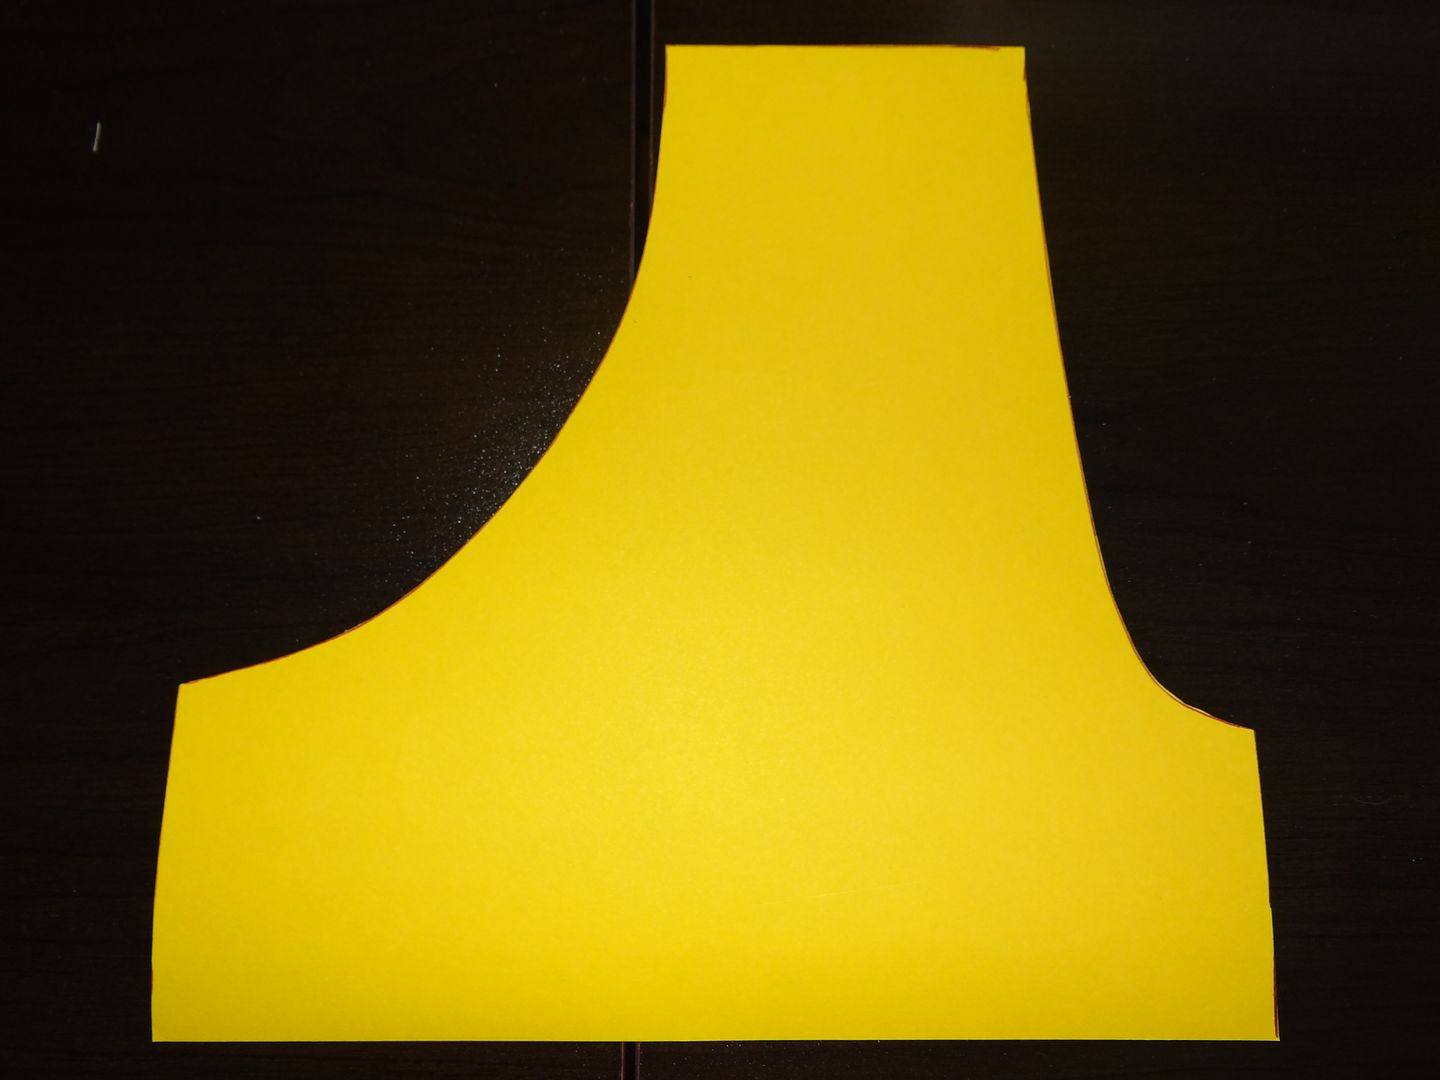
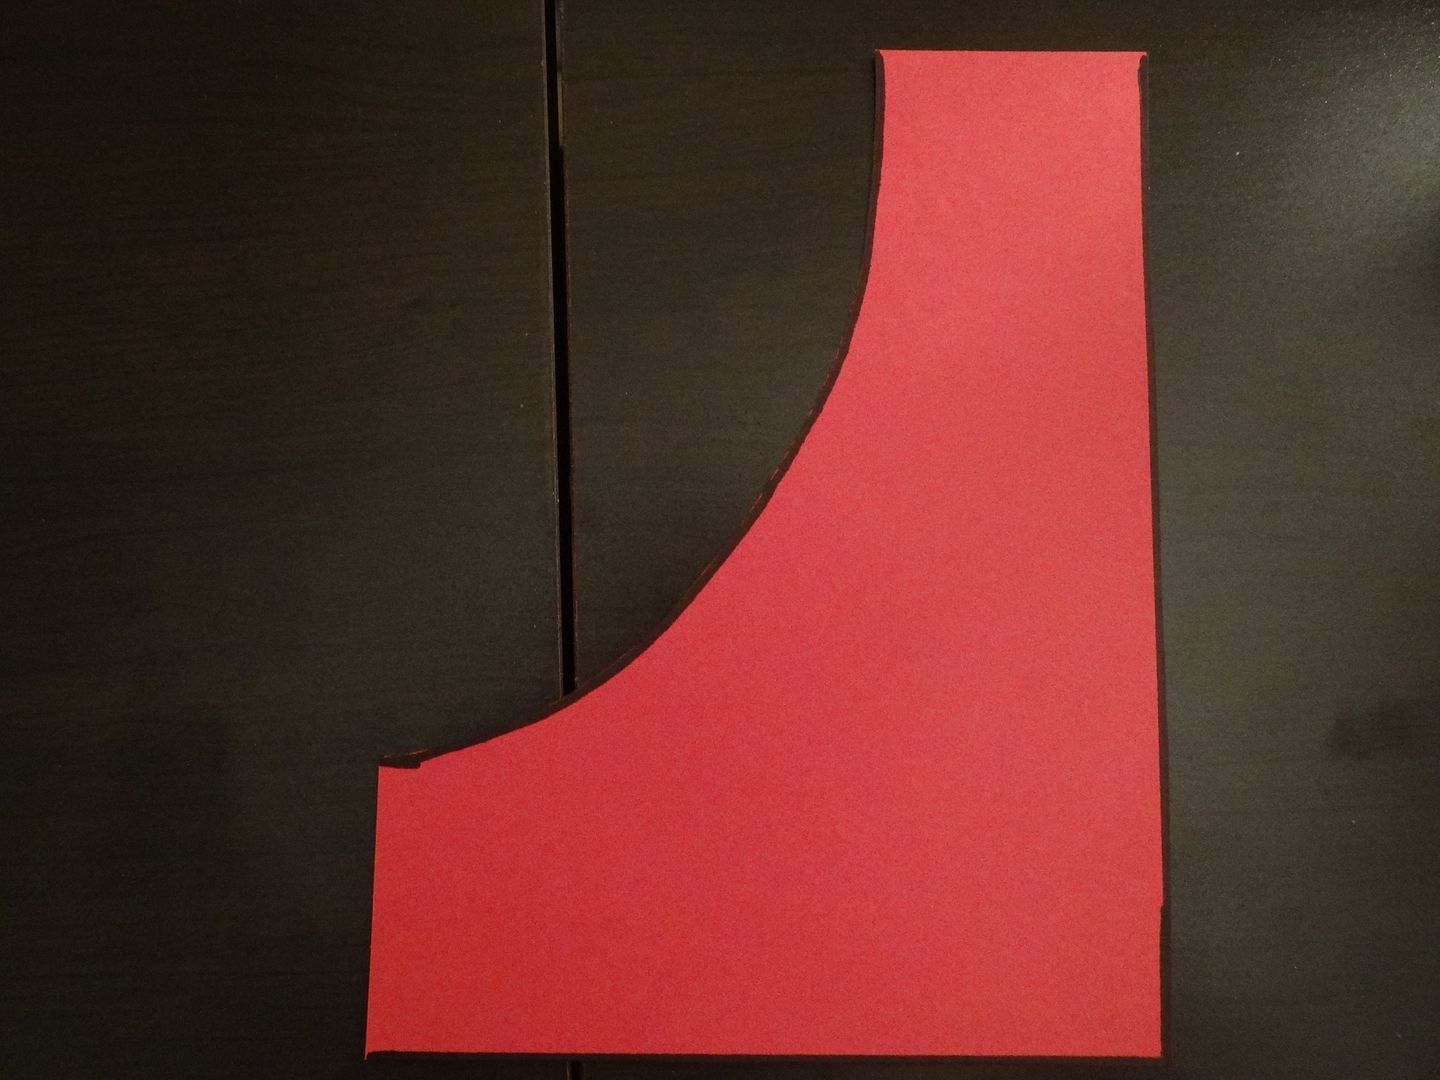
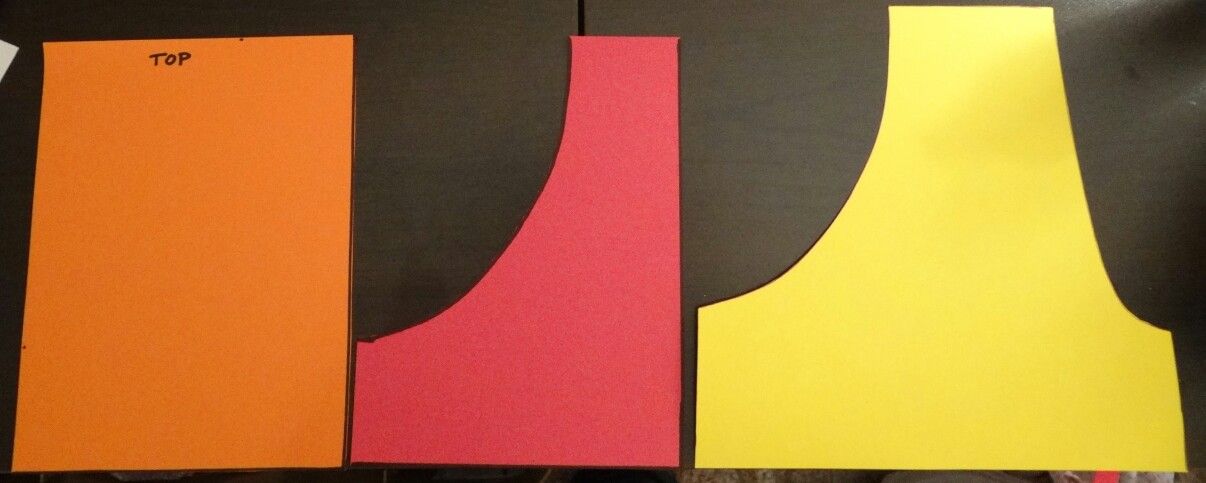
STEP 2:  Set the BACK piece aside.  We’ll be working with both the FRONT and the FAUX POCKET pieces.  Take the FAUX POCKET piece and set it on top of the FRONT pattern piece, lining it up in the outer corner.  Trace the around the FAUX POCKET.  Cut away the traced area of the FAUX POCKET.  This is now your “new” FRONT piece.
  
"new" FRONT
                                                                                                                                                                                                                             
STEP 3:  Now we need to construct the pocket pieces.  On a new piece of paper, trace the FAUX POCKET.   Next, determine how wide and deep you would prefer your pockets.  In this example, I will be adding 2” from both the top and the bottom of the curve of the pocket.  It’s up to you to decide how big your pockets need to be.  Just be mindful that they need to fit within the “new” FRONT piece.  We don’t want any pockets peeking out! Mark your distance on your paper.  Draw intersecting lines to complete the rest of the “rectangle”.  Cut the new shape out.  (You may also round the bottom inner corner of the pocket if you wish.)


STEP 4:  Trace your shape from step 3 on a new piece of paper, making sure to mark the top to make sure the outer corner matches your original pattern. (The outer side will slope slightly as the original pattern).This will now be referred to as POCKET.  Cut out.  On the original “rectangular” piece, cut away the FAUX POCKET tracing.  This piece will now be your POCKET LINING.
          
This is your POCKET.

This is your POCKET LINING.
                                                                                                                                             
STEP 5: To review, you have 3 pieces – POCKET, POCKET LINING, and “new” FRONT.   Pin pattern pieces to chosen fabrics and cut out.  Remember, to cut a MIRROR image for the other side of the shorts.  Grab your bias tape as well.


Here is one side of the front, cut out.  Note the pins in the POCKET and POCKET LINING.  This is to remember the top of the POCKET and the right/correct side of the LINING.  Also, if your shorts are mainly white as mine are, choose a POCKET LINING that won’t show through.


STEP 6: Now the fun begins!  Take your “new” FRONT piece and your POCKET LINING piece and match the curve up wrong sides together (WST).  Take your bias tape and sandwich it around the curve.  The bias tape will hide the raw edges so there’s no need to finish those edges first.   Pin bias tape in place and sew.  Helpful hint: Sew your 4 sailor buttons on the front now.  I didn't and it made it really difficult to sew them on later.
        

STEP 7:  Grab your POCKET piece and match up the outer edges with your “new” FRONT.  Flip over.  The inner edges of the POCKET and POCKET LINING should match up perfectly.  If not, trim to match.   The POCKET and POCKET LINING should be right sides together (RST).  Pin the inner edges and sew with ¼” seam allowance.   Finish edges in the manner you desire (serge or zigzag to prevent fraying).


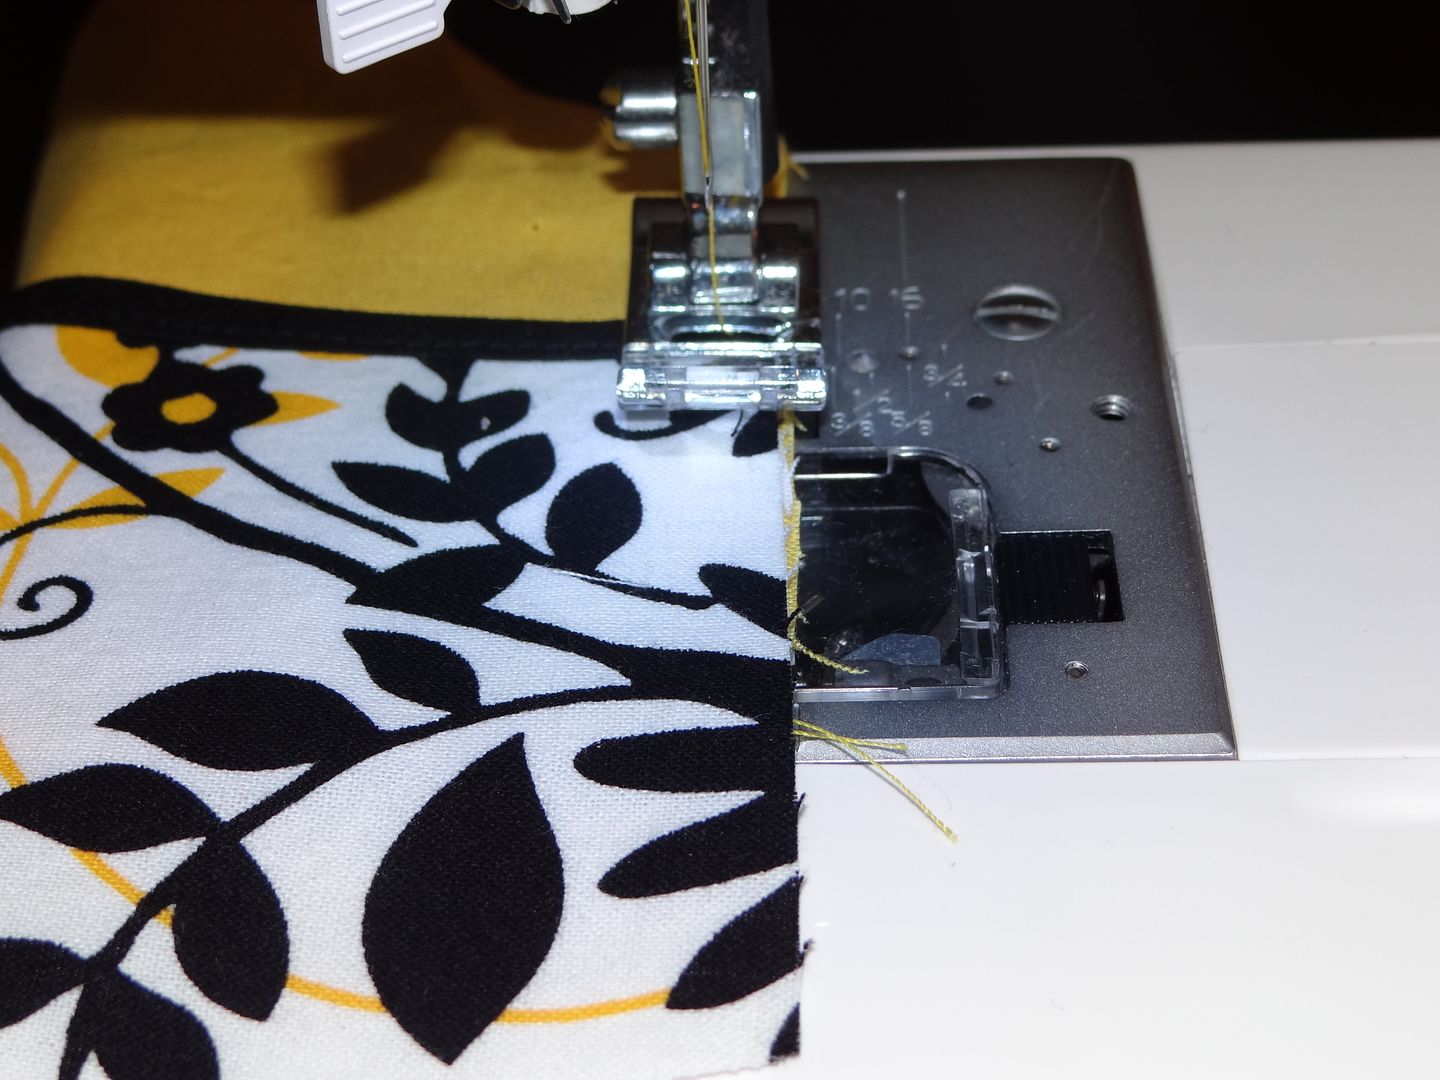
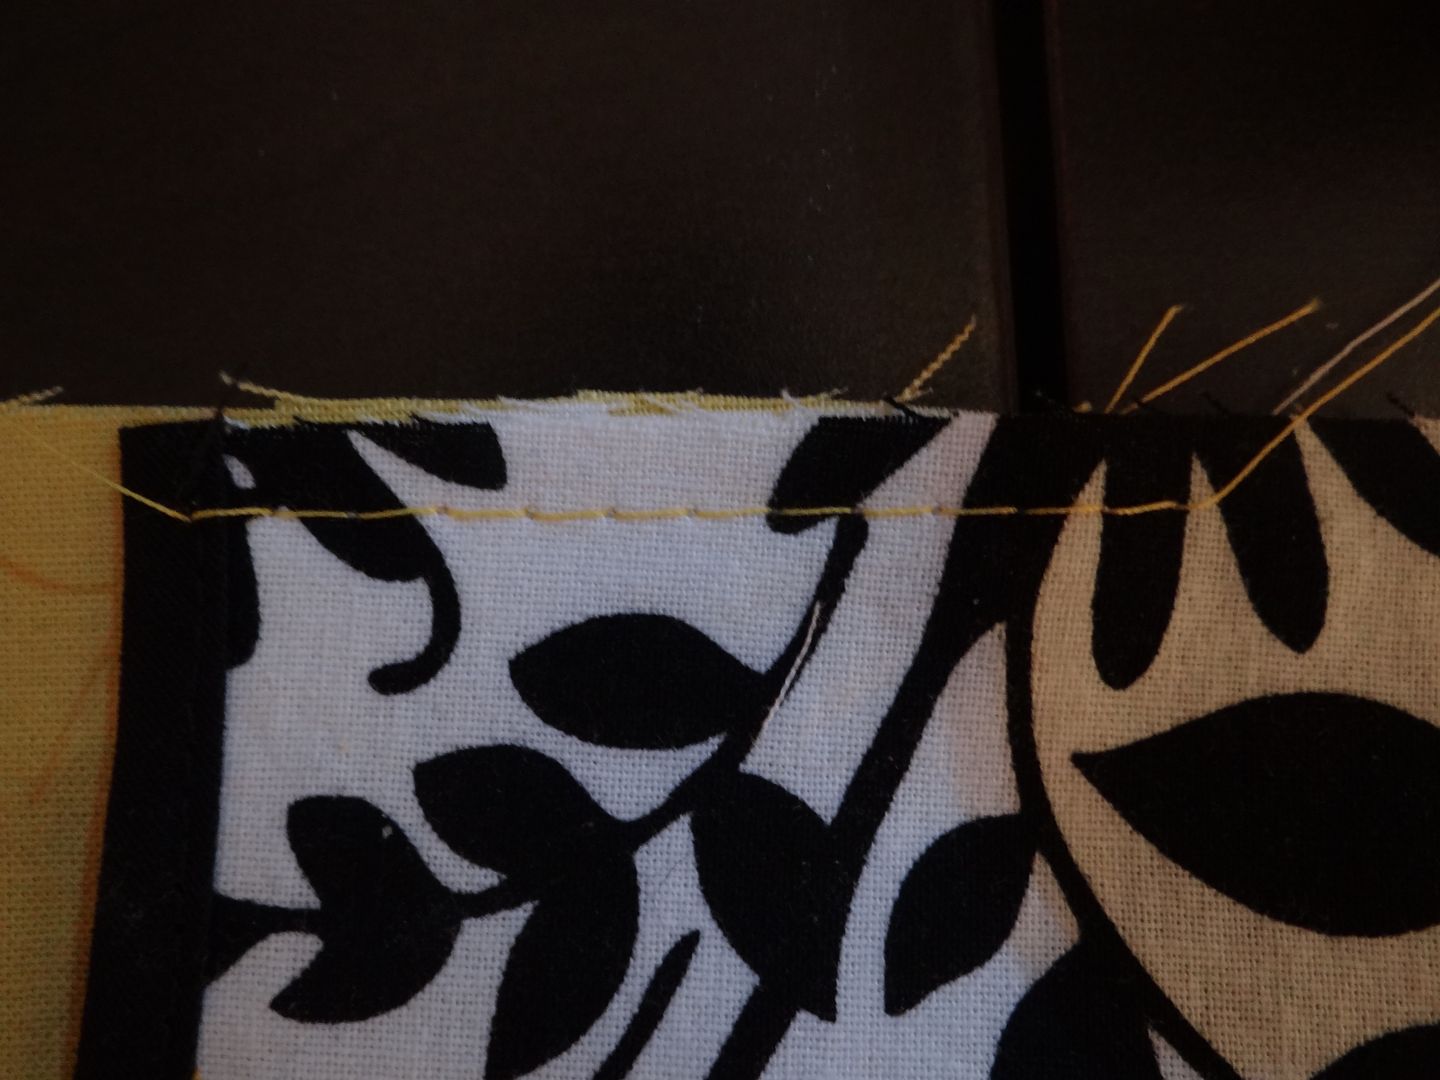
STEP 8: Baste the POCKET and POCKET LINING to the “new” FRONT on the top and outer edge to prevent shifting.
                                                
Baste 
Close up of top basting
Close up of bottom basting
STEP 9: Repeat steps to construct the other front side of the shorts.  Now, you have real pockets!  Don’t you just love them?!   Please note:  I learned the hard way by not having the buttons on yet.  Don’t make my mistake!      


STEP 10:  Continue the pattern as normal.  Be careful when sewing around the crotch.  Make sure your pocket doesn't get caught under the needle! (I speak from experience…) 

STEP 11:  When you finish, make sure you take a picture!  They truly are works of art.  Can you stand the cuteness?!

In the great words of Amy Norris…. “YAHOOOOOOS!”

Clutching the pine cone in her pocket
     
 I've paired Miss A’s Summer Sailors with the Jill Frock.

She loves the outfit as much as I do!  She told me “Thank you, thank you, thank you for my new outfit, Mommy! I’m so proud of you!”


Custom Post Signature

Custom Post  Signature