The Soda Pop Polo
Sizes 6m - 14 y (boys & girls)
Over the last 8 months, Candy Castle Patterns has been adding pattern after pattern to her growing pattern store. There have been amazing dresses, sweet and playful tunics and comfy, cute bloomers - all for girls... UNTIL NOW!! It's a happy day for all the CCP fans who also have sons - they finally have a pattern that appeals to them too! Of course, I only have two little girls so you'll be seeing some girly versions here.
The Soda Pop Polo is a fun and versatile polo-style shirt that can be created so many ways. There are 4 collar options: ruffled, hooded, traditional, and henley. There are 2 sleeve lengths: short and long. There are two pocket styles, 3 reverse appliques and the list goes on! The main shirt part is knit, but so many of the fun add-ons can be made from your favorite wovens.
I decided, for this test, I'd make polos to match their personalities as closely as I could. I think you'll see through pictures, that I am pretty spot-on. My girls did help me pick out their knit - which was the first time I have let them help me. And I think they did a great job!
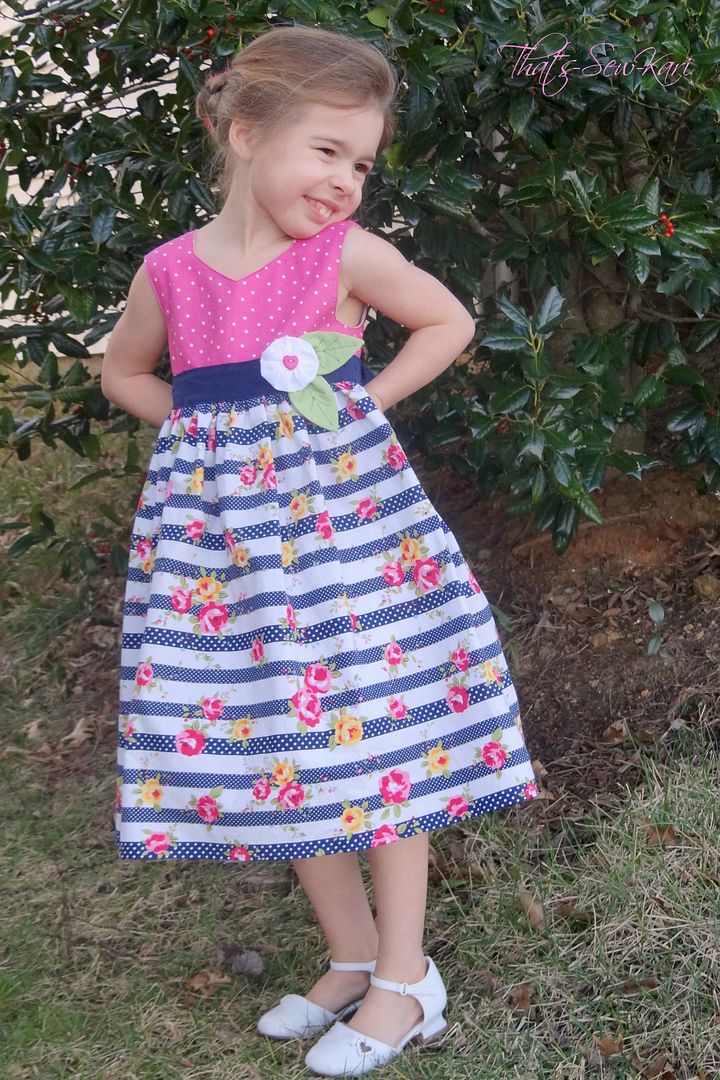
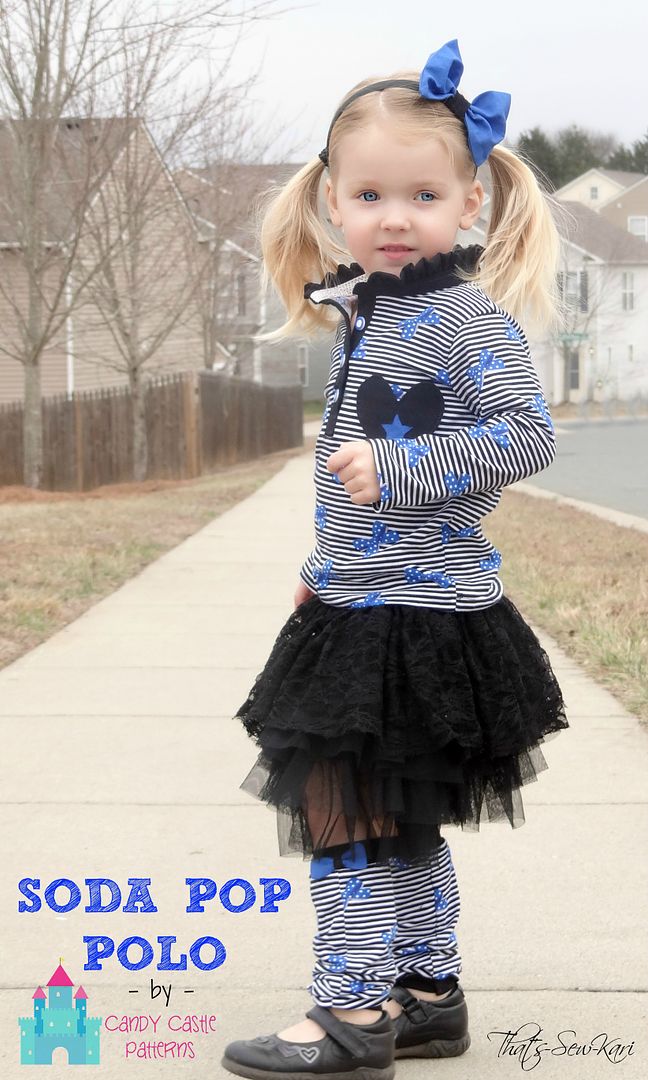
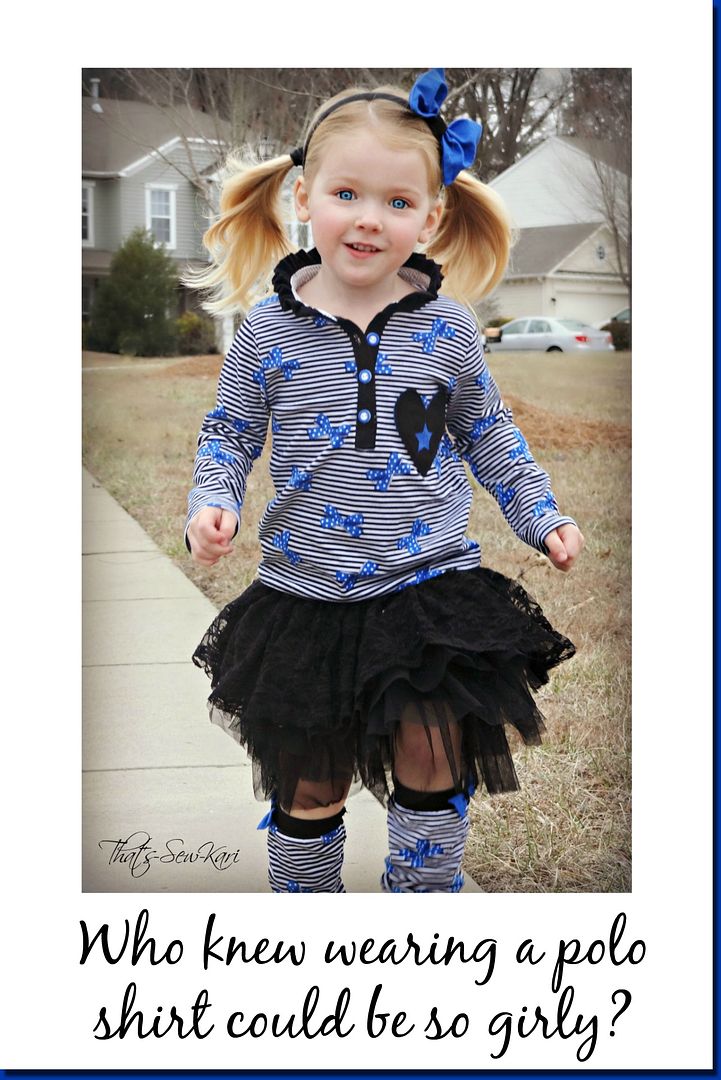
First, let's start with the Ruffle Neck version.
My 2 yr old is such a girly-girl. She's always dancing around like a princess, her favorite toys are her dresses and fancy shoes, and often tells people in stores, "I'm so pretty" and does a little twirl for them. Life is a song and she is definitely dancing her way through it!
 |
| "Hello blogging world!! Want to see me twirl?" |
When my I saw this knit on Etsy at Funkalicious Fabrics, I knew it was perfect. She has piercing blue eyes and I knew the royal blue bows would compliment those while the narrow black and white stripe knit would be the perfect contrast to her blonde hair. Miss 2 loved it too, as I knew she would!
 |
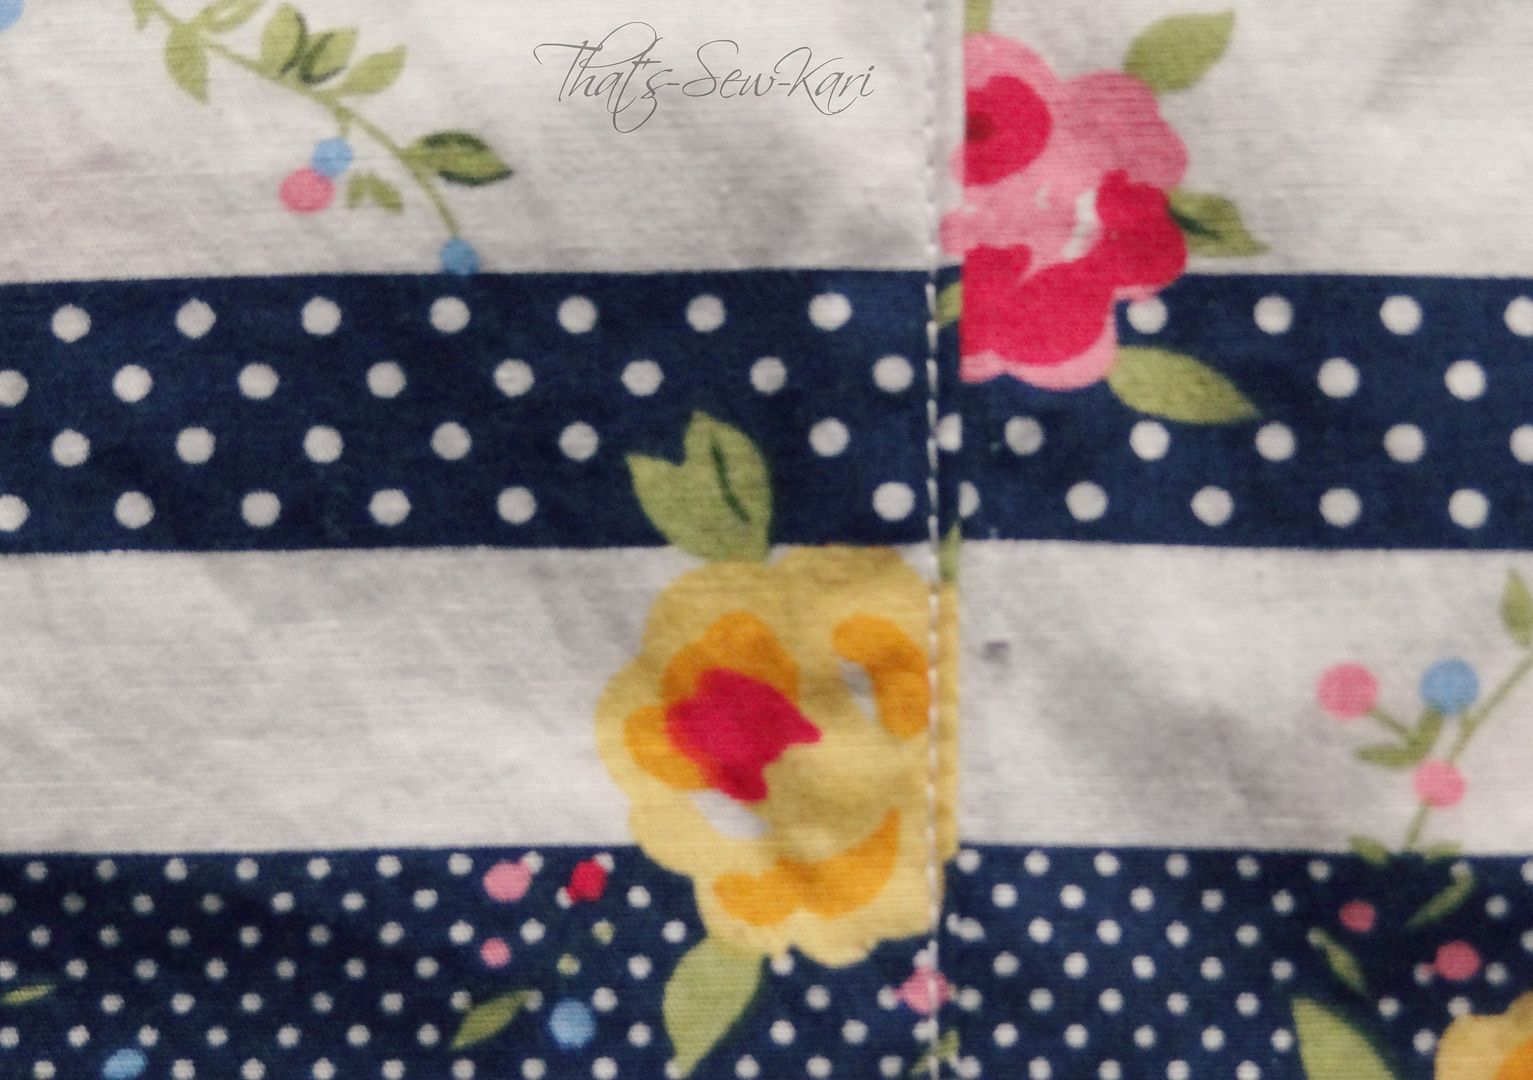
| Close up of woven inner collar stand |
I used knit for 93% of this Soda Pop Polo. The only two places I chose to do woven were: the inside collar stand (white with black pin dots) and the royal blue reverse applique on the heart-shaped pocket. I originally bought blue star buttons, but found these buttons in my stash that complimented the shirt so much better.
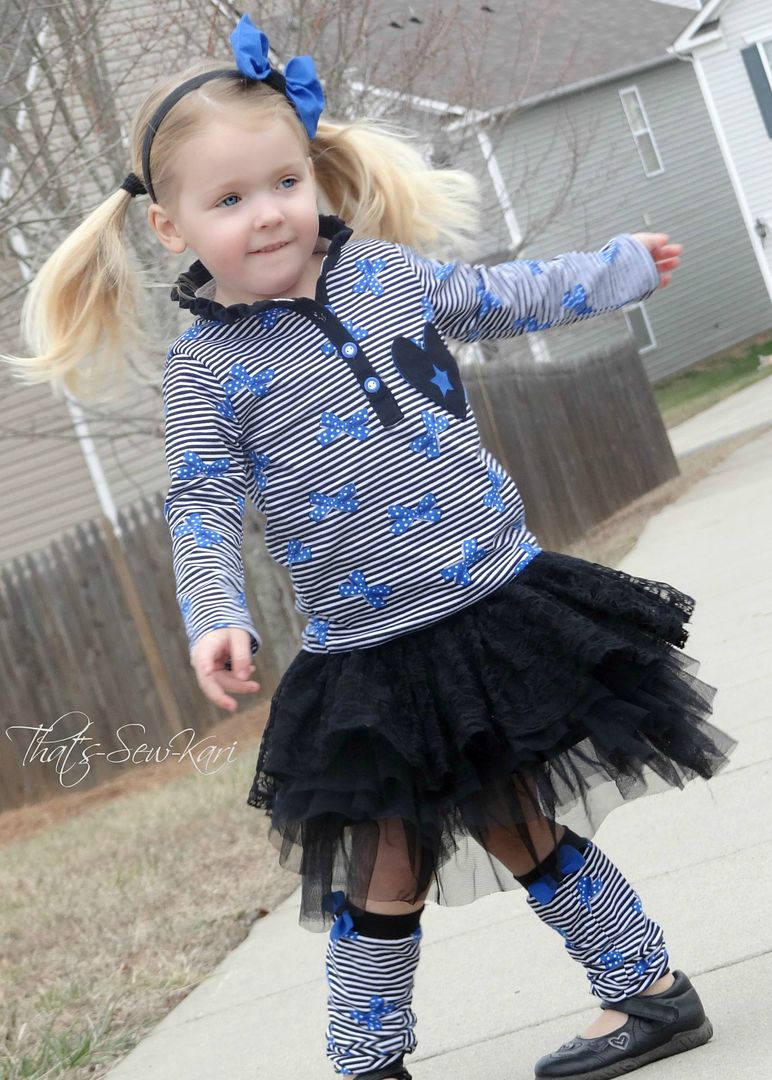 |
| Life is more fun when you twirl your way through! |
I paired the shirt with a super-frilly, all lace tutu-style skirt (thanks, Santa!) and used some of my leftover scraps to make a set of matching Licorice Bits Legwarmers (also by Candy Castle Patterns) and a super easy bow to slide onto her black headband.
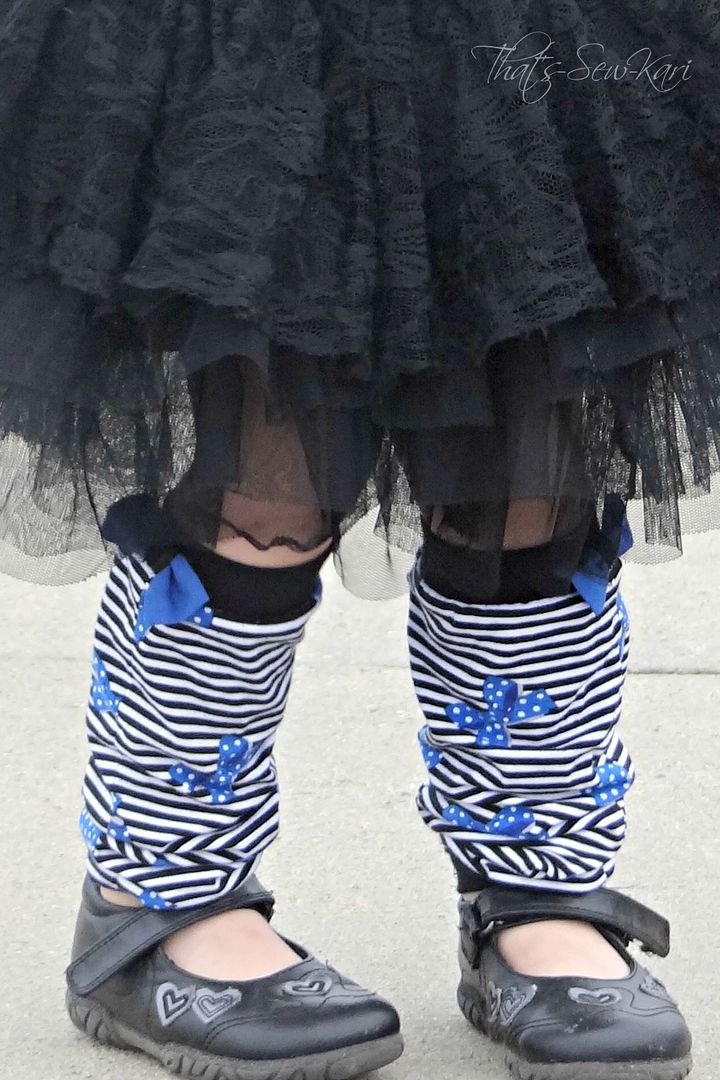 |
| Licorice Bits Legwarmers |
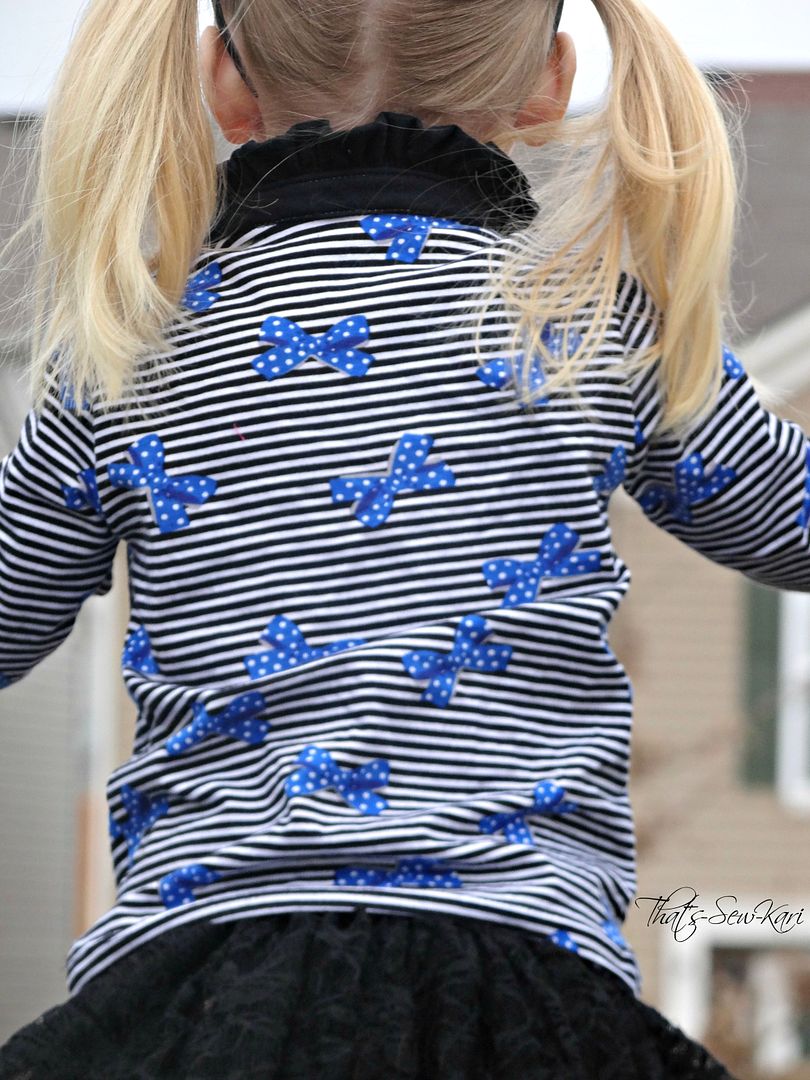 |
| Back view |
***************
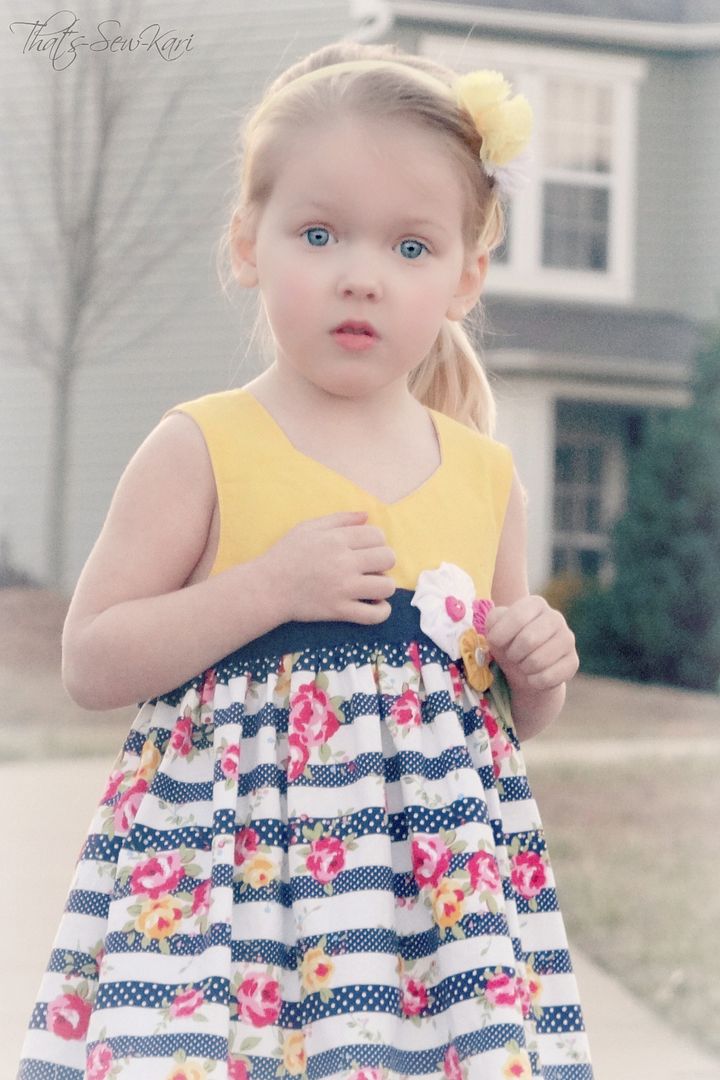
Moving on to the Hooded version.
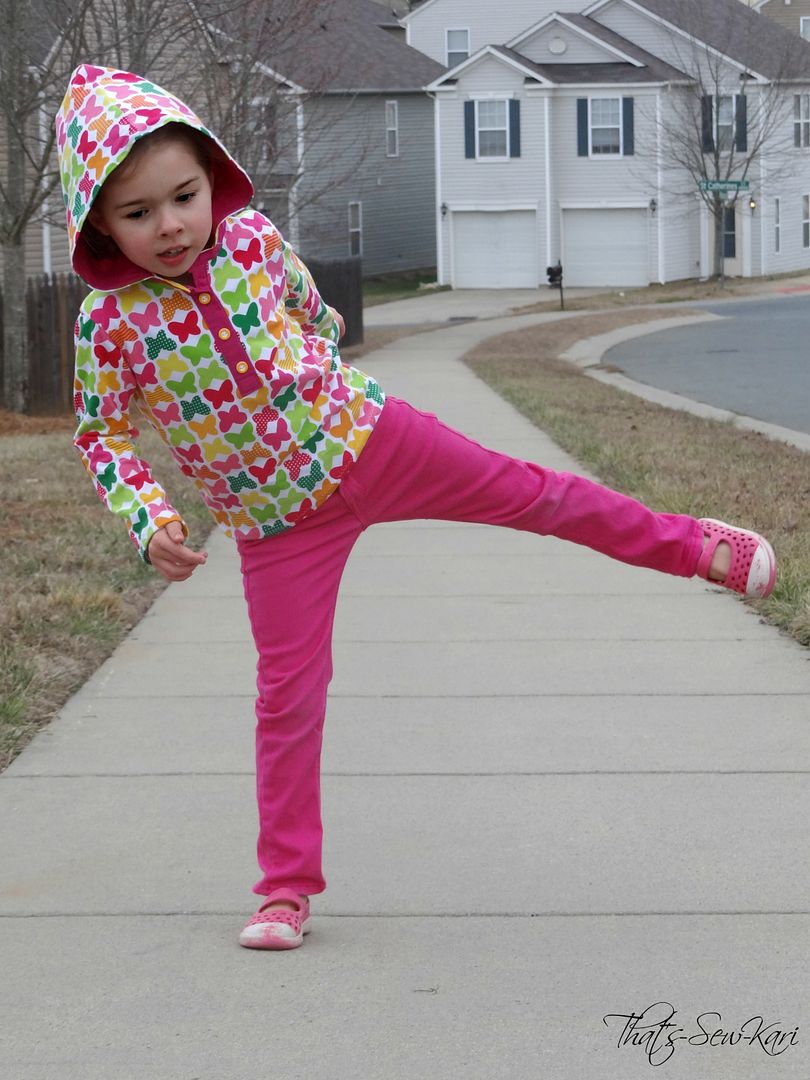
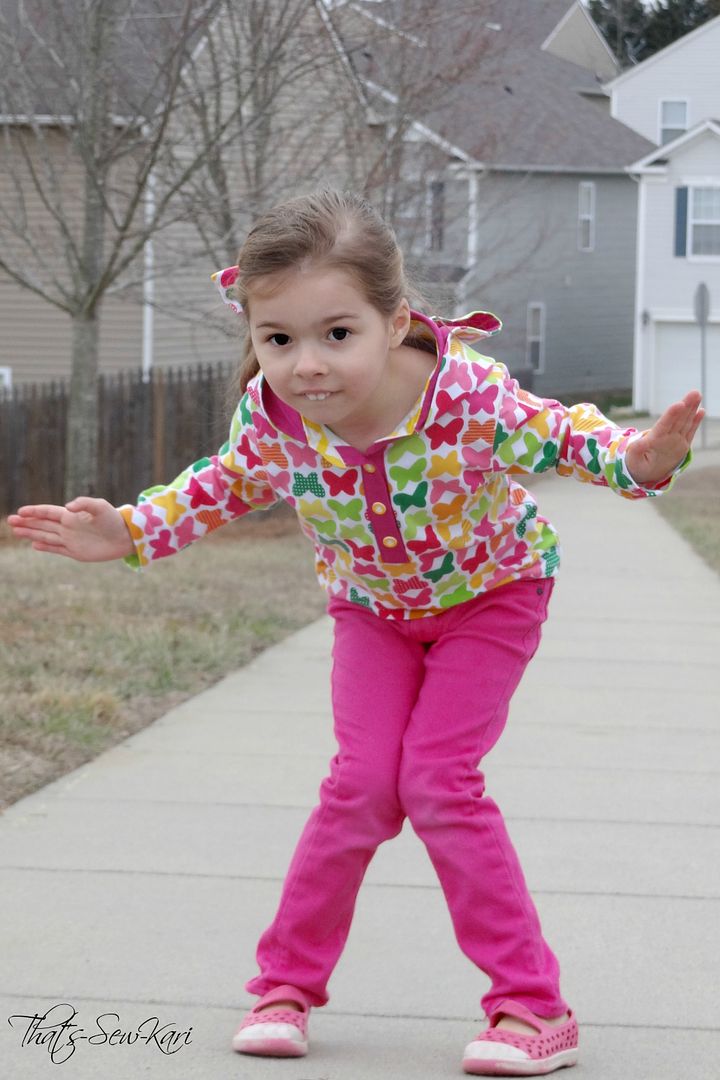
Of course, you don't have to have a ruffle-loving girly-girl to get some use out of this pattern! My 4 year old, while she likes to occasionally indulge in her feminine side, is much more sporty. She likes to dress more for comfort and practicality so the hooded version is definitely more her style.
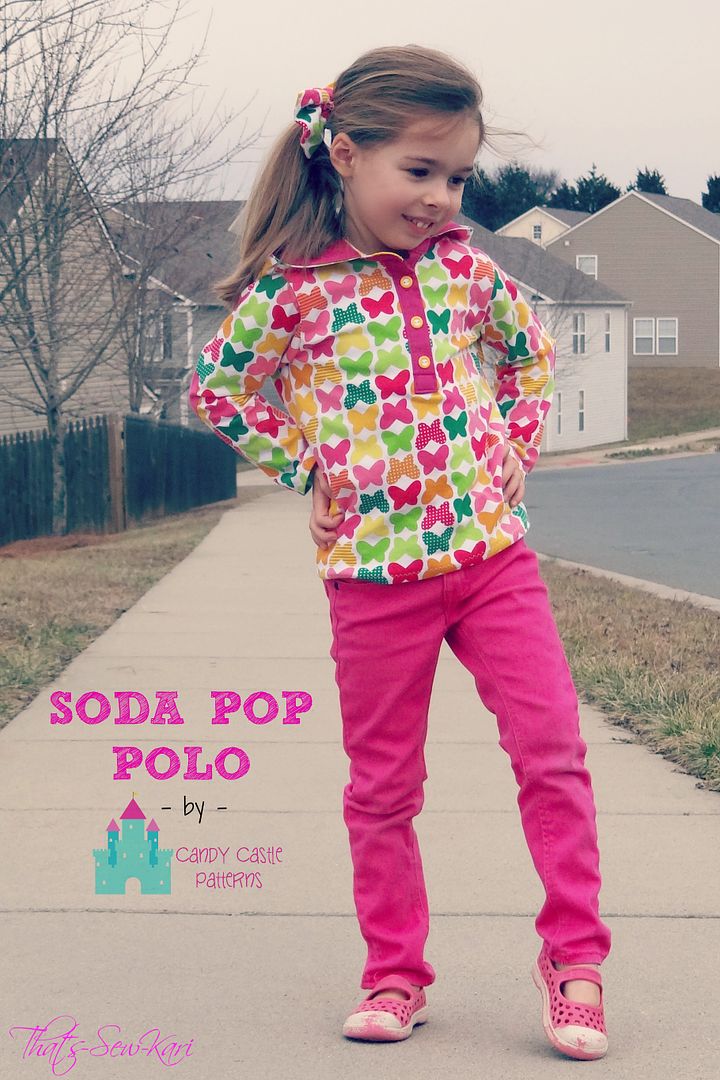
She loves the color pink though, and fell in love with this cute butterfly knit from One Red Blossom Fabrics. It's such a bright and cheerful knit, sure to be perfect for the upcoming spring.
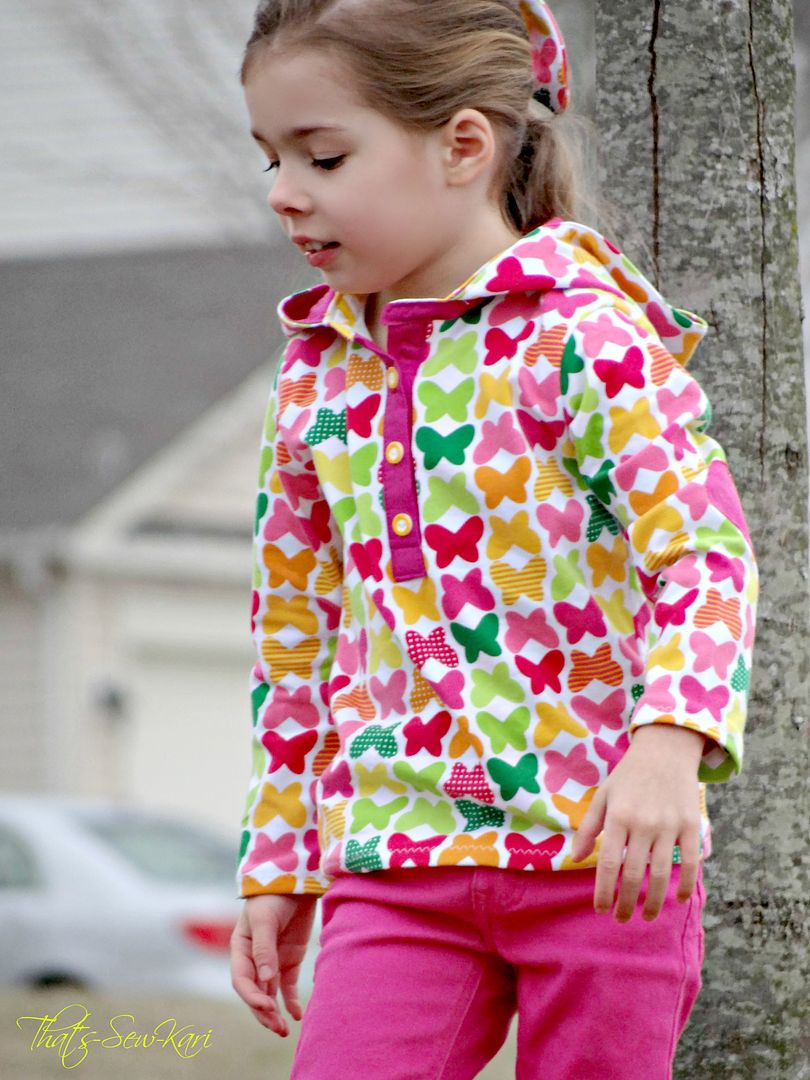
This version, I chose to use a bit more woven fabric than my other one. I did the placket, both collar stands, hood lining and back inset all in woven - a mixture of solid pink and a bright yellow chevron. I finished it off with heart shaped elbow patches, a heart applique under the hood, and bright yellow buttons. I paired it with hot pink skinny jeans (also compliments of Santa), a bow from scraps for her hair and some sporty water shoes to complete the look.
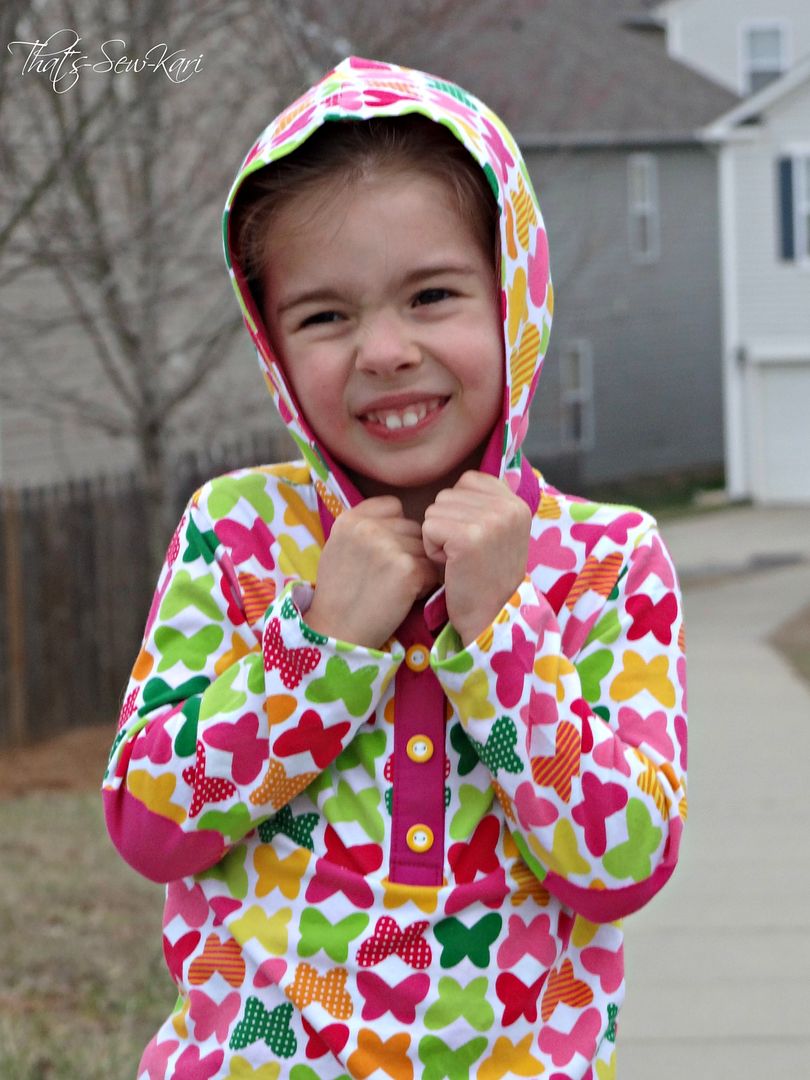 |
| Loves her hood! |
 |
| Impromptu yoga session? |
 |
| This is her Mission Impossible pose. |
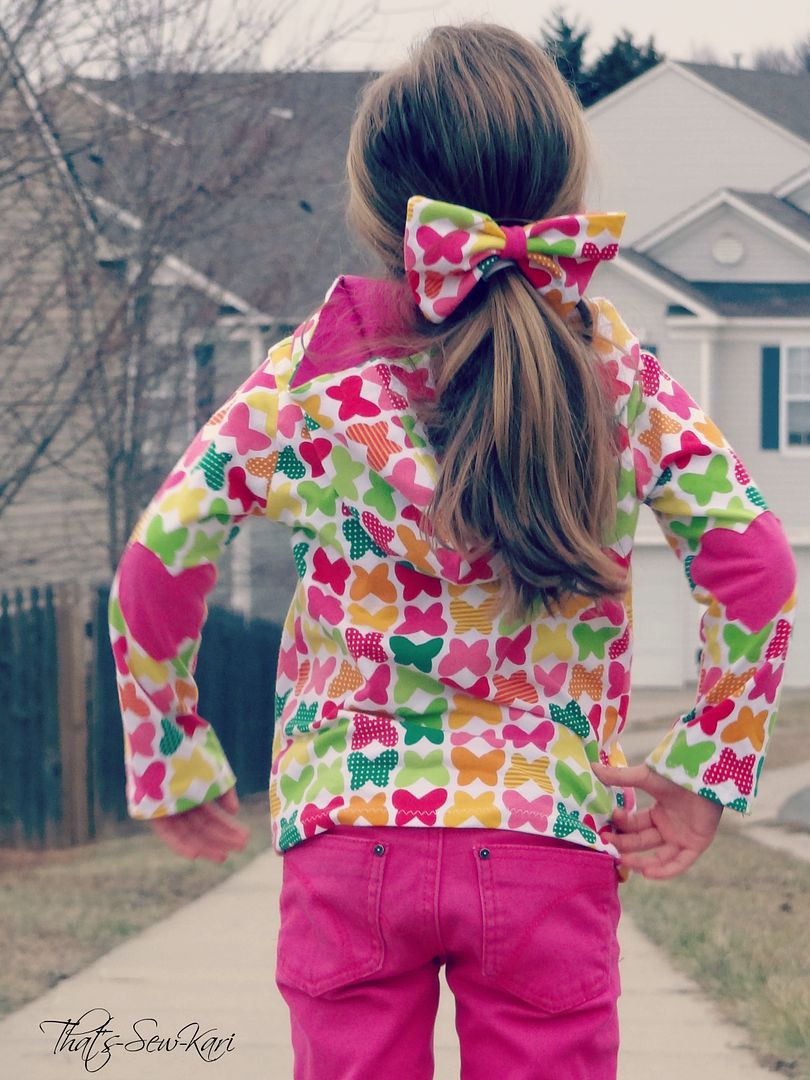 |
| Back view, hood down |
So there you have it! Two different Soda Pop Polos for two very different personalities. I've only shown two versions of this pattern and there are so many more! This pattern can be dressed up or dressed down depending on fabrics, collar type, and extra details; it's ALL up to you!
If you've never worked with a Candy Castle Pattern before, here's what to expect:
- All pattern pieces are nested and color-coded for each size.
- There is a diagram at the beginning of the tutorial to show you how to tape the pattern together.
- Measurement chart at the beginning of each pattern to ensure the best fit.
- Cutting charts for straight cuts given in both imperial (inches) and metric (centimeters) [where necessary].
- Step-by-step instructions with clear photos and lots of helpful tips.
- All patterns are thoroughly tested in each size.
- Extra support and help available in the Candy Castle Patterns Group on Facebook.
Visit Candy Castle Patterns and browse her Pattern Shop and while you're there, take a gander at the awesome European fabrics available in her Fabric Shop!
Use the code SODAPOP at checkout to purchase the pattern for just $7.50 (through 2/6/14 11:59pm MST).... now, go get your SODA POP on!!
 |
| www.candycastlepatterns.com |