*** This post contains affiliate links***
Oh my gosh!!! Last summer, I fell in love with
Cricut products when I first got my Explore Air 2. Then, I got my Maker and an EasyPress. Today, I am so excited to share with y'all the newest product to the
Cricut Family -- the EasyPress 2!
The
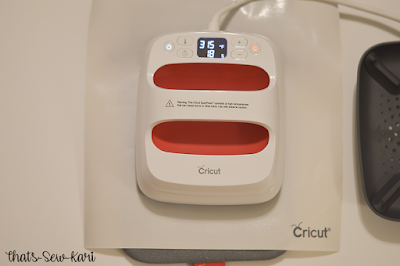
EasyPress 2 now comes in 3(!) sizes and features a gorgeous raspberry color. The sizes include 6x7, 9x9 and 12x10. It's so easy to learn and like all the other Cricut products, includes a quick practice project to build your confidence! The heat plate is ceramic-coated and boasts a dry, even heat for a perfect transfer every single time. It will give you professional iron-on success in less than a minute! It heats up very quickly and has precise temperature control up to 400 F.
Visit Cricut's interactive PDF to see the perfect temperature for your project! The EasyPress 2 also comes with its own safety base with keeps your press in a protected resting position and also keeps your crafting area safe. Last, but certainly not least (!), it has a USB port for firmware updates.
Today, I'll be sharing FOUR animal faces (because who can stop at just 1?!) to add to your favorite purse pattern. If purses aren't your thing, these faces can be added to
any project! I will provide step-by-step pressing instructions for each animal, starting with the easiest. (P.S. I used my favorite purse pattern -- The
Pinky Promise Bag by Little Moo Designs (also featured in
Issue 19 of One Thimble -- perfectly sized for my two girls! I sewed the purses in their entirety before adding these faces)
I sewed my purses assembly-line style. To make the process even faster, I grabbed my *new* Cricut
Self-Healing Cutting Mat,
Acrylic Ruler and
60mm Rotary Cutter. These tools made cutting my materials a breeze -- especially because I could stack my materials and cut through multiple layers at once. My favorite feature on the rotary cutter is the locking mechanism. I was always hesitant to bring such a sharp tool into the house with two girls. (And you won't cut your foot if you accidentally drop it on it... ask me how I know... LOL)
PANDA
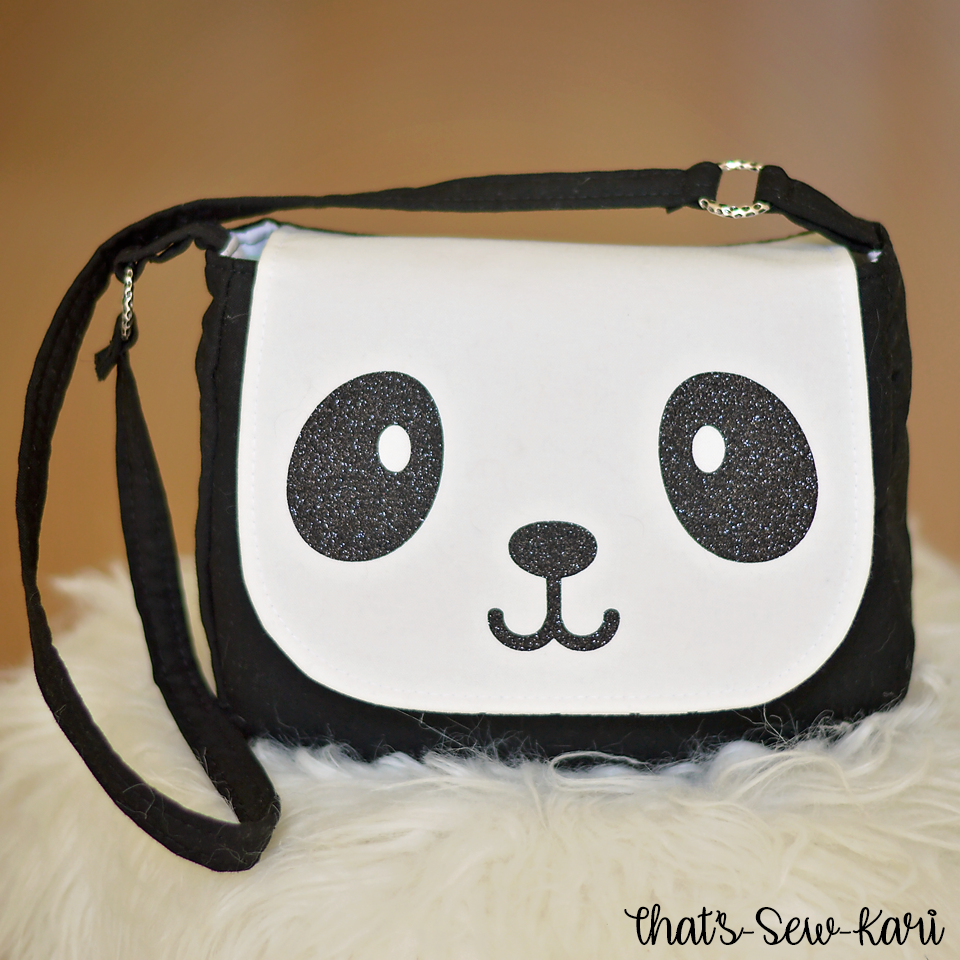 |
| Fabric: Waverly for Walmart in Black and White |
Materials Needed:
Step 1: Open the Project in Design Space
When you open the project, click customize in case you need to resize to fit your project. Once the size is correct, click MAKE. Prepare your mat with Black Glitter Iron-on, shiny side down. Double check you have selected "Mirror Image". Cut file, and weed.
Step 2: Using your EasyPress 2
Press ON and select temperature. (To determine the correct temperature and time for your project,
CLICK HERE). Place your project on the Easy Press Mat, flat. Once the EasyPress 2 is heated and pressing time is selected, preheat your fabric for 5 seconds. Place PANDA FACE in place with shiny side up.
Place Cricut Iron-on Protective Sheet on top and press START to begin the timer. Apply heat + gentle pressure using your EasyPress 2. Flip project over and press for an additional 15 seconds. Peel (hot or cold) according to iron-on instructions.
 |
| *Note: This photograph was taken while the timer was counting down! |
FOX
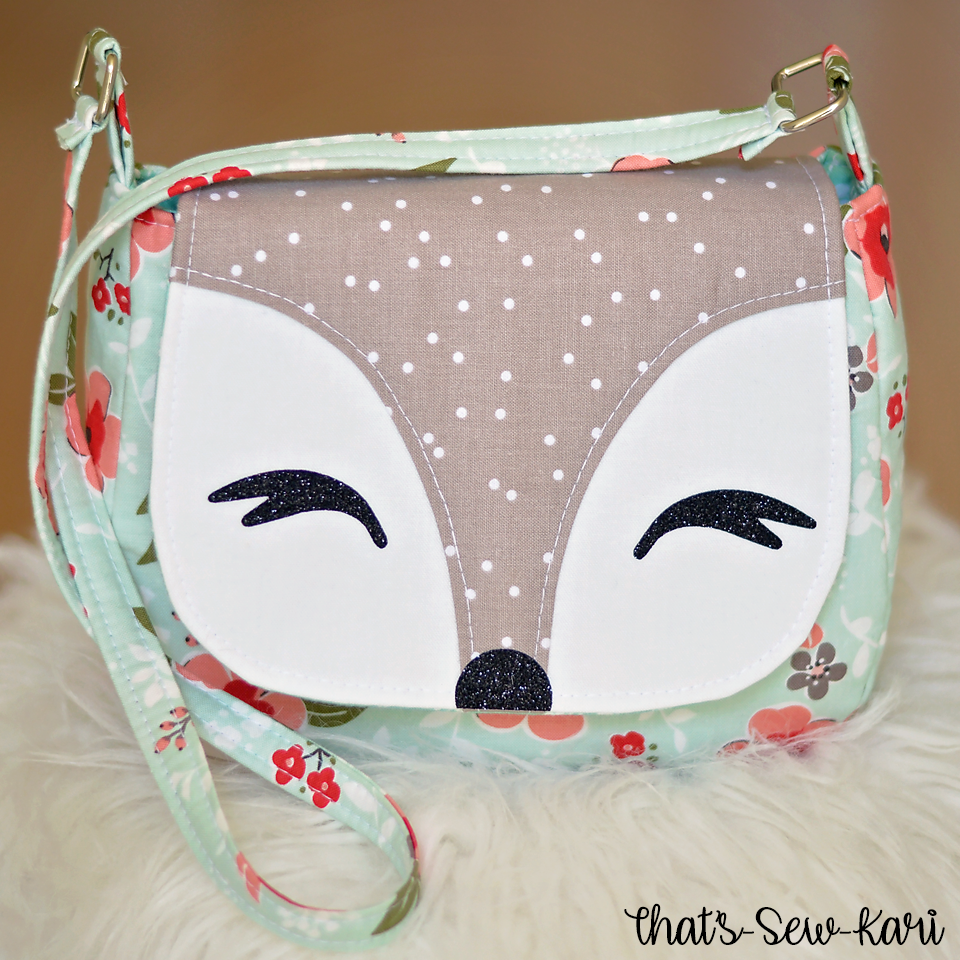 |
| Fabric: Cricut Designer Fabric, Sweet Prairie Sampler (Main Mint and Night Sky Gray) and Waverly for Walmart (White) |
Materials Needed:
- EasyPress2 (6x7)
- EasyPress Mat (8x10)
- Cricut Maker, Explore Air 2
- FOX FACE FOR PURSE in Design Space
- Black Glitter Iron-on
- Iron-on Protection Sheet (optional, but recommended)
- Number of Layers: 1
- Difficulty Level: Beginner
Step 1: Open the Project in Design Space
When you open the project, click customize in case you need to resize to fit your project. Once the size is correct, click MAKE. Prepare your mat with Black Glitter Iron-on, shiny side down. Double check you have selected "Mirror Image". Cut file, and weed.
Step 2: Using your EasyPress 2
Press ON and select temperature. (To determine the correct temperature and time for your project,
CLICK HERE). Place your project on the Easy Press Mat, flat. Once the EasyPress 2 is heated and pressing time is selected, preheat your fabric for 5 seconds. Place FOX FACE in place with shiny side up.
Place Cricut Iron-on Protective Sheet on top and press START to begin the timer. Apply heat + gentle pressure using your EasyPress 2. Flip project over and press for an additional 15 seconds. Peel (hot or cold) according to iron-on instructions.
 |
| *Note: This photograph was taken while the timer was counting down! |
*** To add the contrasting fabric, do these steps PRIOR to sewing the pattern: fold your pattern piece in half. Starting 5/8" from the middle fold at the bottom, cut a curve to mimic half of a fox face. Unfold, if you're happy with your new piece, cut from fabric. Place wrong side up and press a 1/4" hem along the curved edges only. Pin in place on your main fabric and topstitch along the folded, curved edges. Proceed with pattern.
KITTY
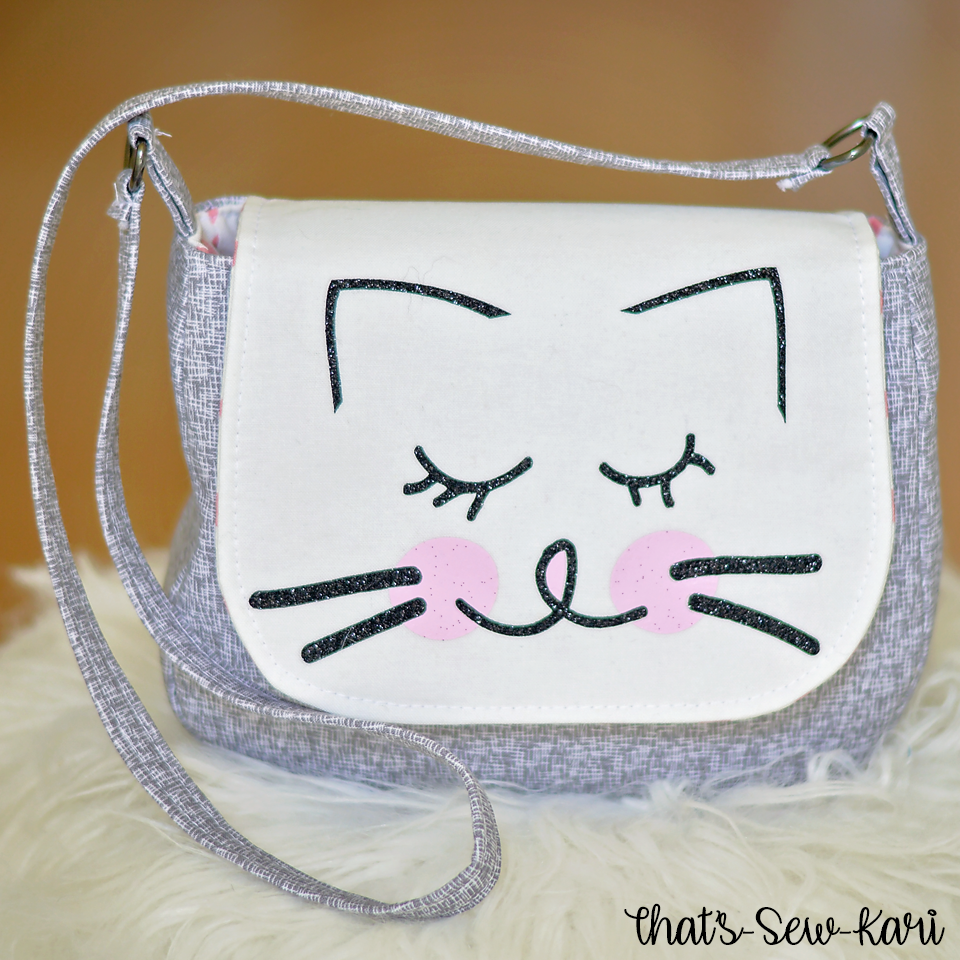 |
| Fabric: Cricut Designer Fabric, Creative Rockstar Sampler (Gray Mini Hashtag) and Waverly for Walmart (White) |
|
Materials Needed:
Step 1: Open the Project in Design Space
When you open the project, click customize in case you need to resize to fit your project. Once the size is correct, click MAKE. Prepare your mats with Black Glitter Iron-on and Pink Blush Iron-on Lite, shiny side down. Double check you have selected "Mirror Image". Cut file, and weed.
Step 2: Using your EasyPress 2
Press ON and select temperature. (To determine the correct temperature and time for your project,
CLICK HERE). Place your project on the Easy Press Mat, flat. Once the EasyPress 2 is heated and pressing time is selected, preheat your fabric for 5 seconds. Place both layers of the KITTY FACE in place with shiny side up, with the glitter being the top layer. (DO NOT PRESS YET). Once you've determine placement, remove the Black Glitter Layer (top layer)
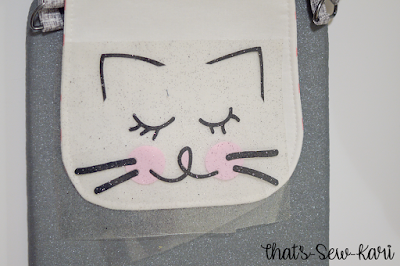
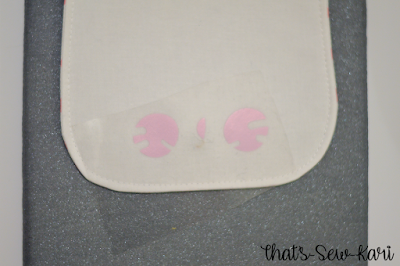
Place Cricut Iron-on Protective Sheet on top of the Pink layer only and press START to begin the timer. Apply heat + gentle pressure using your EasyPress 2. Flip project over and press for an additional 15 seconds. Peel (hot or cold) according to iron-on instructions.
|
| *Note: This photograph was taken while the timer was counting down! |
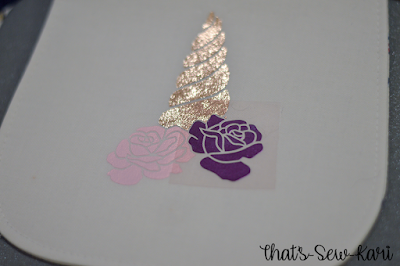
UNICORN
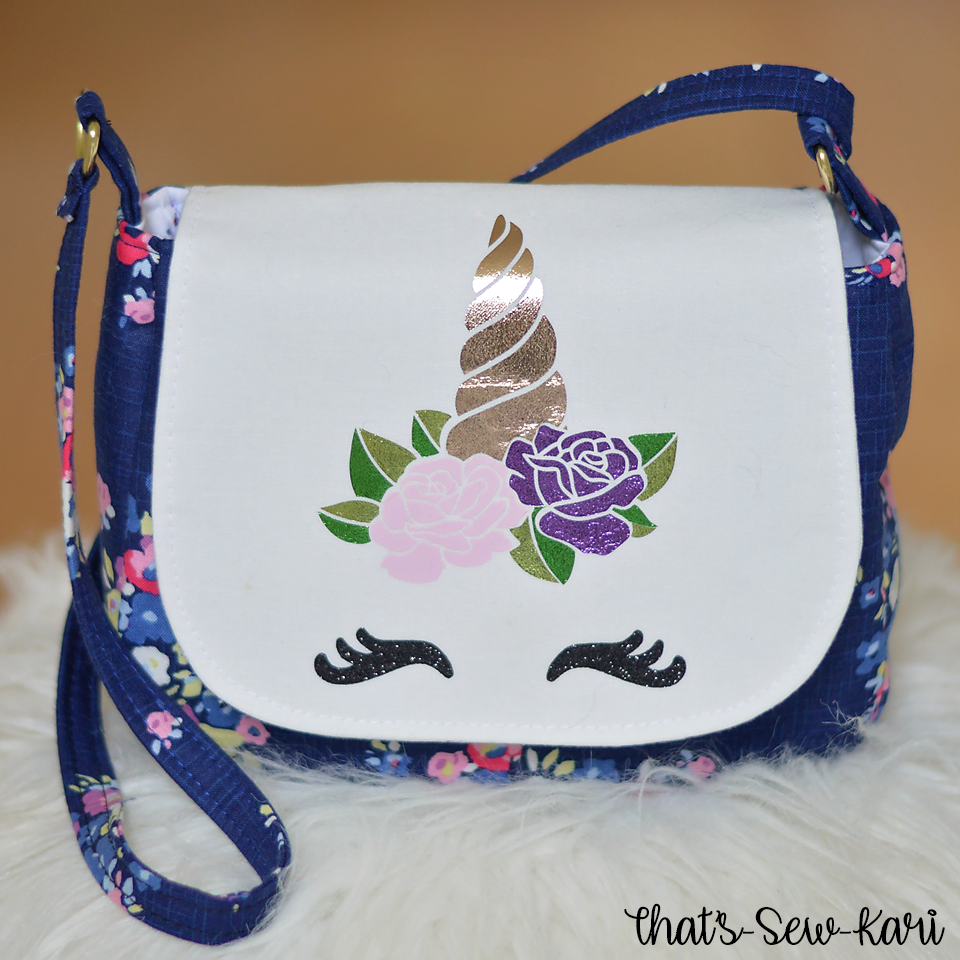 |
| Fabric: Cricut Designer Fabric, Blue Carolina Sampler (Navy Main) and Waverly for Walmart (White) |
|
Materials Needed:
Step 1: Open the Project in Design Space
When you open the project, click customize in case you need to resize to fit your project. Once the size is correct, click MAKE. Prepare your mats with all 6 colors, shiny side down. Double check you have selected "Mirror Image". When switching between cutting materials, be certain to edit on screen before cutting an alternate material. Cut file, and weed.
Step 2: Using your EasyPress 2
Press ON and select temperature. (To determine the correct temperature and time for your project,
CLICK HERE). Place your project on the Easy Press Mat, flat. Once the EasyPress 2 is heated and pressing time is selected, preheat your fabric for 5 seconds. Place all layers of the UNICORN FACE in place with shiny side up. (DO NOT PRESS YET). Once you've determine placement, remove all but the bottom layer (Horn)
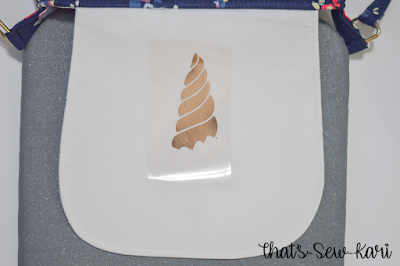
Place Cricut Iron-on Protective Sheet on top of the Pink layer only and press START to begin the timer. Apply heat + gentle pressure using your EasyPress 2. Flip project over and press for an additional 15 seconds. Peel (hot or cold) according to iron-on instructions.
 |
| *Note: This photograph was taken while the timer was counting down! |
Repeat process for the remaining 5 layers. Build layer by later, beginning with the flowers*.
Not all layers pictured.
(NOTE: Glitter must be the top layer)
 |
| Foil Iron-on is cold peel. Allow item to cool first. |
After you have pressed all 5 layers of the unicorn horn, place eyes and repeat process.
That's it!!! Now you can create your own animal cuteness! I plan on putting these on some shirts for my girls too! What I love about Cricut is they really stand behind their product and create with intention. The EasyPress 2 is no exception to this philosophy. They have the StrongBond Guarantee on many of their iron-on materials. Everyday, SportFlex and Glitter Iron on are designed to outlast 50+ wash and dry cycles when used and applied as directed!! Be sure to look for the StrongBond Guarantee!
This is a sponsored conversation written by me on behalf of Cricut. The opinions and text are all mine.