 |
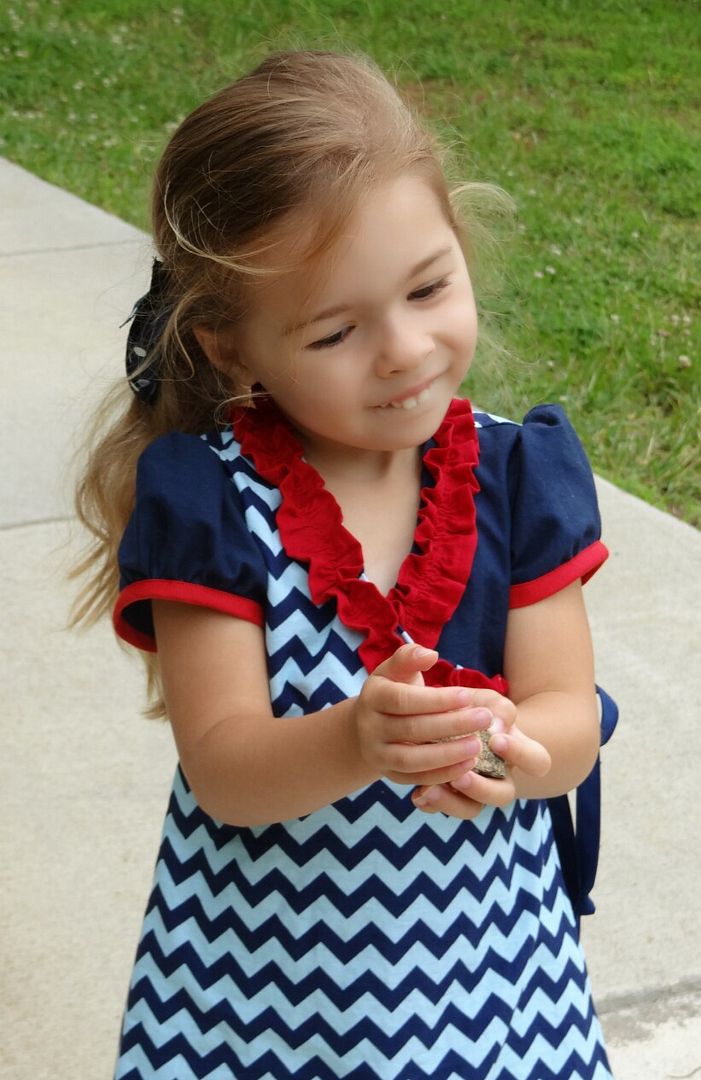
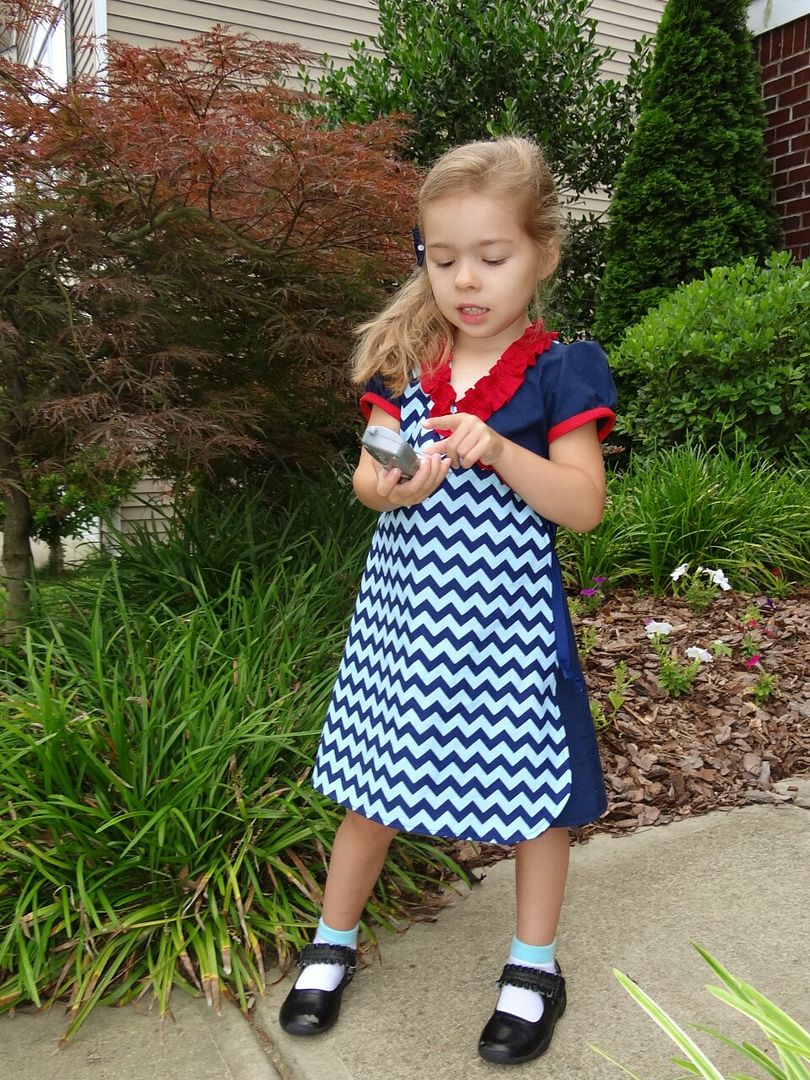
| Checking on her pine cone in her pocket |
WHO LOVES BROWNIE-GOOSE’S SUMMER SAILORS?
We do!
WHO WANTS
FUNCTIONING POCKETS?
We do!!
Hi everyone, I’m
Kari. I love the Brownie-Goose Summer
Sailor shorts. In fact, it was my very
first paid PDF pattern I sewed! I
quickly made a pair according to instructions.
Although I love the original
pattern, my girls love to fill their pockets with treasures. So I added pockets to my 2nd pair! Adding pockets is actually very easy. It’s just a matter of deconstructing the
front pattern piece. I learned about
constructing pockets last year when I made my daughter a pair of Paperbag Pants by Shwin&Shwin.
After I finished my
pair of Summer Sailors with real pockets, I posted a picture late (read: way past bedtime) at night
on the PDF pattern group. Within 15
minutes, I had several inquiries as to how I did it. I quickly made a rudimentary tutorial, using
just one picture and posted it. This
basic tutorial gets referenced almost every time BG summer sailors are mentioned. The original tutorial was a bit
lacking. So without further ado,
Drum roll please………
Here is a STEP BY
STEP guide showing you how to add functioning pockets to those beloved shorts
(and any other pants really!):
STEP 1: Print your pattern, tape pages together per
instructions. Trace or cut out the size
you need. (In my example, I’ll be
making a 2T.)
STEP 2: Set the BACK piece aside. We’ll be working with both the FRONT and the
FAUX POCKET pieces. Take the FAUX POCKET
piece and set it on top of the FRONT pattern piece, lining it up in the outer
corner. Trace the around the FAUX
POCKET. Cut away the traced area of the
FAUX POCKET. This is now your “new” FRONT piece.


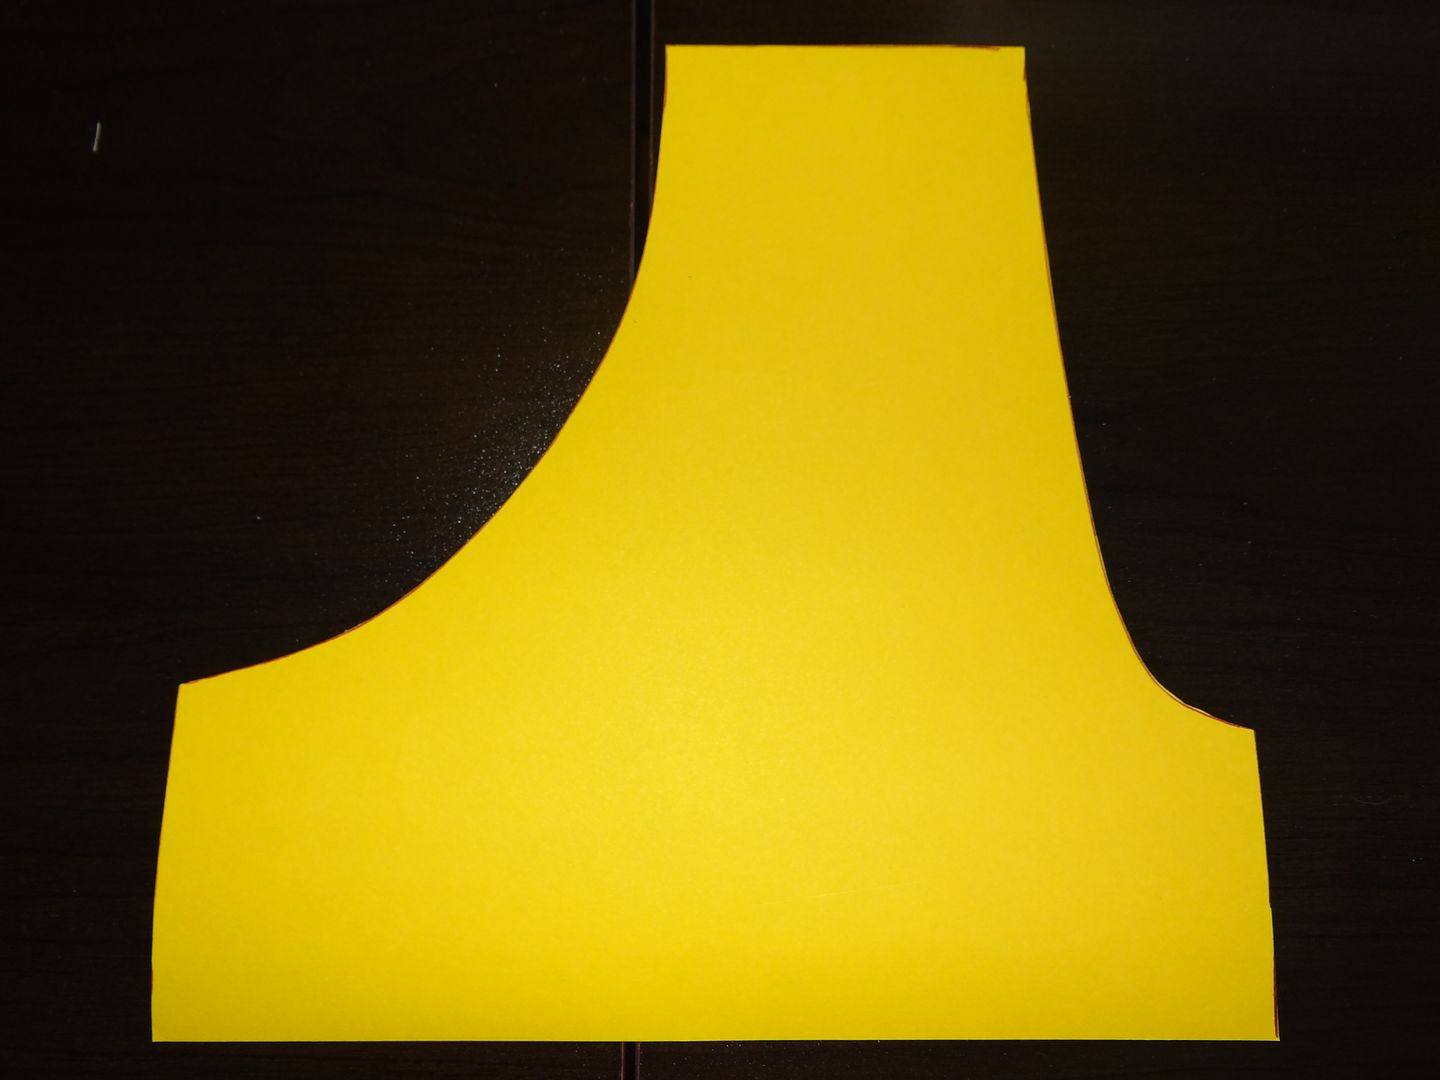 |
| "new" FRONT |
STEP 3: Now we need to construct the pocket
pieces. On a new piece of paper, trace the
FAUX POCKET. Next, determine how wide
and deep you would prefer your pockets.
In this example, I will be adding 2” from both the top and the bottom of
the curve of the pocket. It’s up to you
to decide how big your pockets need to be.
Just be mindful that they need to fit within the “new” FRONT piece. We don’t want any pockets peeking out! Mark
your distance on your paper. Draw
intersecting lines to complete the rest of the “rectangle”. Cut the new shape out. (You may also round the bottom inner corner
of the pocket if you wish.)


STEP 4: Trace your shape from step 3 on a new piece
of paper, making sure to mark the top to make sure the outer corner matches
your original pattern. (The outer side will slope slightly as the original
pattern).This will now be referred to as
POCKET. Cut out. On the original “rectangular” piece, cut away
the FAUX POCKET tracing. This piece will now be your POCKET LINING.

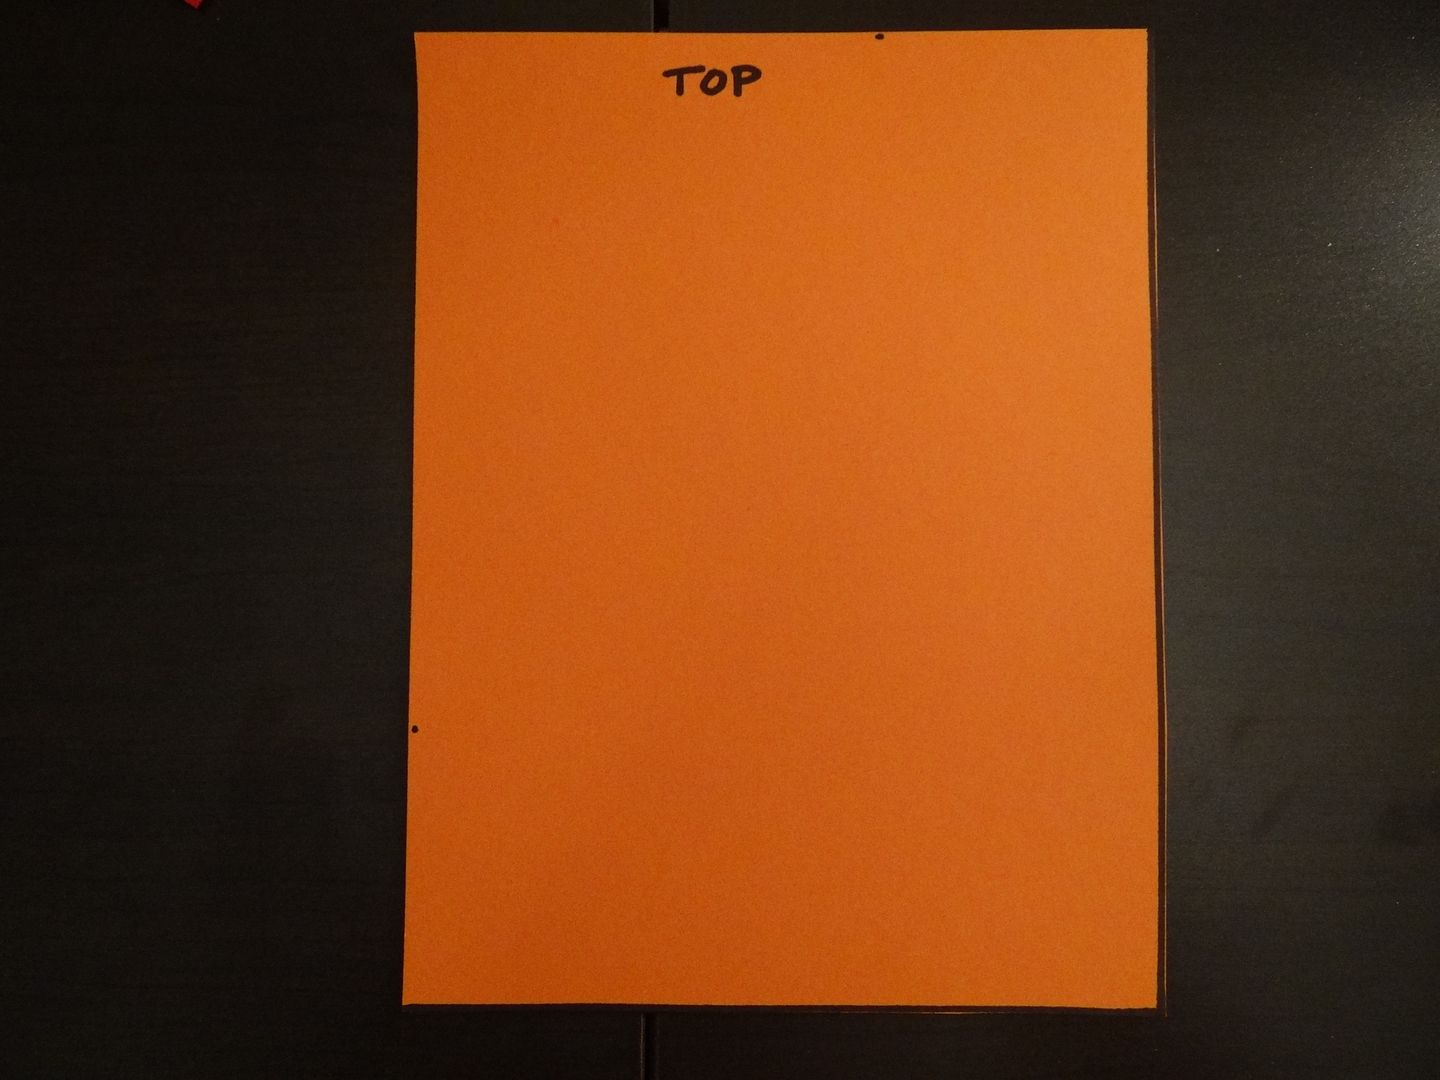 |
This is your POCKET.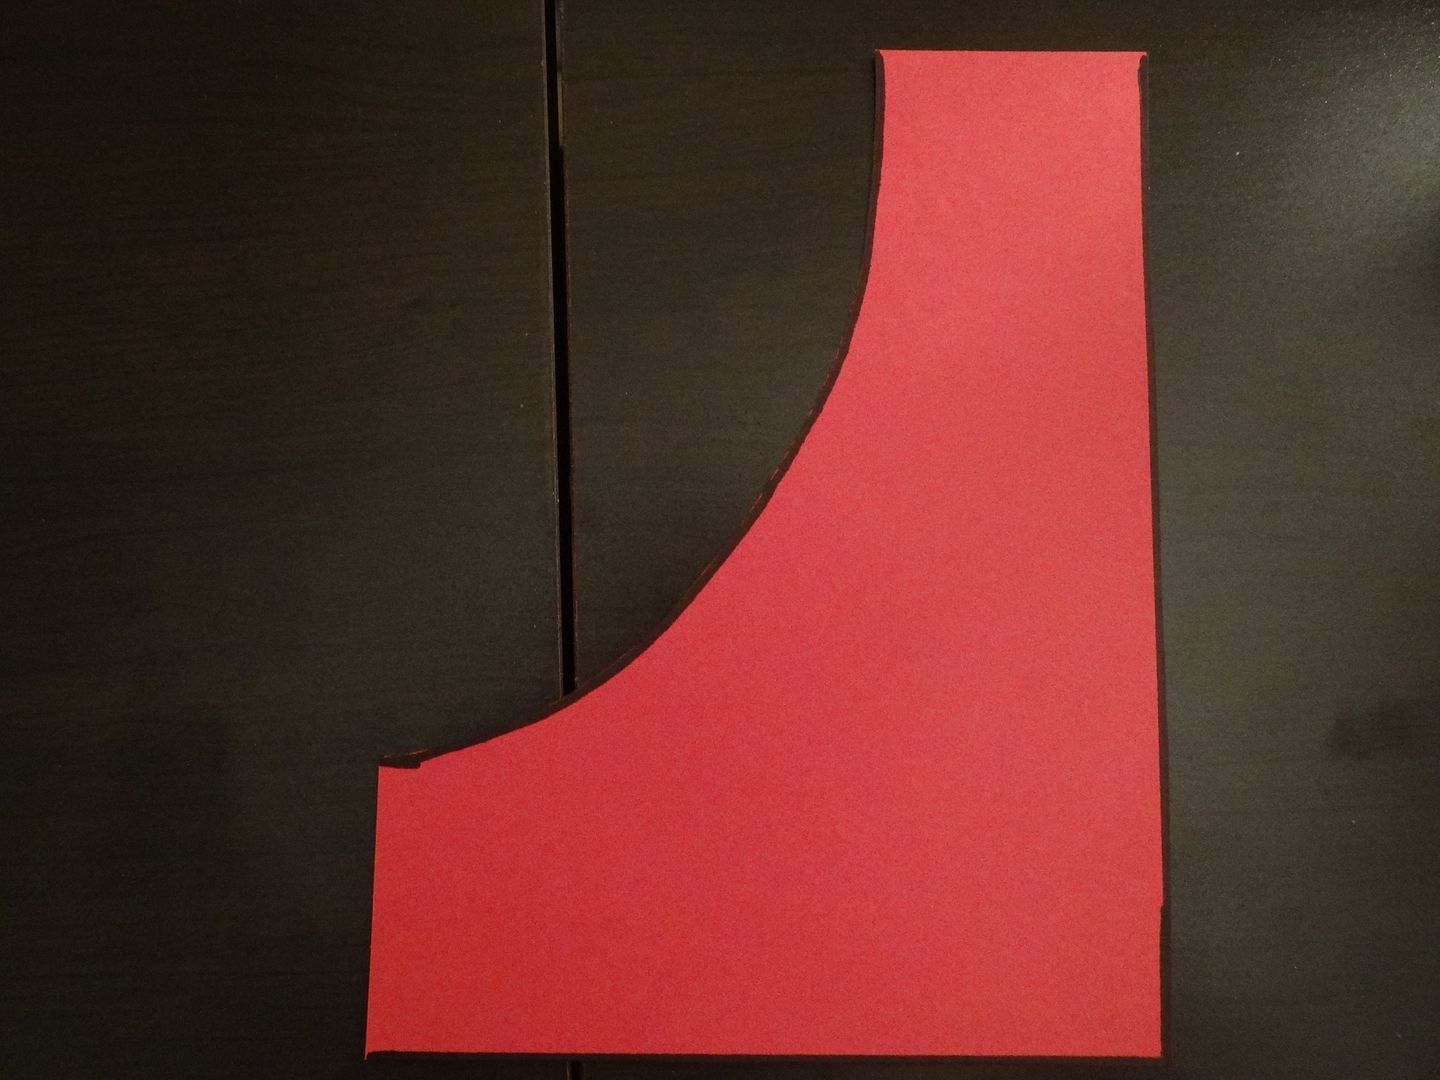 |
STEP 5: To review,
you have 3 pieces – POCKET, POCKET LINING, and “new” FRONT. Pin pattern pieces to chosen fabrics and cut
out. Remember,
to cut a MIRROR image for the other side of the shorts. Grab your bias
tape as well.

Here is one side of
the front, cut out. Note the pins in the
POCKET and POCKET LINING. This is to
remember the top of the POCKET and the right/correct side of the LINING. Also, if your shorts are mainly white as mine
are, choose a POCKET LINING that won’t show through.

STEP 6: Now the fun
begins! Take your “new” FRONT piece and
your POCKET LINING piece and match the curve up wrong sides together (WST).
Take your bias tape and sandwich it around the curve. The bias tape will hide the raw edges so
there’s no need to finish those edges first.
Pin bias tape in place and sew. Helpful hint: Sew your 4 sailor
buttons on the front now. I didn't and
it made it really difficult to
sew them on later.


STEP 7: Grab your POCKET piece and match up the outer
edges with your “new” FRONT. Flip
over. The inner edges of the POCKET and
POCKET LINING should match up perfectly.
If not, trim to match. The
POCKET and POCKET LINING should be right
sides together (RST). Pin the inner
edges and sew with ¼” seam allowance.
Finish edges in the manner you desire (serge or zigzag to prevent
fraying).

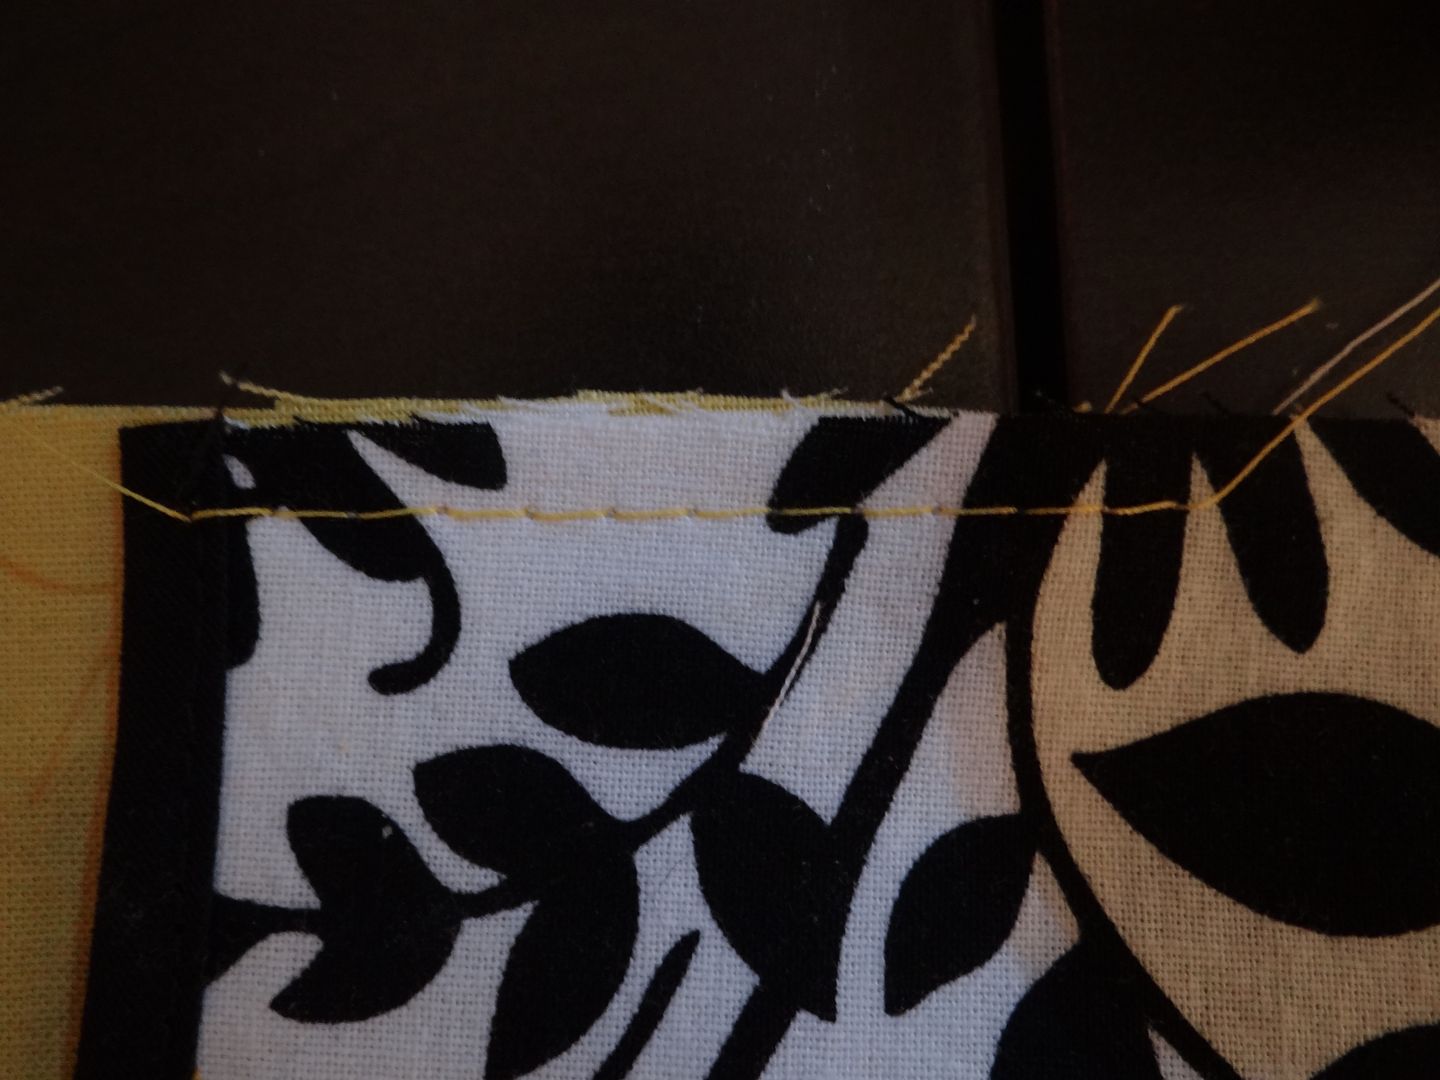
STEP 8: Baste the
POCKET and POCKET LINING to the “new” FRONT on the top and outer edge to
prevent shifting.
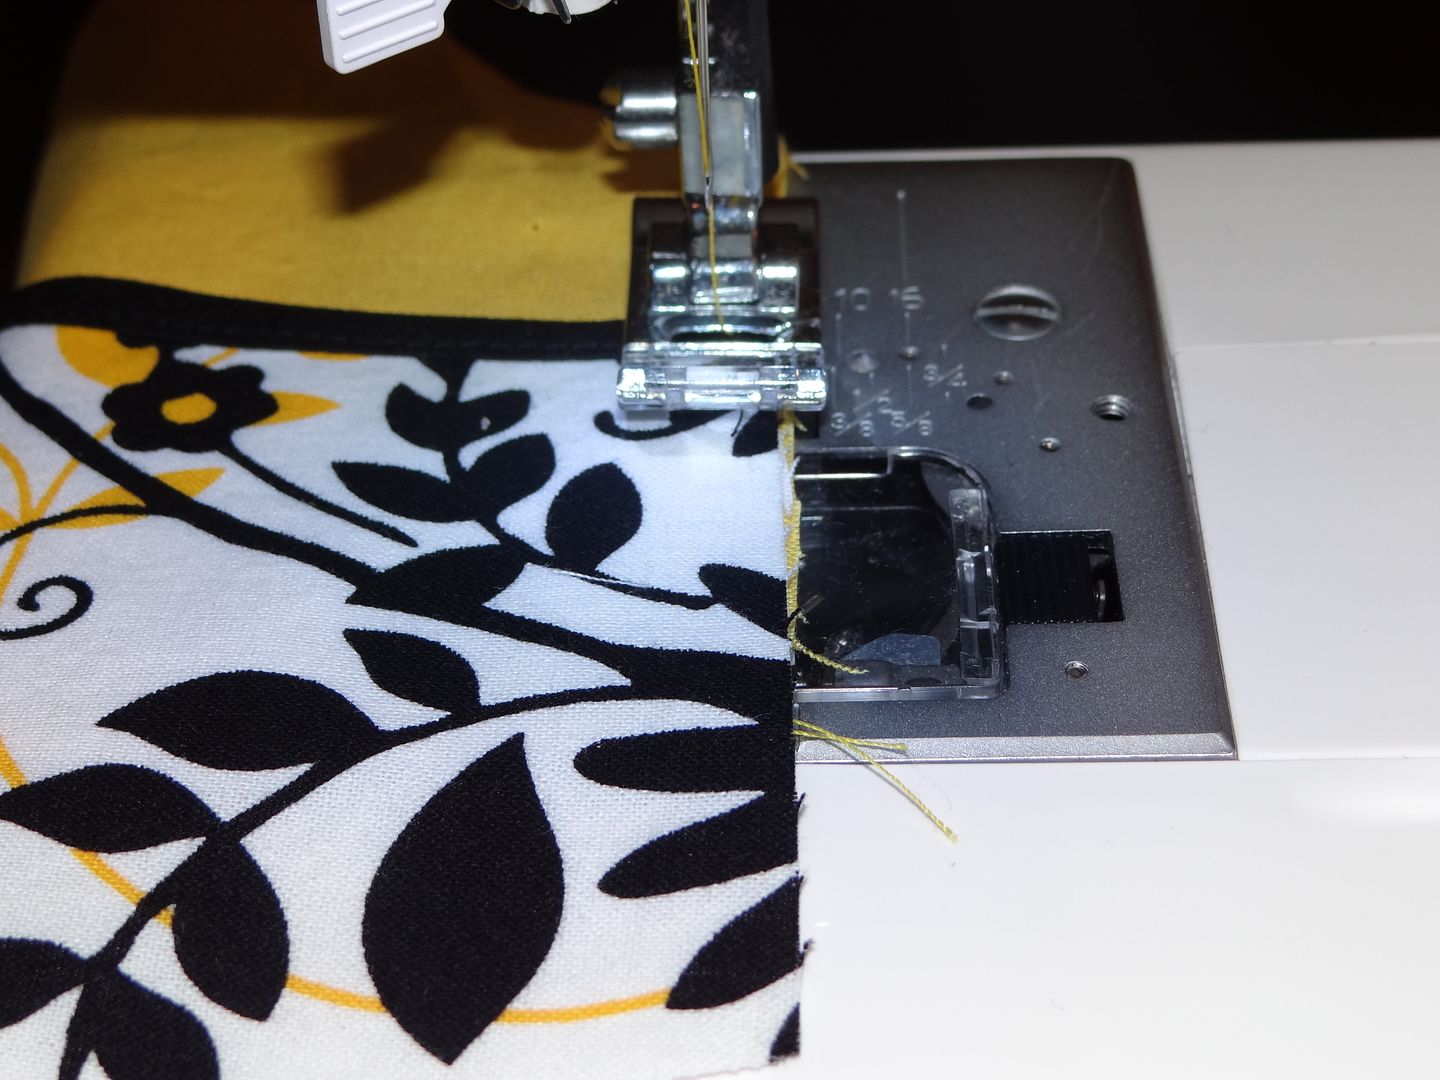 |
| Baste |
 |
| Close up of top basting |
 |
| Close up of bottom basting |
STEP 9: Repeat steps
to construct the other front side of the shorts. Now, you have real pockets! Don’t you just love them?! Please
note: I learned the hard way by not having the
buttons on yet. Don’t make my mistake!

STEP 10: Continue the pattern as normal. Be careful when sewing around the
crotch. Make sure your pocket doesn't get caught under the needle! (I speak from experience…)
STEP 11: When you finish, make sure you take a
picture! They truly are works of
art. Can you stand the cuteness?!

In the great words of Amy Norris…. “YAHOOOOOOS!”

 |
| Clutching the pine cone in her pocket |

She loves the outfit as much
as I do! She told me “Thank you, thank
you, thank you for my new outfit, Mommy! I’m so proud of you!”