Image Slider

SPOTLIGHT: Stitch Box Monthly - Anniversary Edition


Yay for happy mail!!!  Stitch Box Monthly is such a fun surprise and a great way to treat yourself (or your favorite seamstress... hint, hint) to some new sewing yummies.  This is the third box I've received (read about Box 1 here & Box 2 here) and each time, I've received things I've never used before and have now fallen in love with.  Seriously, you need to sign up!!

In case you've missed my other posts (tsk, tsk.... click the links above ... LOL), here's what the Stitch Box Monthly is all about:

  • Stitch Box Monthly is a mystery box of sewing goodies that shows up in your mailbox each month (or however long you have signed up for).  Each box has a theme and the supplies inside revolve around that.
  • Boxes are $35 including shipping (US pricing-recurring subscription), but you can get the boxes as low as $25/month if you prepay for the entire year.   [International shipping also available, see website]
  • Stitch Boxes contain at least $40 worth of sewing supplies -- 1-2 yards of designer fabric, sewing pattern, and a few notions 

Before I get down to the good stuff, this month marks the 1-year anniversary for Stitch Box Monthly!
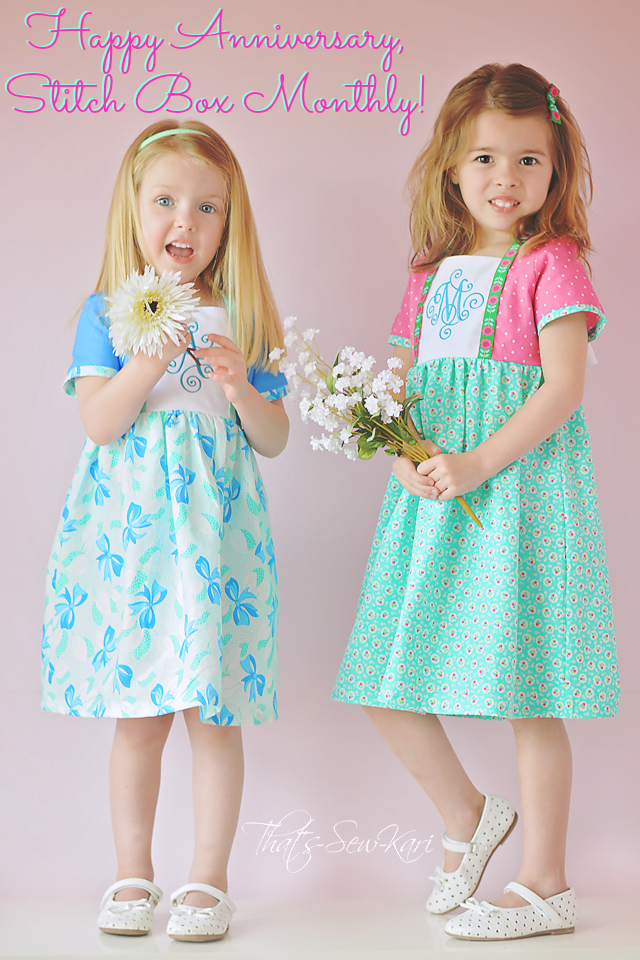

Eeeks, I can't handle the cuteness!!!  When I tore into opened my Stitch Box Monthly (which was actually a padded poly bag this time since the goodies couldn't fit into the normal box), I loved it!!

Here's a rundown of this month's contents*:

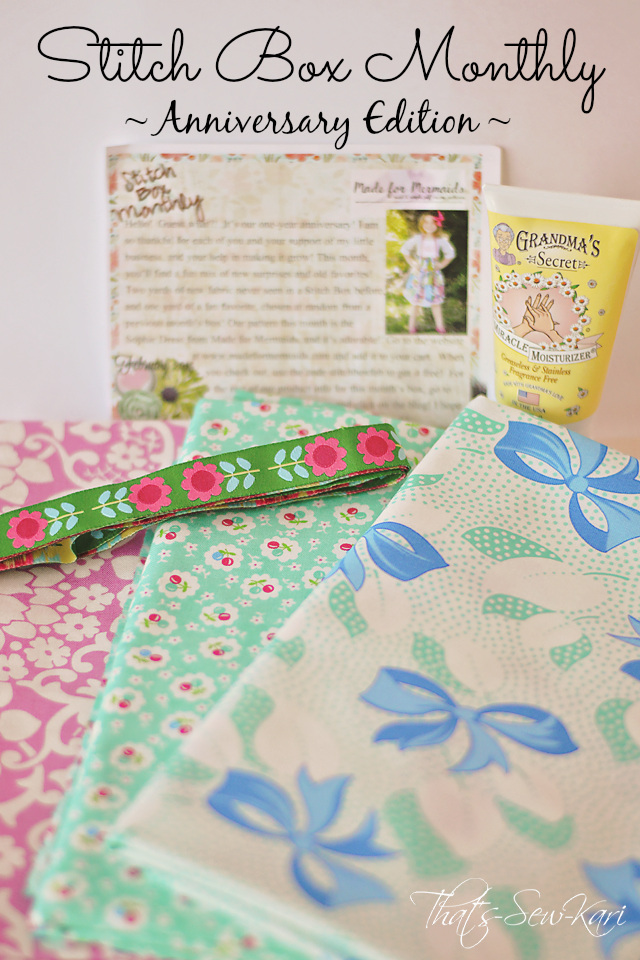
  • 2 yards of designer fabric -- Bandana by Me and My Sister Designs
  • Bonus yard of designer fabric from a previous month -- I received Beauty Queen by Jennifer Paganelli (June 2014 box)
  • Made for Mermaids Sophie Dress PDF Pattern
  • 1.5 yards of adorable flower ribbon trim
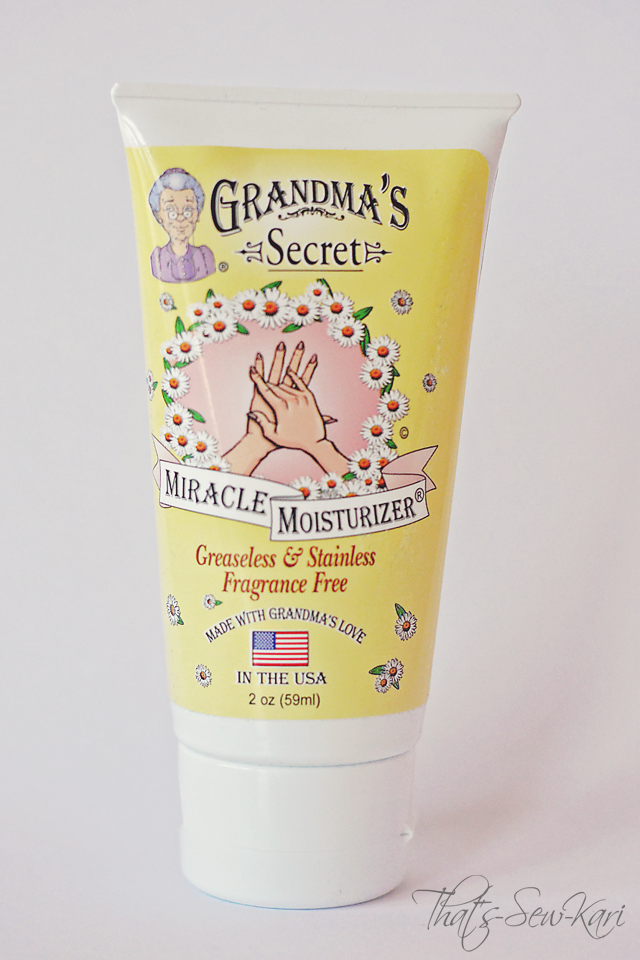
  • 2 oz of Grandma's Secret Miracle Moisturizer

*Due to the large number of orders, the first collection of included fabric ran out (Daysail by Bonnie and Camille) 
which was replaced by Bandana by Me and My Sister. 
Some boxes also contained Mary Ellen's Best Press in lieu of the moisturizer.
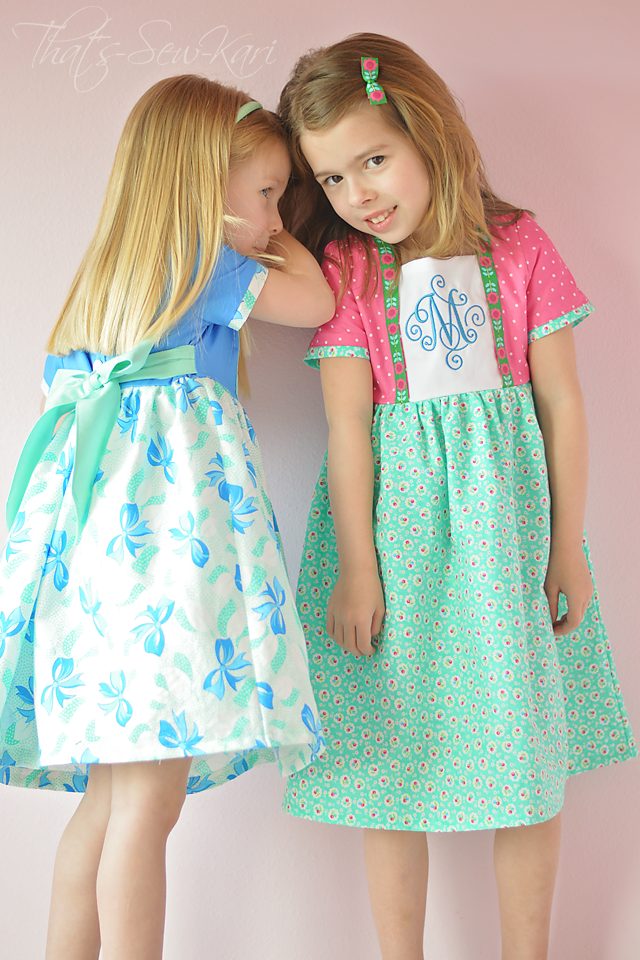

Wowsers!! After I stopped marveling at my new pretties, and lathering my hands in my new lotion, I set out to get my plan together.  In previous boxes, I've usually just picked one of my girls to sew for, but I thought the two Me and My Sister Designs Bandana prints would make adorable coordinating dresses.  By adding in some solids and dots found in my stash, I was able to s-t-r-e-t-c-h my box as far as it could go.

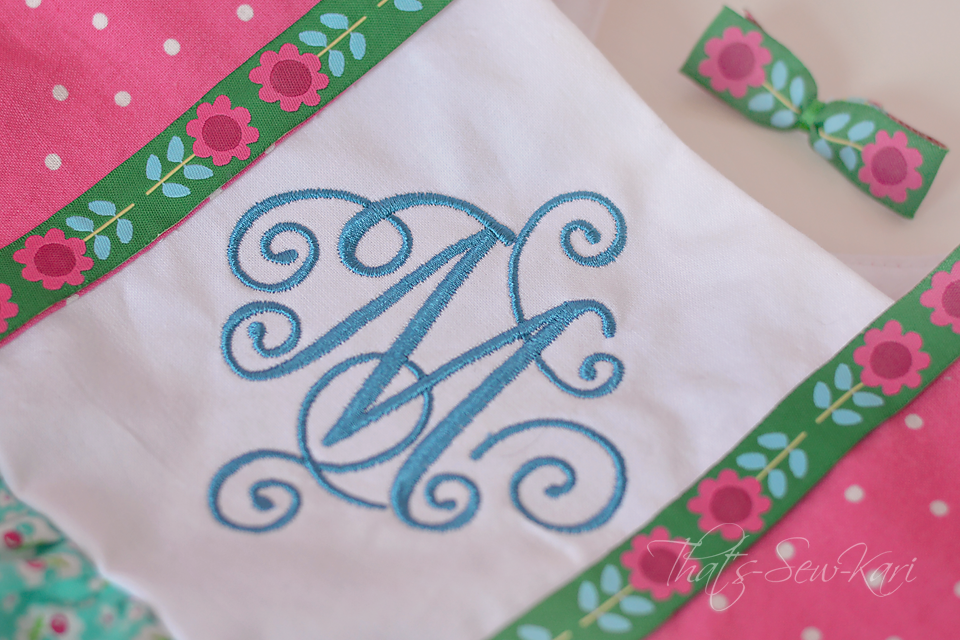
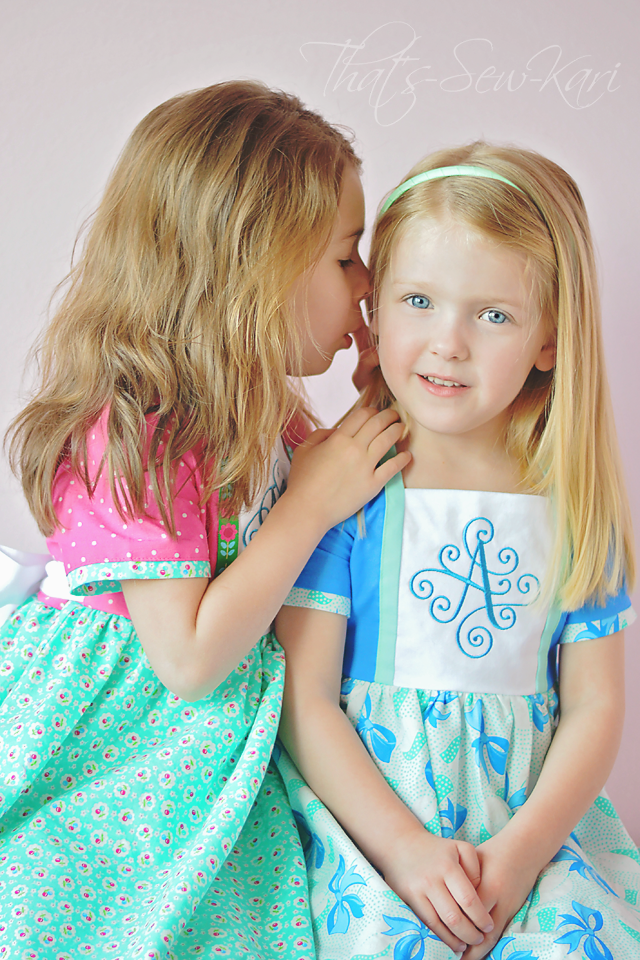
As fate would have it, I happened to have some scraps of the exact shades of blue and turquoise found in the bow fabric.  My youngest is blonde with gorgeous blue eyes and I knew this would be the perfect pairing for her.  I used the included Sophie Dress  - and decided I would embroider her initial on the center panel.  I chose the Elegant Scroll (Small) Font by Itch2Stitch.
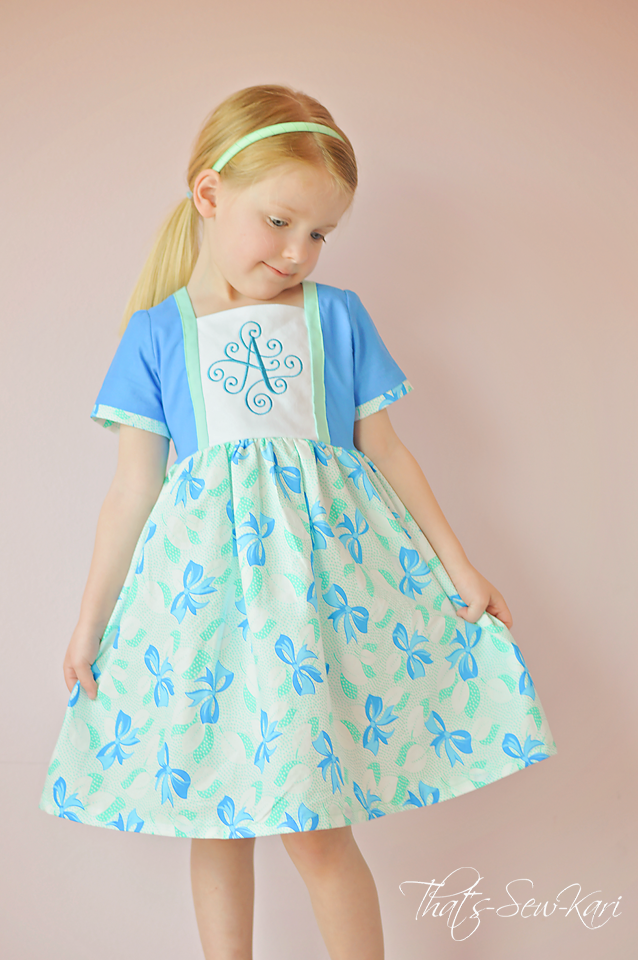
The *one* time I can't get her to show her pretty blue eyes...LOL

I originally made the dress with the included 3/4 length sleeves, but then realized that Easter is sometimes rather warm here in the South, and then remains hot the rest of the summer.  I contacted Megan of Made for Mermaids to see if she had shorter sleeves and they were in testing!!! She was so kind to send the Add-On Pack my way -- thank you soooo much, Megan!!  Because my dress was already complete, the only sleeve option (without redoing the entire bodice) was the short sleeves.  I added a flat band of the skirt fabric to tie it all together.  Now the dress can be worn all summer long!
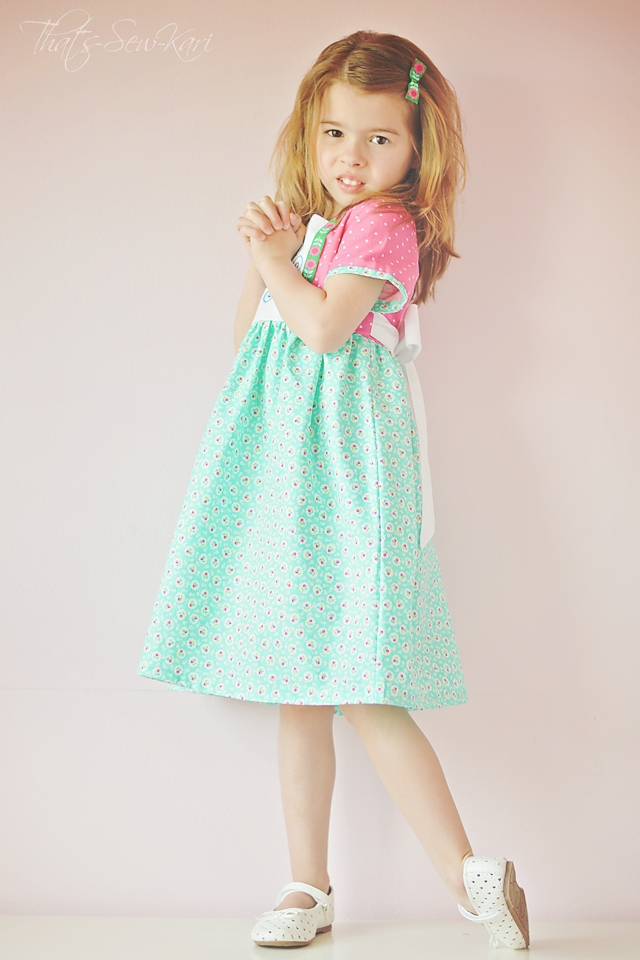

My oldest is a beautiful brunette with chocolate brown eyes and loves pink so I picked out the cherry print for her (sorry, but the J. Pag Beauty Queen is mine......all mine bahahaha) and just happened to have scraps of coordinating pink/white polka.  The ribbon trim tied her dress all together.  Truth be told, that ribbon trim is glued on.  HA!  I tried topstitching it, but you could see needle marks, so I carefully figured out where I needed it to go, got out my tacky glue, and voila - perfectly trimmed bodice.  I also embroidered her initial on the center panel and sewed up the short sleeves for her with a coordinating flat band.

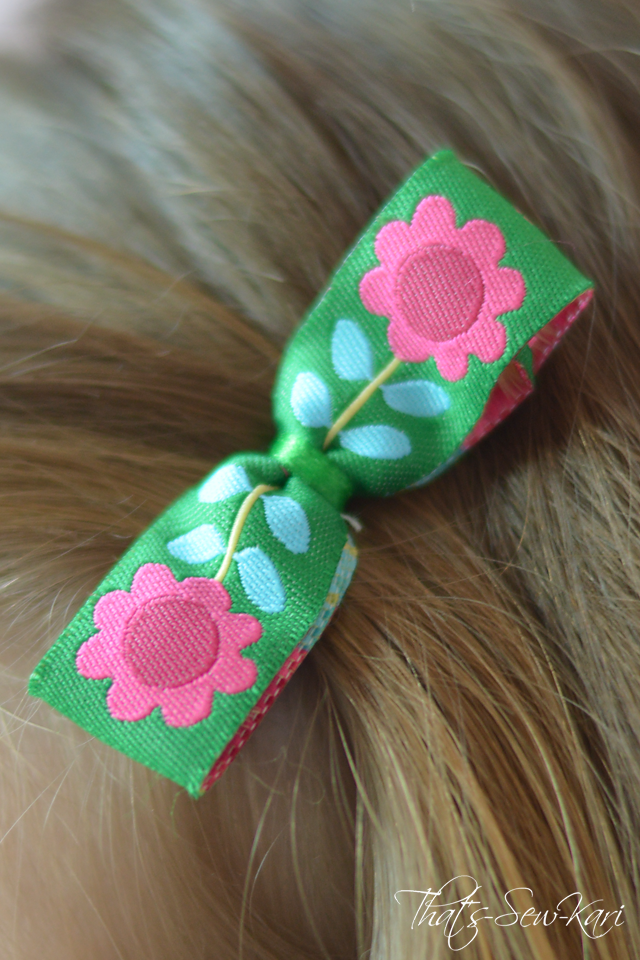
Since I had leftover ribbon trim, I used a bit to make a little bow for her newly-cut locks.  It was the perfect accessory!

My girls just love their coordinating dresses!  I thought the line of fabric was so fitting for them (Me and My Sister Designs) --- they often refer to themselves as "Best Sisters" -- which makes my heart so happy!!

So, the box wasn't used entirely on my girls --  I have used the Grandma's Secret Miracle Moisturizer pretty much daily since I got it.  I love that it's a lightweight, non-greasy lotion!  There's no overpowering scent either.  And honestly, I have to hide this lotion as my 4 year old is a lotion stealer.

Last, but not least, this beauty of a fabric (Beauty Queen by Jennifer Paganelli) will become something for me.  I haven't quite decided what it will be and with fabric this gorgeous, you can't be hasty in your decisions.  
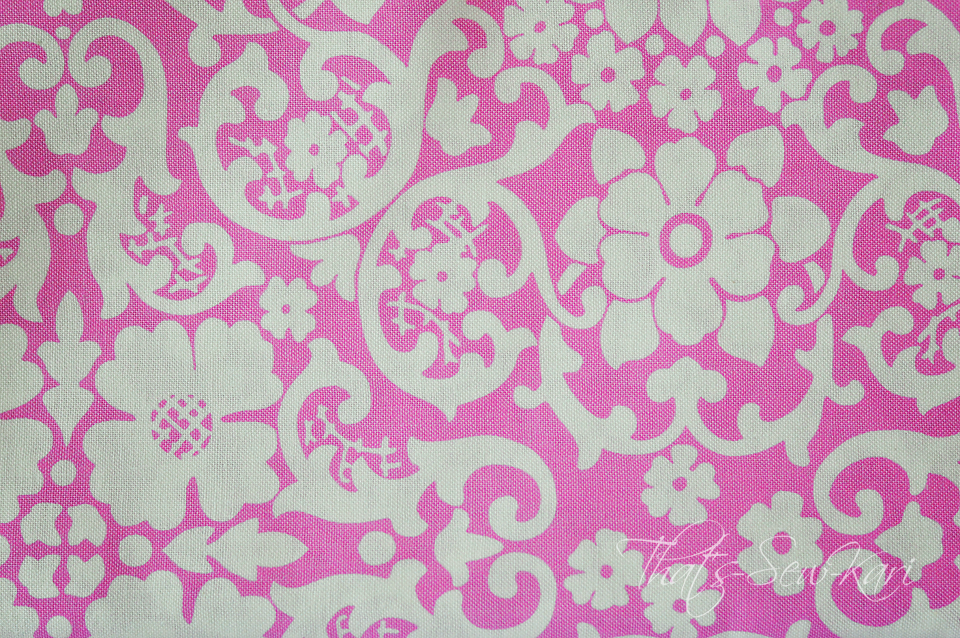

I was thinking of a Caroline (Mouse House Creations) or possibly a Jenny or Angie (Sis Boom) in tunic length.  Or, I could possibly make it into a purse to carry!  Leave a comment below with your suggestions!

Thanks, Stitch Box Monthly --- I had SEW much fun!!

___________________________________________________________________


How to sign up*:

  • Signing up for Stitch Box Monthly is easy!  
  • Head to www.stitchboxmonthly.com to choose a 1, 3, 6. 12 month subscription or choose a recurring subscription every month
  • Add in your shipping info
  • Pay 
  • Wait by your mailbox for your surprises!
*Orders received by the 20th each month are shipped at the beginning of the next month. 
Orders received the 21st or after are shipped out the following month (ie. order March 21st through April 20th to be shipped early May).

___________________________________________________________________


*****If you sign up for April's Box, you'll get it just in time for Mother's Day --- seems perfect to me!*****


WARNING: Spoilers ahead!


So, I messaged Katie, the owner of Stitch Box Monthly to see if she'd give me any hints for the upcoming boxes!   Soooo, here are some sneaks :)

March Boxes (last day to order is March 20th): Be on the lookout for Australian fabric designers, Ella Blue and one of my favorite pattern designers, Brownie-Goose!

April Boxes (order March 21st - April 20th): Get excited for some yummy fabric by the talented Tula Pink!!!


*Disclaimer:  In exchange for my review, I was shipped a complimentary Stitch Box.  All thoughts and opinions are mine.  I received no further compensation, other than hugs and kisses from my daughters for their new dresses :) 
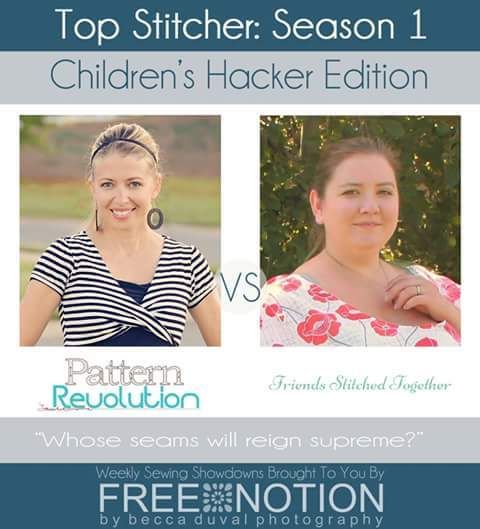
Top Stitchers: Season 1 Contestant


I've been lucky enough to be part of the Pattern Revolution team since it's inception (nearly 2 years ago).  I often wonder how I got so lucky to join the team, as I had literally been sewing less than a year at that point.  But, maybe, just maybe, it was partly due to my obsessive "hacking" of the only shorts pattern I owned, Brownie-Goose Summer Sailors (blogged HERE and HERE).

Patterns have always been a blank canvas for me.  I've never liked to be contained inside the confines of the box, so to speak (unless I'm testing a pattern, of course).  When Becca posed the question in the Pattern Revolution group, "What is your sewing superpower?", I knew it was hacking patterns.

Sooo, here's my announcement!!  I'm competing in Season 1.  Basically, my challenger (Amy of Friends Stitched Together) and I are given the same prompt (think Iron Chef concept, but involving sewing) and we will be judged on several criteria.  Head over HERE to read the full details!

_______________________________________________________________

Here's our prompt: 

~ April Showers ~

"April Showers bring May flowers" - but why wait a month for sunshine and blooming gardens to look fabulous?? Your child will be the most fashionable puddle-jumper there is when you hack two or more apparel* patterns to create a full rainy day ensemble. *non-outerwear patterns only - let's really challenge ourselves! 

Remember! As a Hacker contestant, your objective is to find the untapped potential in a pattern, and use it as your blank canvas to paint your masterpiece upon.

_______________________________________________________________

This should be interesting, seeing as I've never allowed my girls to jump in puddles.  (The mere thought of it makes my anxiety sky-rocket! LOL) 

I've got my ideas brewing and my fabrics picked!  Any guesses to the direction I may be headed?

Stay tuned.... and be thinking of playing along at home!! Each theme will have a linky party :)


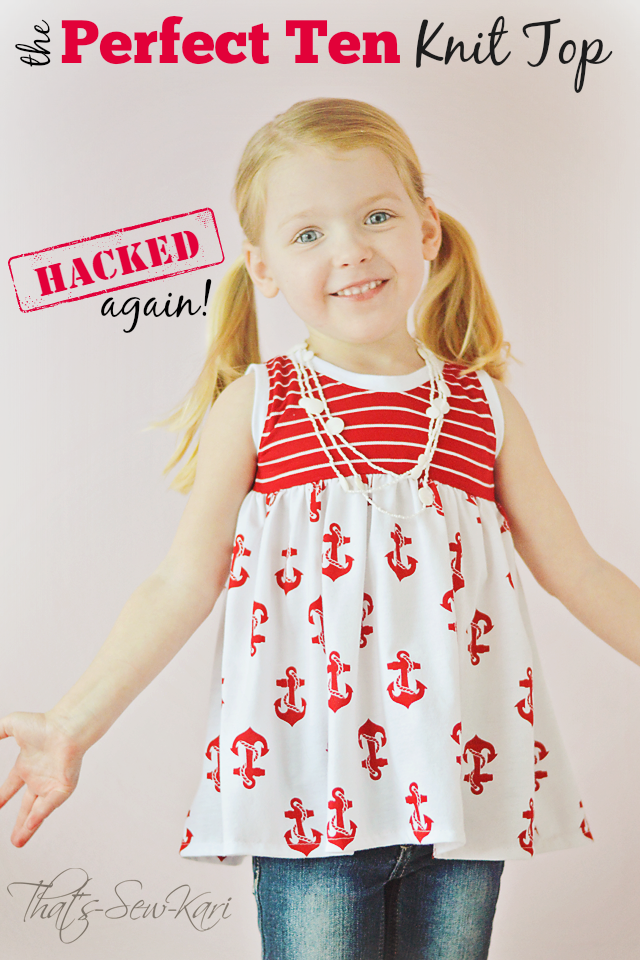
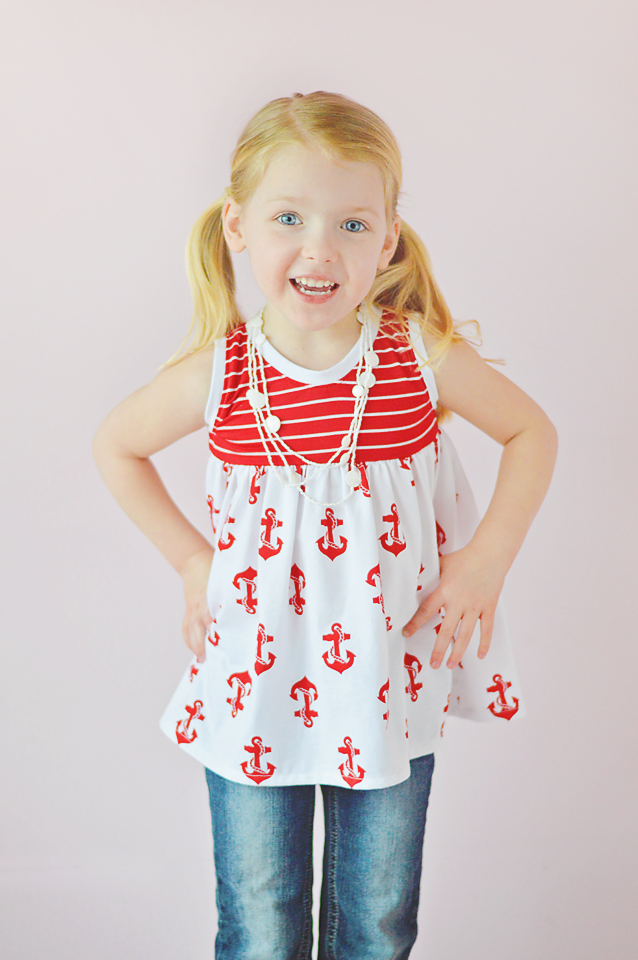
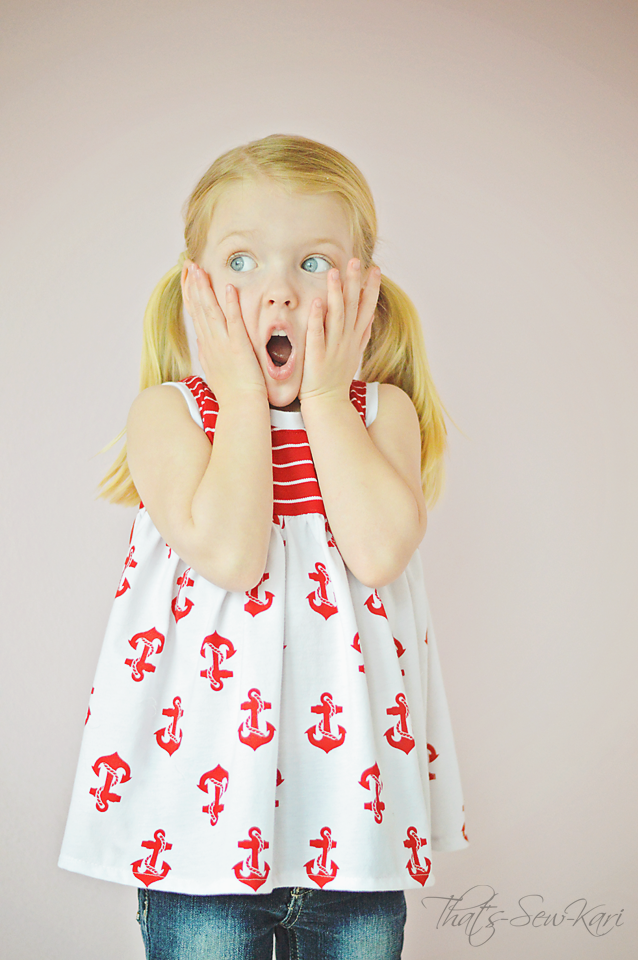
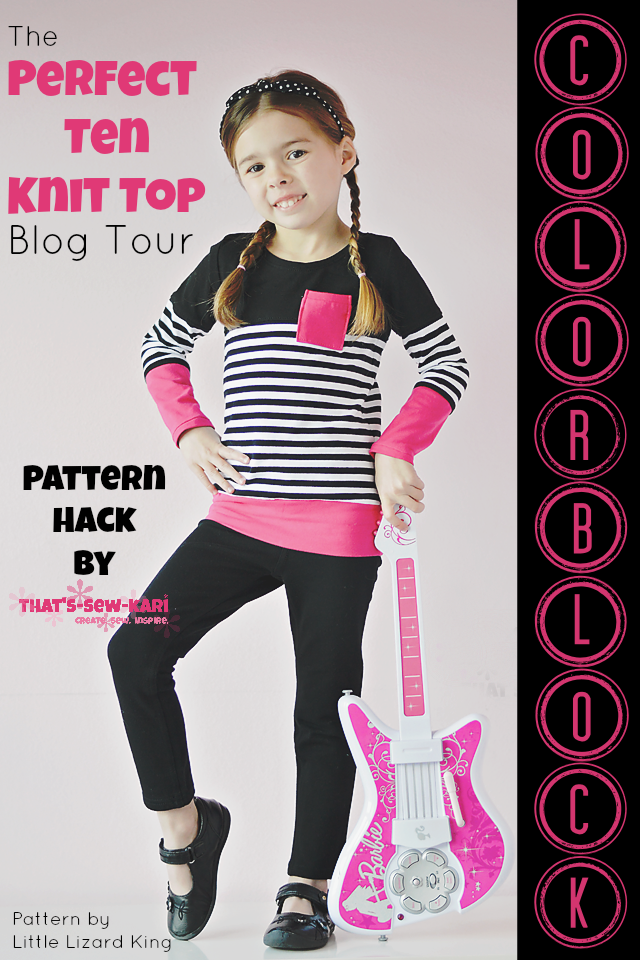
Tutorial: The Perfect Ten Knit Top - [Hacked Again]

~ Pattern by Little Lizard King ~


I just couldn't resist!!  One of my favorite things to do is to hack patterns -- not because I don't love the original patterns because I do!  Sometimes though, inspiration strikes (like on the way to my daughter's school) and I just have to make it happen.

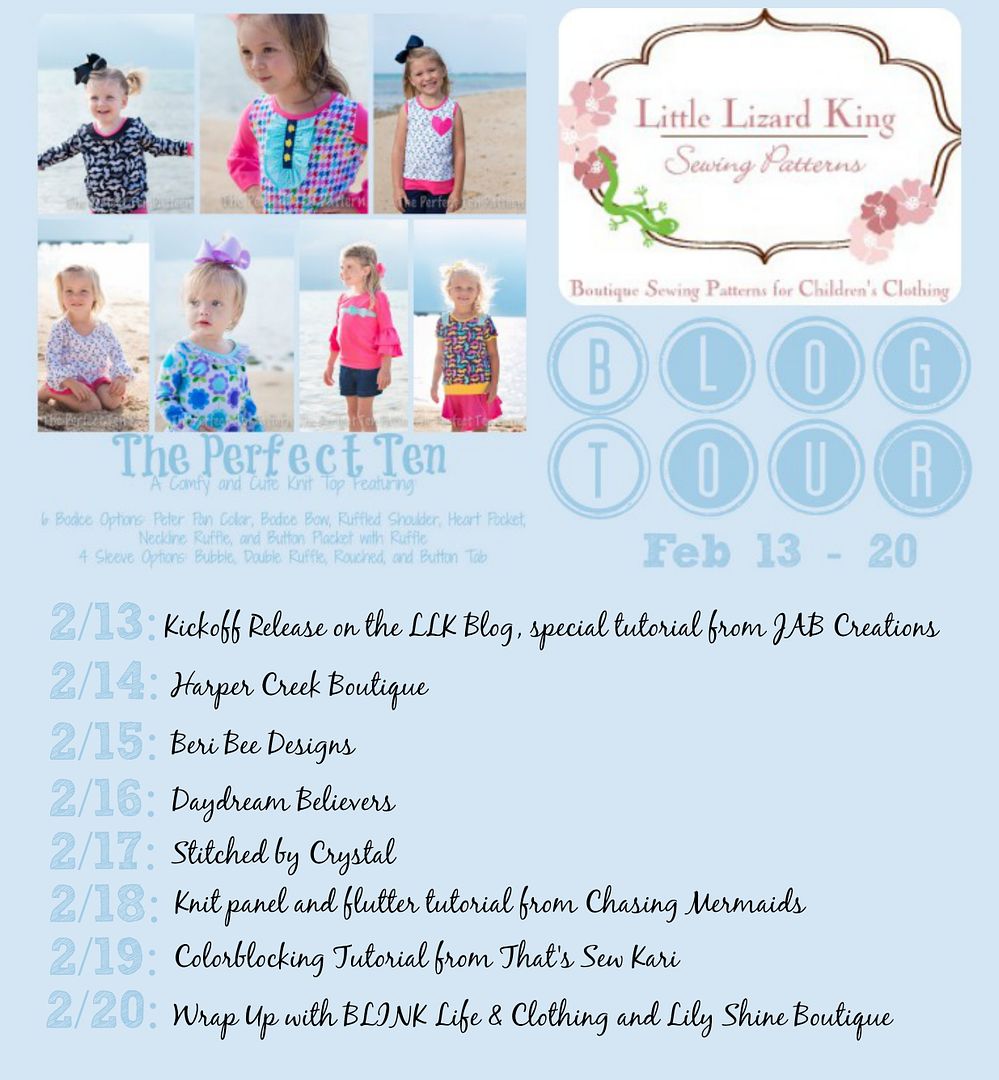
Pattern: The Perfect Ten Knit Top by Little Lizard King
Sizes: 12m - Girls 14
Features: 6 bodice options and 4 sleeve options plus 5 sleeve lengths, 2 hem options and 2 neckband binding options


Despite the million (or so) ways to personalize this awesome pattern, I have found yet another option and it's way too easy not to share!

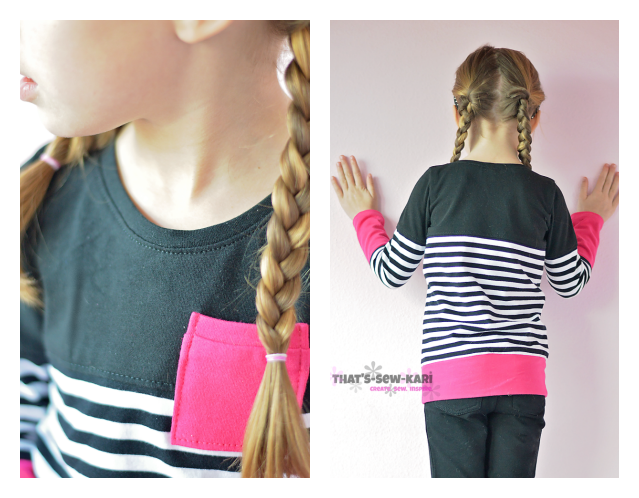
  • Visit my Colorblocking Tutorial for the Perfect Ten Knit Top and follow steps 1-3, making sure you are using the regular hemline option for your original pattern piece.
  • Now you should have your "New Top Bodice" cut from your fabric.  
  • In Step 4, cut out the "New Bottom Bodice" for the pattern piece only.  DO NOT cut your fabric yet!
  • We are going to double the width of the "New Bottom Bodice". 
  • Fold your fabric in half (stretch is cross-grain), and then take the folded edge and fold it again (stretch is still cross-grain), but do not make the second fold any wider than your pattern piece.
  • Cutting the bottom 2 layers of your double-folded fabric only, cut out your "New Bottom Bodice".  The original fold should be just under the right hand edge of your pattern piece and will NOT be cut.
  • Take your "New Bottom Bodice" (that is now double the original width) and run a gathering stitch along the top edge.
  • Gather to fit the bottom edge of the "New Top Bodice".
  • Attach the gathered bottom to the top, RST (right sides together), finish the edge, and press the edge upward toward the neckline.  Topstitch.
  • Repeat with back bodice.
  • Resume following the Perfect Ten Knit Top pattern for the remainder of the construction - being certain to match the seams along the side!

* This method of construction still allows you to use the front bodice bow option included in the pattern.


So easy, right?!   I hope you've enjoyed my latest pattern hack!!  If you ever have any questions, don't hesitate to find me -- I'm always around!


Important links: 

*Don't forget about the Buy 4, Get the 5th Pattern FREE (equal or lesser value) deal!

Join us: LLK Cafe
Join the rest of the LLK Fans and show off your creations, ask questions, and hear about new releases!

Enter by March 1st for a chance to win!! Read LilyShine's Blog for more details!


I have so much love for the ladies behind Little Lizard King!
They definitely bring out my creative side!


BLOG TOUR: The Perfect Ten Knit Top

~ Pattern by Little Lizard King ~


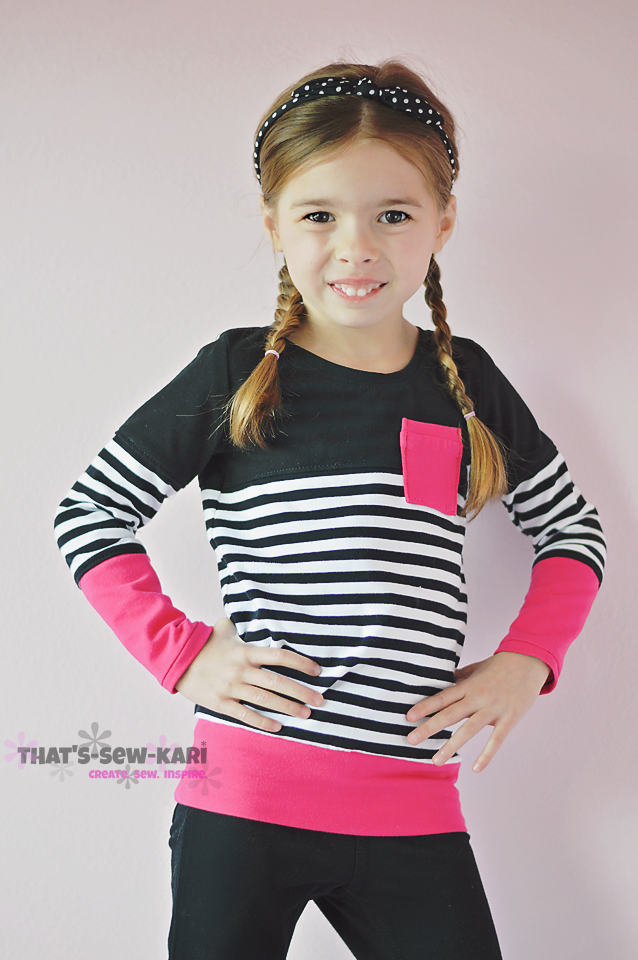
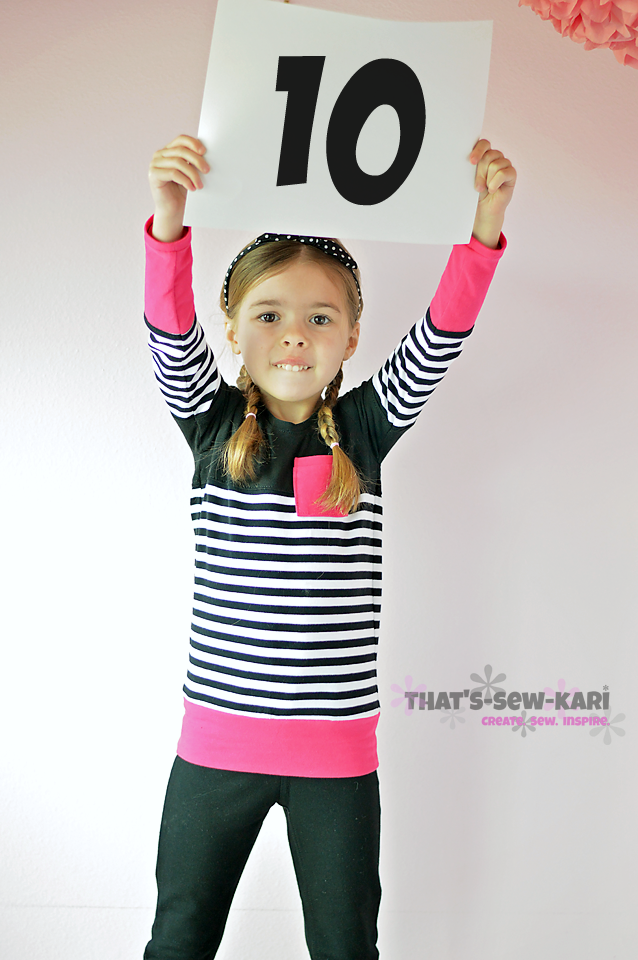
Hi there!! I am so excited to be on Little Lizard King's Perfect Ten Knit Top Blog Tour!!  When this top was in testing, I pretty much begged Cassie to let me colorblock my version.  She said yes -- as long as I agreed to share my tutorial during the blog tour.  Soooo, here I am!!  Let's get this party started!


Colorblocking is actually rather easy! Follow these simple steps, and you'll want to colorblock  ALL.THE.THINGS!

How to Colorblock the Perfect Ten Knit Top*
*these instructions are using the hemband option for the third color

Once your bodice pieces are colorblocked, sew together according to the pattern instructions.  If you would like to colorblock your sleeves like I did, simply repeat the concept on your sleeve pieces.  I used the short-sleeved and 3/4-sleeve lines provided and simply added my seam allowances (instruction 2) to each "new" pattern piece.  Once your sleeves are pieced together and your seams are topstitched, sew according to the pattern instructions.  
My daughter has so much love for her new shirt!


Judge's score: 


For more Perfect Ten inspiration, visit these great blogs participating in the tour!!

JAB Creations | Harper Creek Boutique | Beri Bee Designs
Daydream Believers | Stitched by Crystal | Chasing Mermaids
That's Sew Kari | Blink: Life & Clothing | Lily Shine Boutique
_________________________________

If you haven't purchased your pattern yet, click HERE!

After you sew it up, be sure to show it off in the LLK Cafe!
_________________________________


Good Grief! Four Already?!

MOUSE HOUSE CREATIONS NORAH TUNIC | WILLOW & CO. CLOVER SHORTS

Good grief. This is what everyone warns you about, you know.

          "Enjoy every moment."  
                           
 "It goes by in the blink of an eye."  

and so on...           

And then you realize you've become one of them. HA!  As my youngest turns 4, I stare at her in disbelief.  Where has the time gone? She has transformed so much and every time I think I've got her figured out.... BAM!   Here comes the curveball.

I've now come to expect the unexpected.

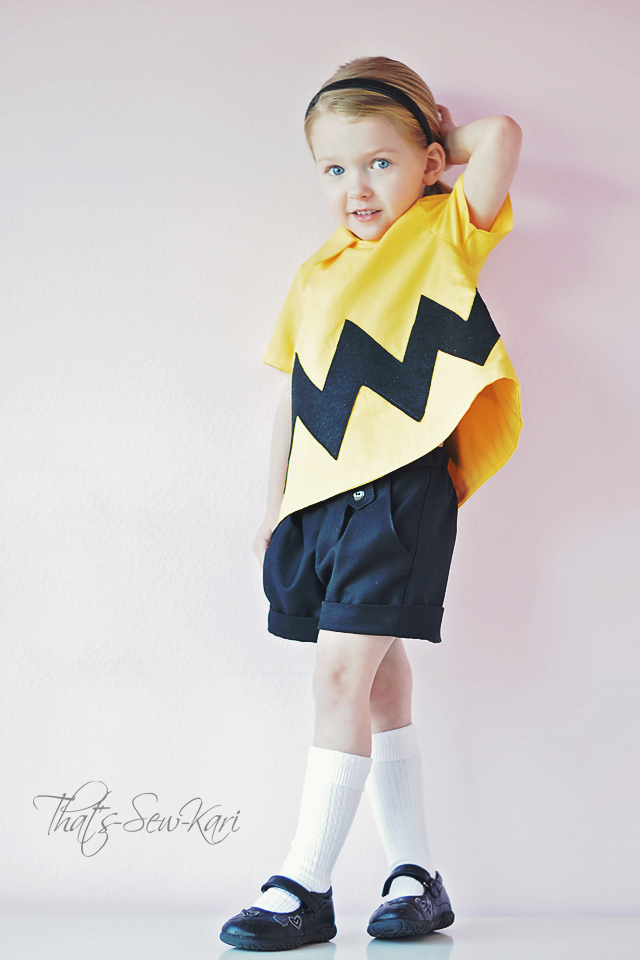
The past couple of years, my little lady has been OBSESSED with Minnie Mouse -- I think I've sewn her nearly a dozen Minnie outfits already.  So when I asked her this year what kind of birthday she'd like, "Charlie Brown" was not what I expected to hear.

MOUSE HOUSE CREATIONS NORAH TUNIC | WILLOW & CO. CLOVER SHORTS

But I ran with it ---  I remembered over the holidays when she first discovered Charlie Brown.  She watched the shows over and over and over ... and laughed hysterically the whole time Charlie was on screen.   It was pure, unfiltered and uncontrollable joy.

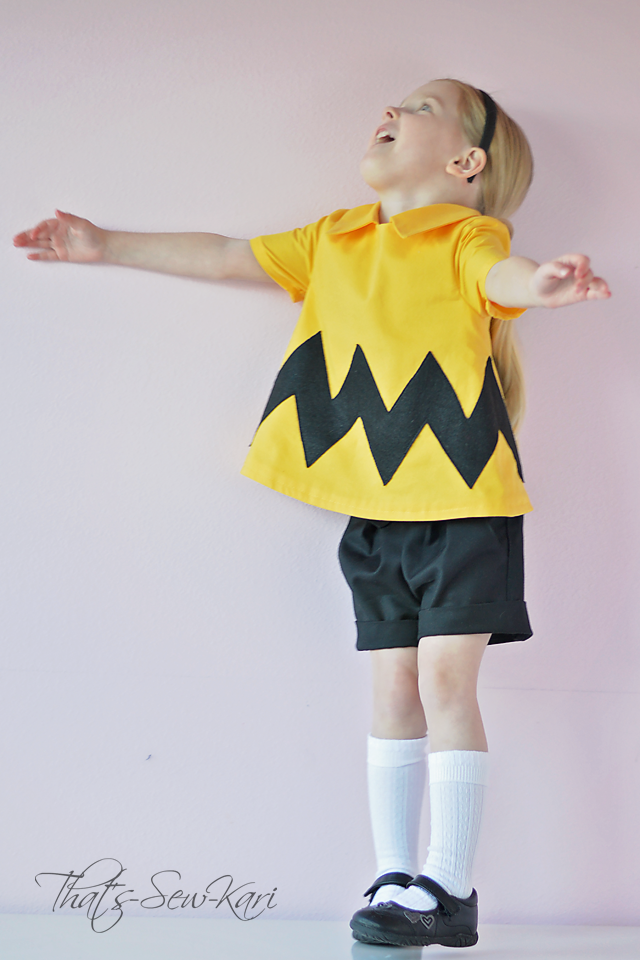
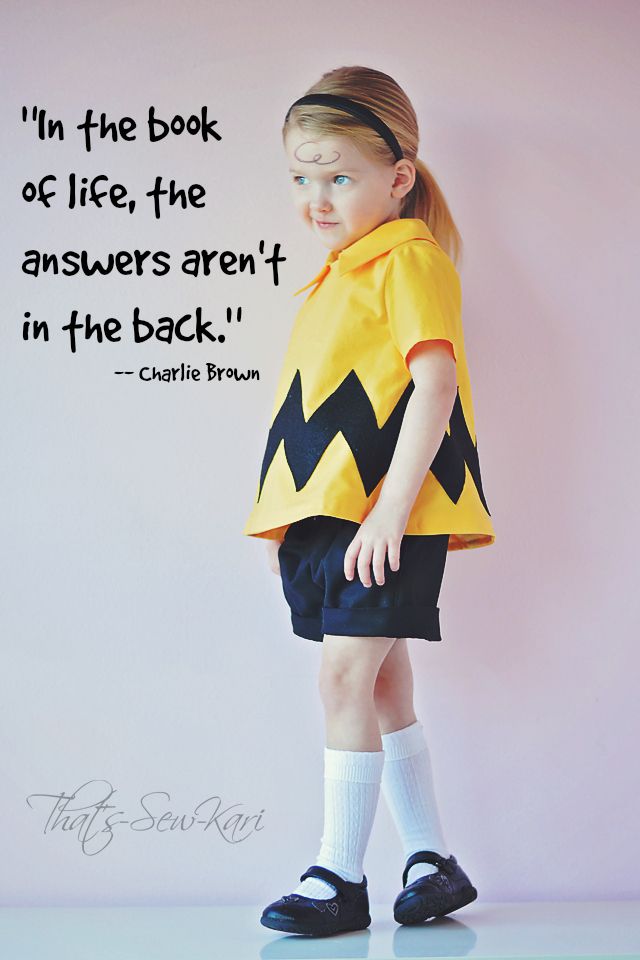
Oh, yes, my daughter needed to have a Charlie Brown birthday!  As I looked at his pictures, I knew I'd need a yellow shirt (with signature zig zag) and black shorts.  But, there's no harm in putting some female flair into it, am I right?!

Immediately, my mind went to the Norah Tunic (and Dress) by Mouse House Creations I had purchased in 2013 and never got around to making.  The A-line shape ended up being the perfect canvas with just a few tweaks.

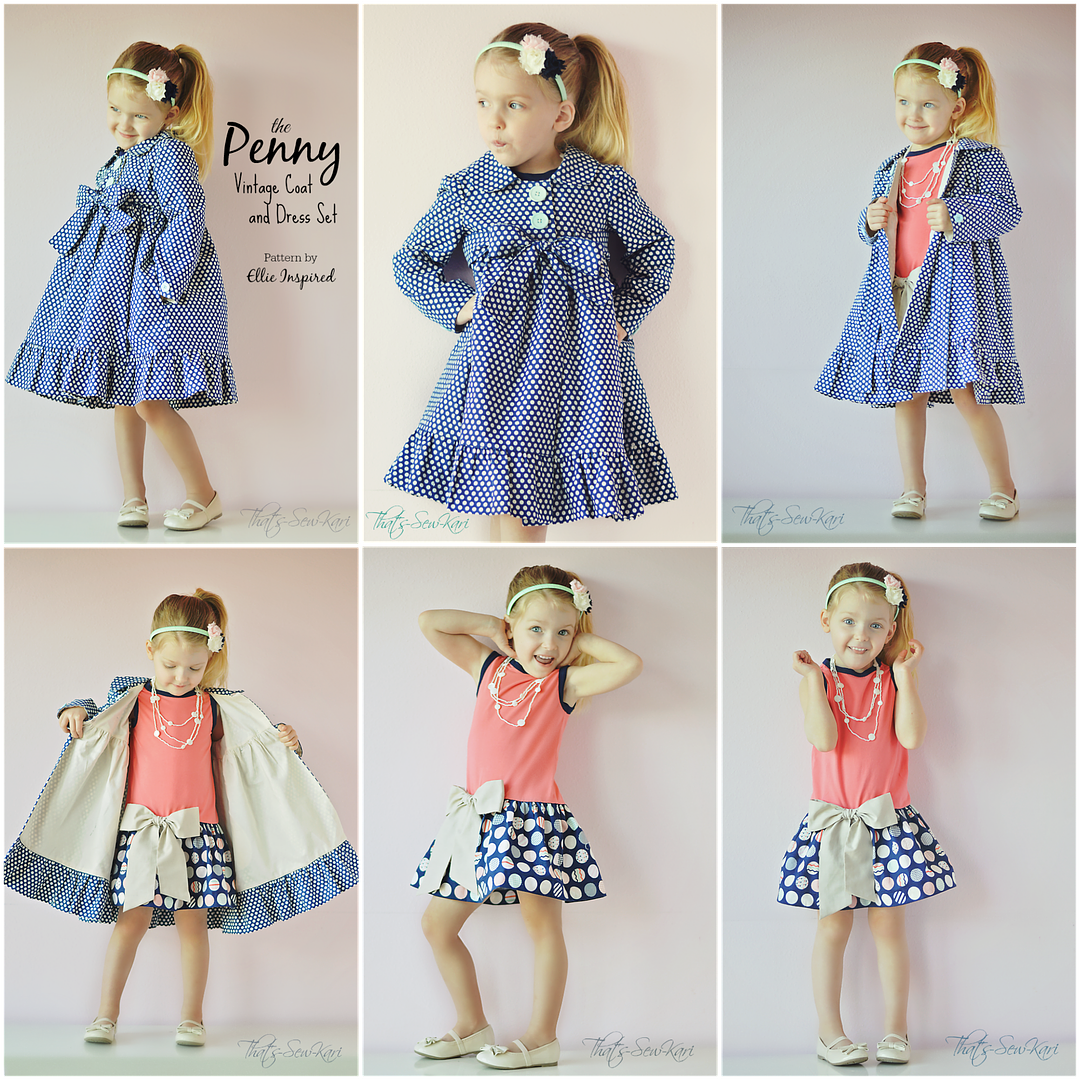
  • I omitted the collar included in the pattern and used a collar from a coat pattern (Ellie Inspired Penny Vintage), but modified the rounded edges to pointy corners.
  • I fully lined it so the weight of the felt zig zag wouldn't weigh down a single layer of quilting cotton.
  • I appliqued a felt zig zag stripe towards the bottom, following the slightly curved hem of the tunic.

MOUSE HOUSE CREATIONS NORAH TUNIC | WILLOW & CO. CLOVER SHORTS

For the shorts, I knew I'd choose the Clover Shorts by Willow & Co (written by Mouse House Creations).   I love the front pleat, the hem cuffs and the belt buckles.  I left the fabric belt/tie off of this pair.   Seriously, in love with this shorts pattern!

All in all, I couldn't be happier with how this outfit came to life.  My daughter was absolutely giddy that I could transform her into Charlie Brown... she even asked me to draw on his little swirl of hair. Hahaha.

MOUSE HOUSE CREATIONS NORAH TUNIC | WILLOW & CO. CLOVER SHORTS

Oh, and in addition to her "Charlie Brown" birthday, we enjoyed Minnie Mouse cupcakes and wrapped presents in Barbie wrapping paper!

* This post contains affiliate links.  If you purchase through my link, I earn a small commission.  

BundleUP: Girls' Wide Leg Pants by Jocole


Well, hello!  I've been busy behind the scenes trying out some of the patterns from the Bundle UP brought to you by Pattern Revolution and 11 talented designers. 11 brand-new patterns -- you choose what goes in your bundle -- the more you buy, the more you save :)


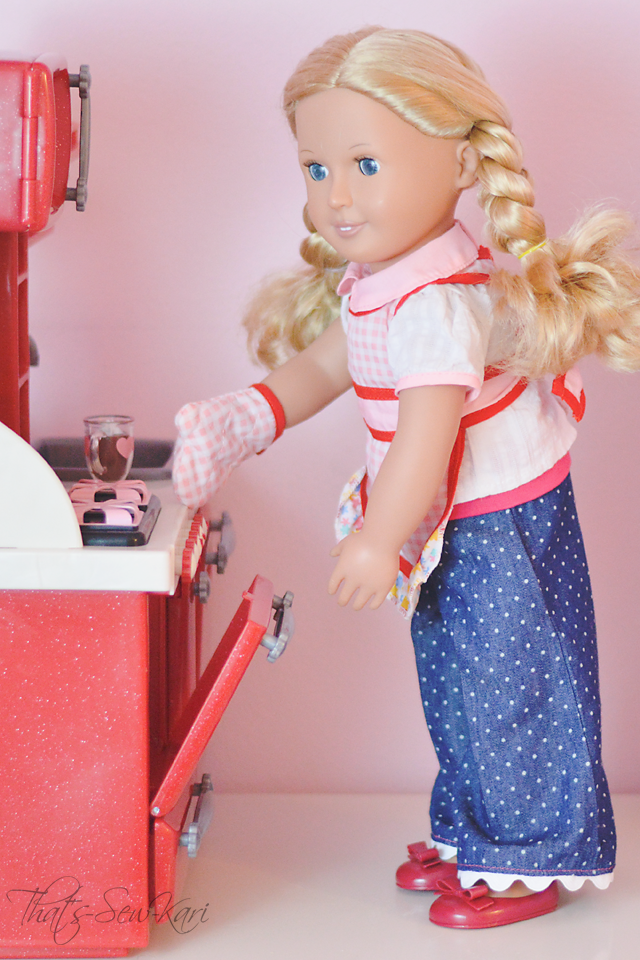
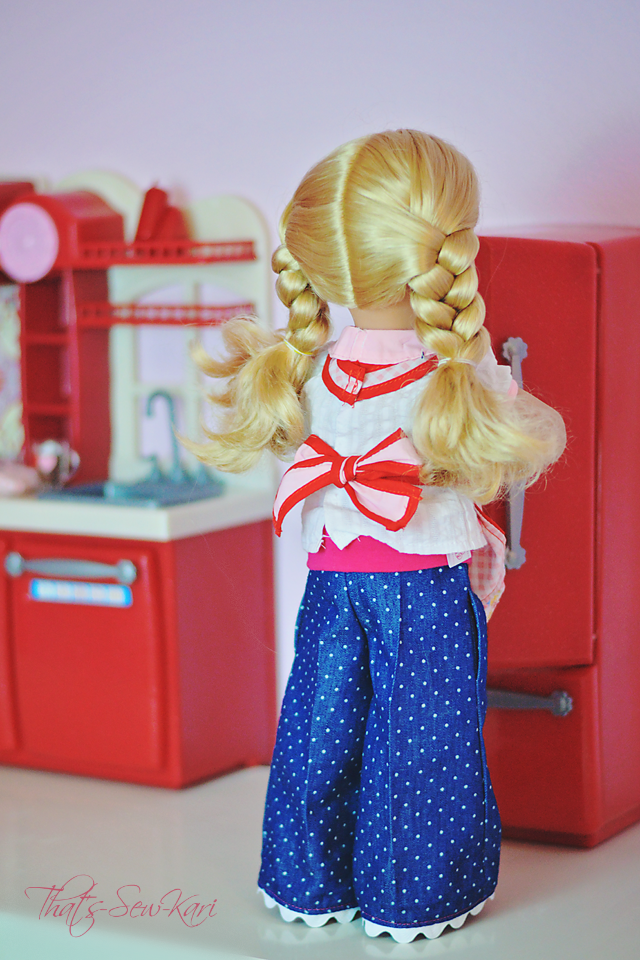
Today, I tried out the Jocole Wide Leg Pants -- wide leg pants with an easy, pull-on knit waist.  You can keep them comfy in knit or make them stylish in your favorite woven.  Since the doll size is included, I decided I'd whip them up for Hallie, my 5 year old's Our Generation doll.  Aren't they adorbs?!


Pattern Details:

  • Sizes NB - girls 14 plus 18" doll
  • 3 length options: shorts, capris, pants
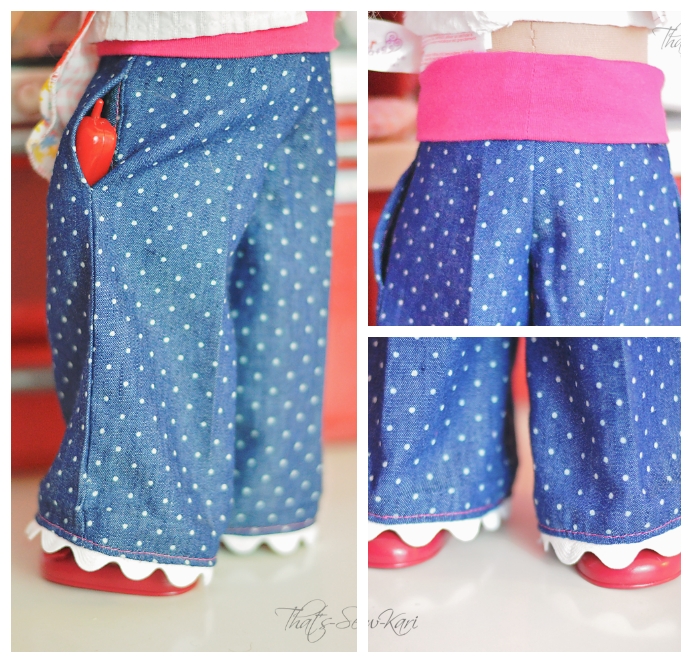
  • 3 waist options: Skinny, Regular or Fold-Over
  • 2 pocket options: Inseam or Patch
  • Pattern Pages: up to 18 pages to print, dependent on size, length and optional pockets, nested in B&W ink 
  • Tutorial: Step-by-step with easy to understand line drawings
  • Charts included: Yardage, Sizing/Finished Measurements, Waistband Cutting Measurements. Perfect Fit Guide, and Glossary of Sewing Terms


Construction of the pants is super quick.  If you leave off the pockets, you could sew them in minutes.  I love the way Jodi has you sew the pants together too!  It's my favorite way to sew pants and not end up with wonky crotch.  


I had a small remnant of this adorable pin-dot lightweight denim (sold at Hobby Lobby) that I knew would make an adorable pair of doll jeans.  I included the inseam pockets too!  For the waist, I used a hot pink knit lycra blend from Purple Seamstress.  For added detail, I used white ric rac at the hem and topstitched in hot pink.


These are just too cute for words!  I think I may have to pop back to Hobby Lobby and see if they have more of this fabric so my girls can have a matching pair!

Go and get your bundle on -- build your girls (and dolls) a better wardrobe!! Don't delay, the deal ends Feb. 2nd.


Here's a list of all 11 designers participating:


Links to my reviews on Pattern Revolution:


Custom Post Signature

Custom Post  Signature