

If you know me at all, I am a complete fanatic about matching prints and stripes across the seams. I am going to share my secrets today and show you it's really easier than you think. It just takes a little bit of extra planning when you cut, and depending on your fabric repeat, it may take extra fabric. I will be working mainly with matching across a button placket, but will guide you at side seams as well as stripe matching. Oh, and NO WALKING FOOT REQUIRED! (although, they are handy! -- these examples have all been sewn without a walking foot)
Ready?!
 |
| HOYA DRESS | Little Lizard King |
STEP 1: Important details to find out before you cut: Check the pattern to see what your seam allowance is as well as how much the bodice overlaps (if you are matching across a placket). Also, for stripes or any important skirt details, take note of the hem.
 |
| PEGGY SUE & MERRY DRESS MASHUP | Little Lizard King |
STEP 2: Take a look at your fabric. What part would you like featured? If you are matching across, a button placket, you will need to decide what part you want to fall where the buttons will be. Pay attention to which side of the bodice will be on top. I prefer the left side to be on top. I iron a vertical crease here. Unfold. Then add your seam allowance beyond that point. You can also fold the SA on the pattern piece and then match the crease on the pattern to the crease in the fabric.
For example, I loved this red poppy on my Michael Miller Sommer print and wanted it featured in the center of the bodice:

*** When cutting stripes, decide what stripe color you want to be featured at the seam line of the waist or hem.
 |
| SUN DANCER DRESS | Little Lizard King |
STEP 3: Double check that your pattern piece is in the correct spot and that you have double checked the pattern for the correct seam allowance. Go ahead and cut your first side.

STEP 4: We will cut the second side, but you will need your first side handy. You will take the first side, fold the SA under at the crease you ironed earlier. Then, you will lay your bodice on the fabric (right side up), matching the print. This is how your fabric will essentially look, after sewn. Now, you will be cutting a reverse image of the first side. Fold your SA on your pattern piece and turn it wrong side up. With a pencil, draw a vertical line marking the part that will be covered by the overlap of the other side. With the first side still laying in place, carefully position your pattern piece (wrong side up so it's a mirror image) under the first bodice side so that the vertical line you just drew on the pattern meets the folded edge of the first side. Weight down the pattern. Remove the first side from your cutting area and unfold the seam allowance on the pattern piece. Weight it down (or pin) and cut your second piece! Once you sew your bodice together and turn right side out, add your buttonholes and buttons per the pattern. You should now have a picture perfect button placket (that may appear hidden, depending on your fabric and button choice).
*** To match across a seam, you will simply match at the point of seam allowance, as there is no overlap.
FOR STRIPES: You must cut the second side with the same color stripe at the bottom of your pattern piece.

STEP 5: This step applies to matching stripes and prints across a seam. Pins will be your best friend. Match your raw edges together, taking care to match each stripe. I like to pin perpendicular so I can leave the pins in while I sew. Especially with stripes, you will want to make sure every single stripe is pinned.

STEP 6: If you are a speedy seamstress, you will need to S-L-O-W down for this step. I sew fairly slowly here as to not shift my fabric between the layers. Cross your fingers and open up that seam.... if it's a match, do a little dance!!! If it's gotten off kilter at any point, I seam rip and redo. I am a perfectionist though 😜
I challenge myself to see what I am able to match. Here are some of my favorite examples:

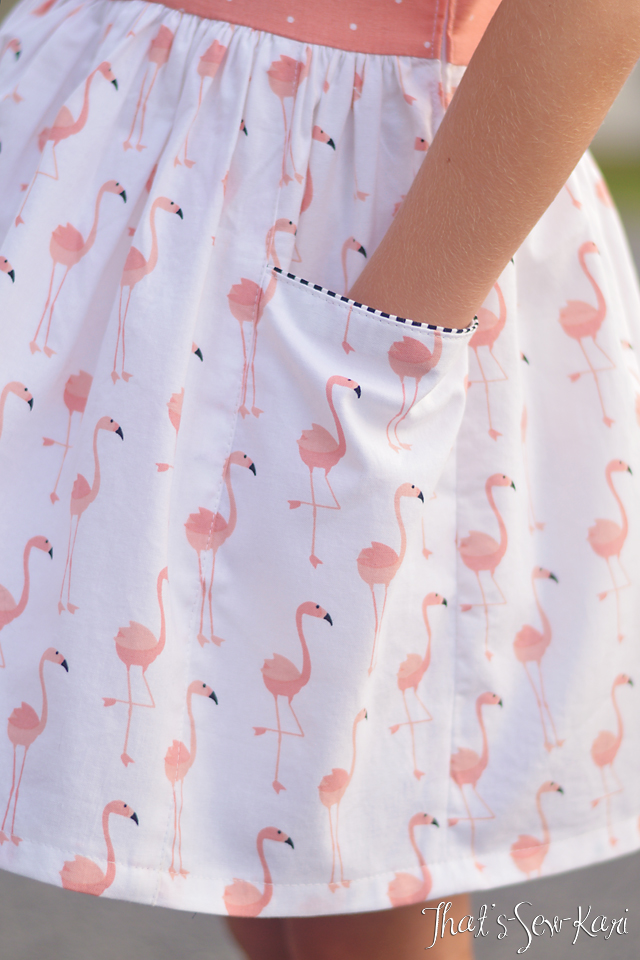
 |
| Can you find the huge kangaroo pocket on the front?! |


Happy matching!! 💗💗💗


Be First to Post Comment !
Post a Comment